Tree Fairy
/Inspired by The Magic Onions...
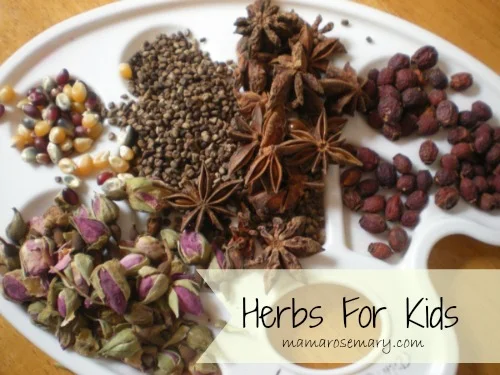
Did you know that many of our sweet, warm culinary herbs come from trees? Herbs like cinnamon, cloves, allspice and star anise all come from trees. We are studying trees and herbs from trees at preschool this month so naturally we are playing around with these well-loved and well-known herbs.

When I found this adorable Autumn Fairy on The Magic Onions, I knew I had to incorporate this project into our study of trees. This fairy is so inventive and cute, it makes the perfect addition to any young child’s study of trees and Autumn. We did a bit of tinkering with the project so we could give our fairies a few herbs to hold and play with.
Make Your Own Herbal Tree Fairy
Materials
pinecones
beautiful Autumn leaves
acorn caps
cinnamon sticks
star anise
More herbs ~ cloves and allspice berries, how could you use these?
wooden beads
pipe cleaners
embroidery floss in Autumn colors
markers
hot glue gun with glue sticks
Instructions
This project is fun for little kids and big kids alike. Little children will need lots of help with each step. An adult should do the hot gluing. Older kids can make these fairies all by themselves once they know the steps and are safe using the glue gun. In fact yesterday afternoon both my girls (age 11 and 7) spent the afternoon together crafting fairies!
~ The Face ~
Start by having the child draw a face if so desired on the bead. Make sure that the holes on the bead line up with the top and bottom of the fairy's head.
~ Hair and Arms ~
Have the child choose a chenille stem for the arms and embroidery floss for the hair. Wrap the floss around your fingers to form a large loop of floss, going around many times. Go around more fingers to make longer hair and less fingers for shorter hair.

Cut the chenille stem in half. Then take the chenille stem and bend it in half around the loop of embroidery floss. You can either bend the stem around the middle of the floss or closer to one end of the floss bundle which will create longer hair and potentially little bangs!

~ Attaching the Head to the Body ~
Once you have bent the stem around the floss, simply thread both ends of the chenille stem through the wooden bead. Now you have the hair at the top of the head and the two ends of the chenille stem will create the arms.

~ Hair Style ~
At this point you can take some time to style your fairy's hair if you wish. You can cut the loops of the embroidery floss to create loose hair ends. and you can give you fairy a braid, ponytail or even a hair cut! Next glue a little acorn cap atop your fairy's head.


~ The Body ~
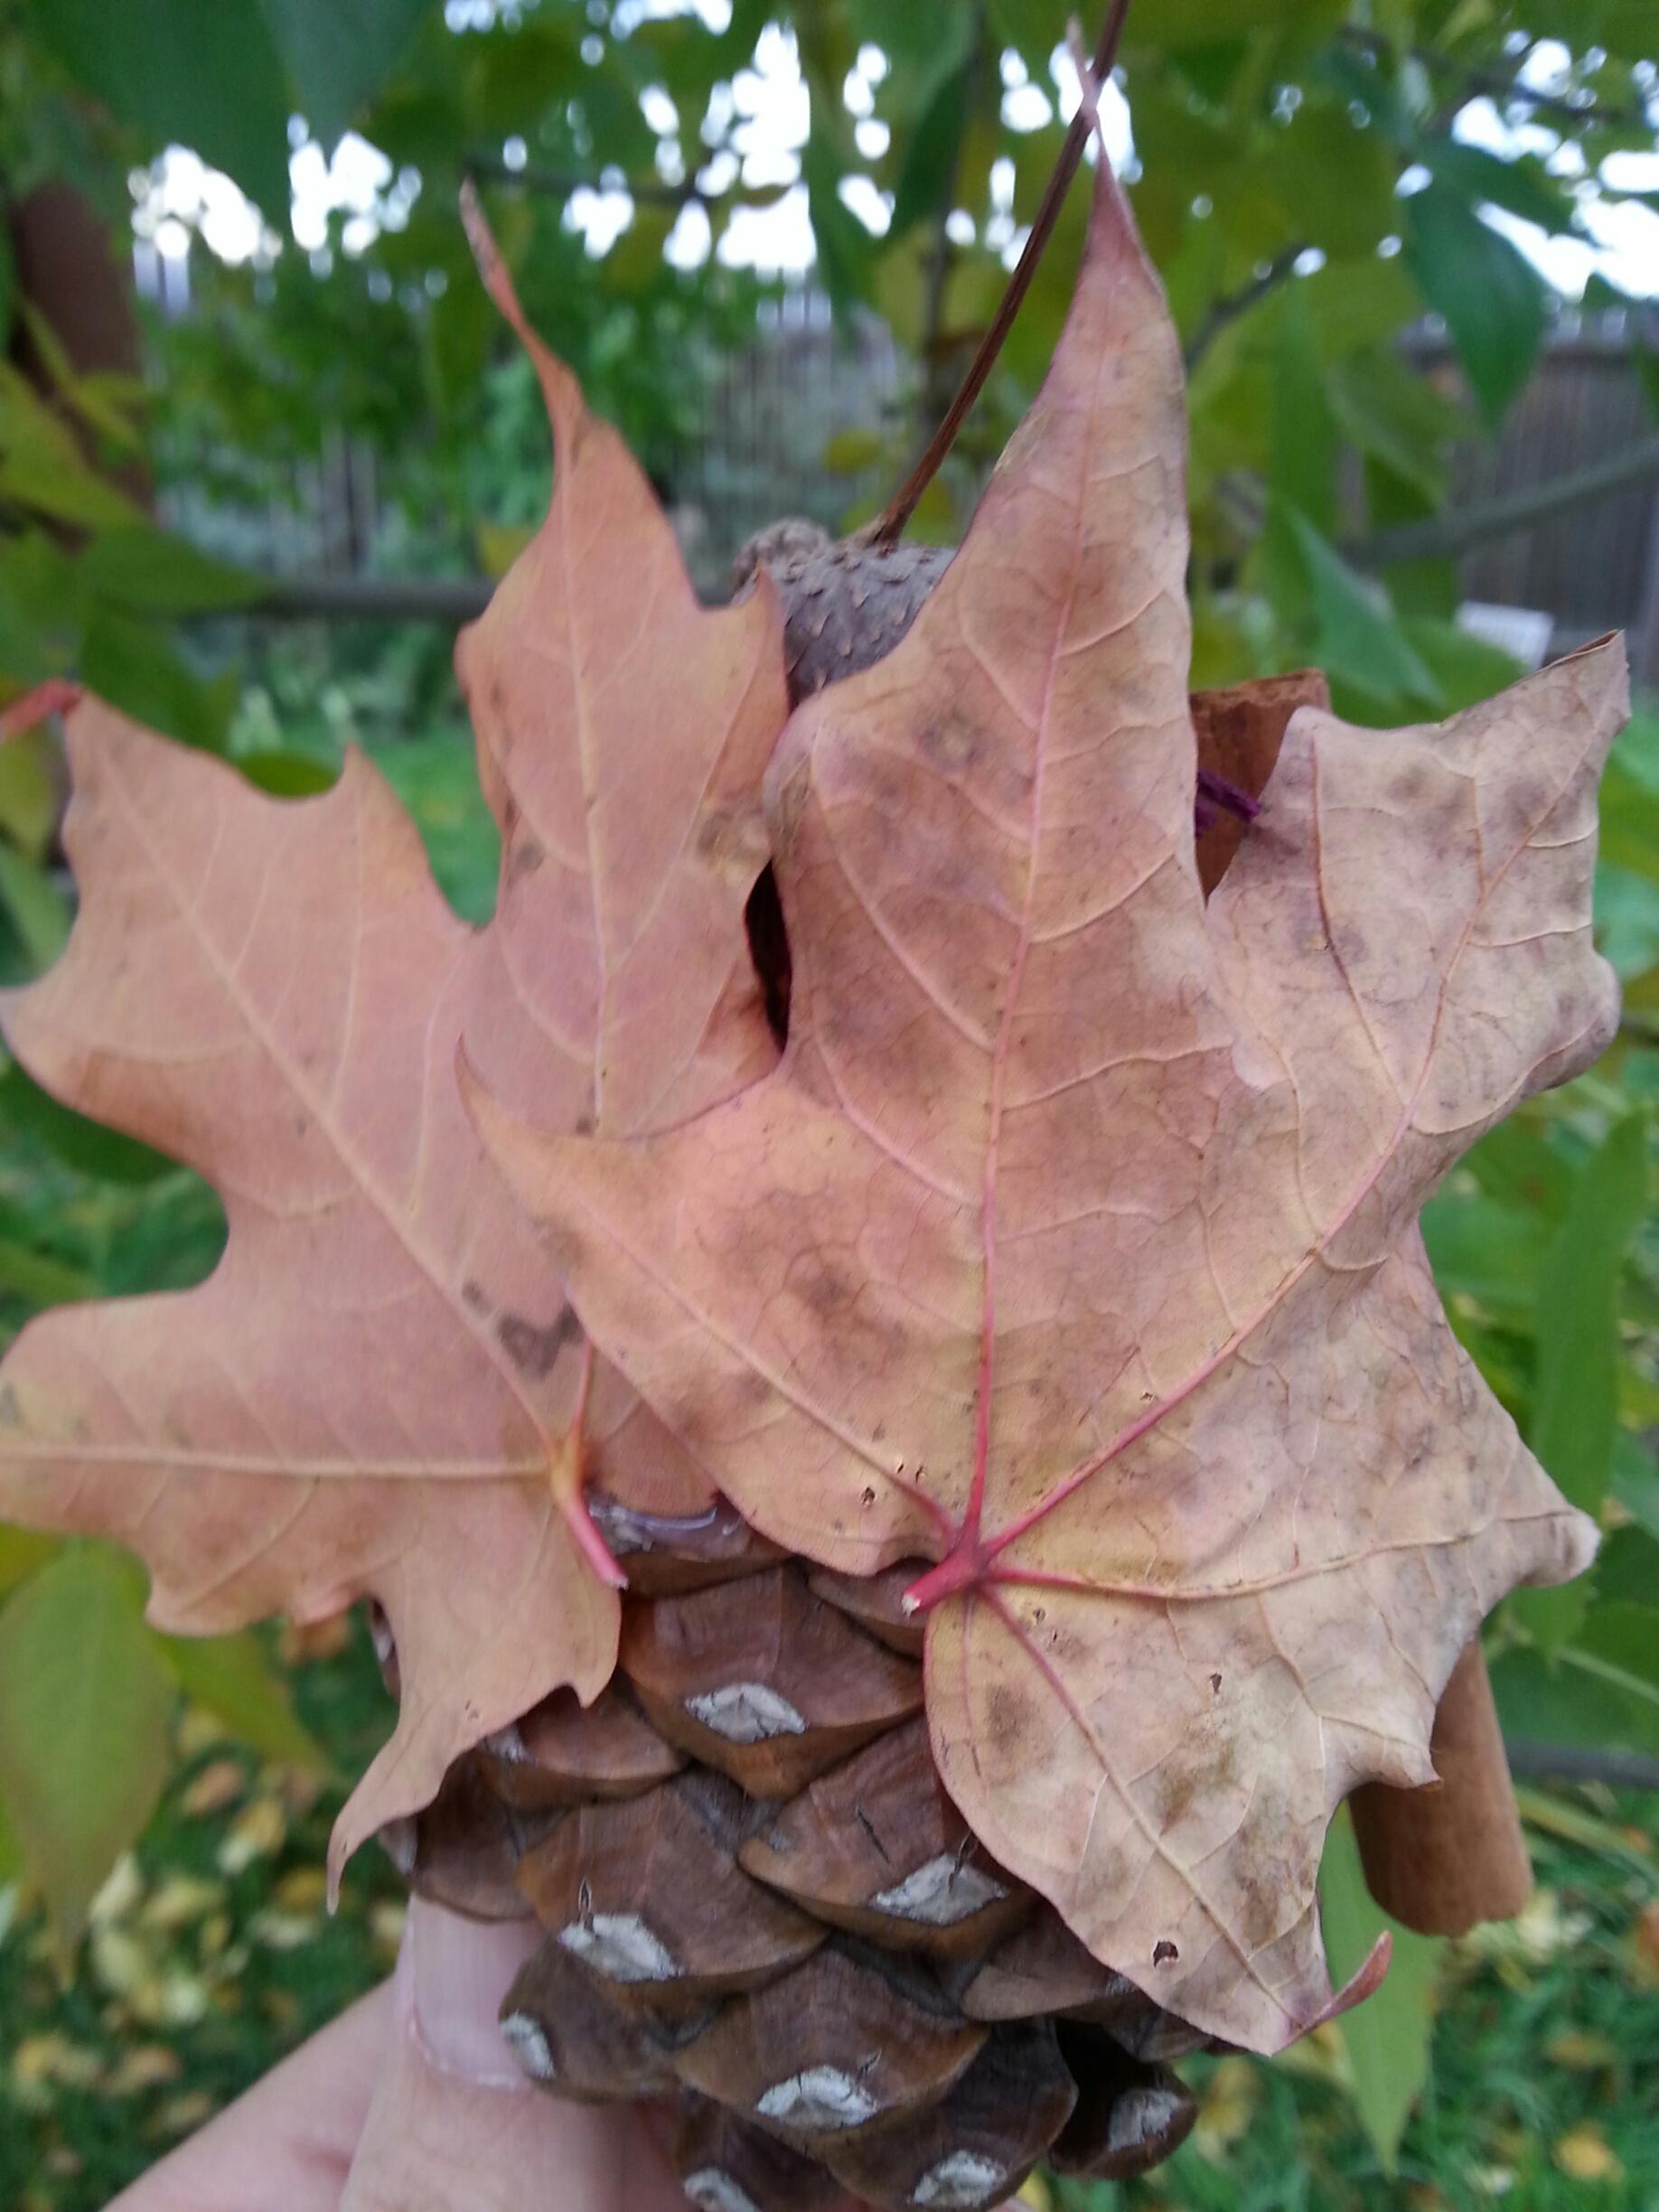
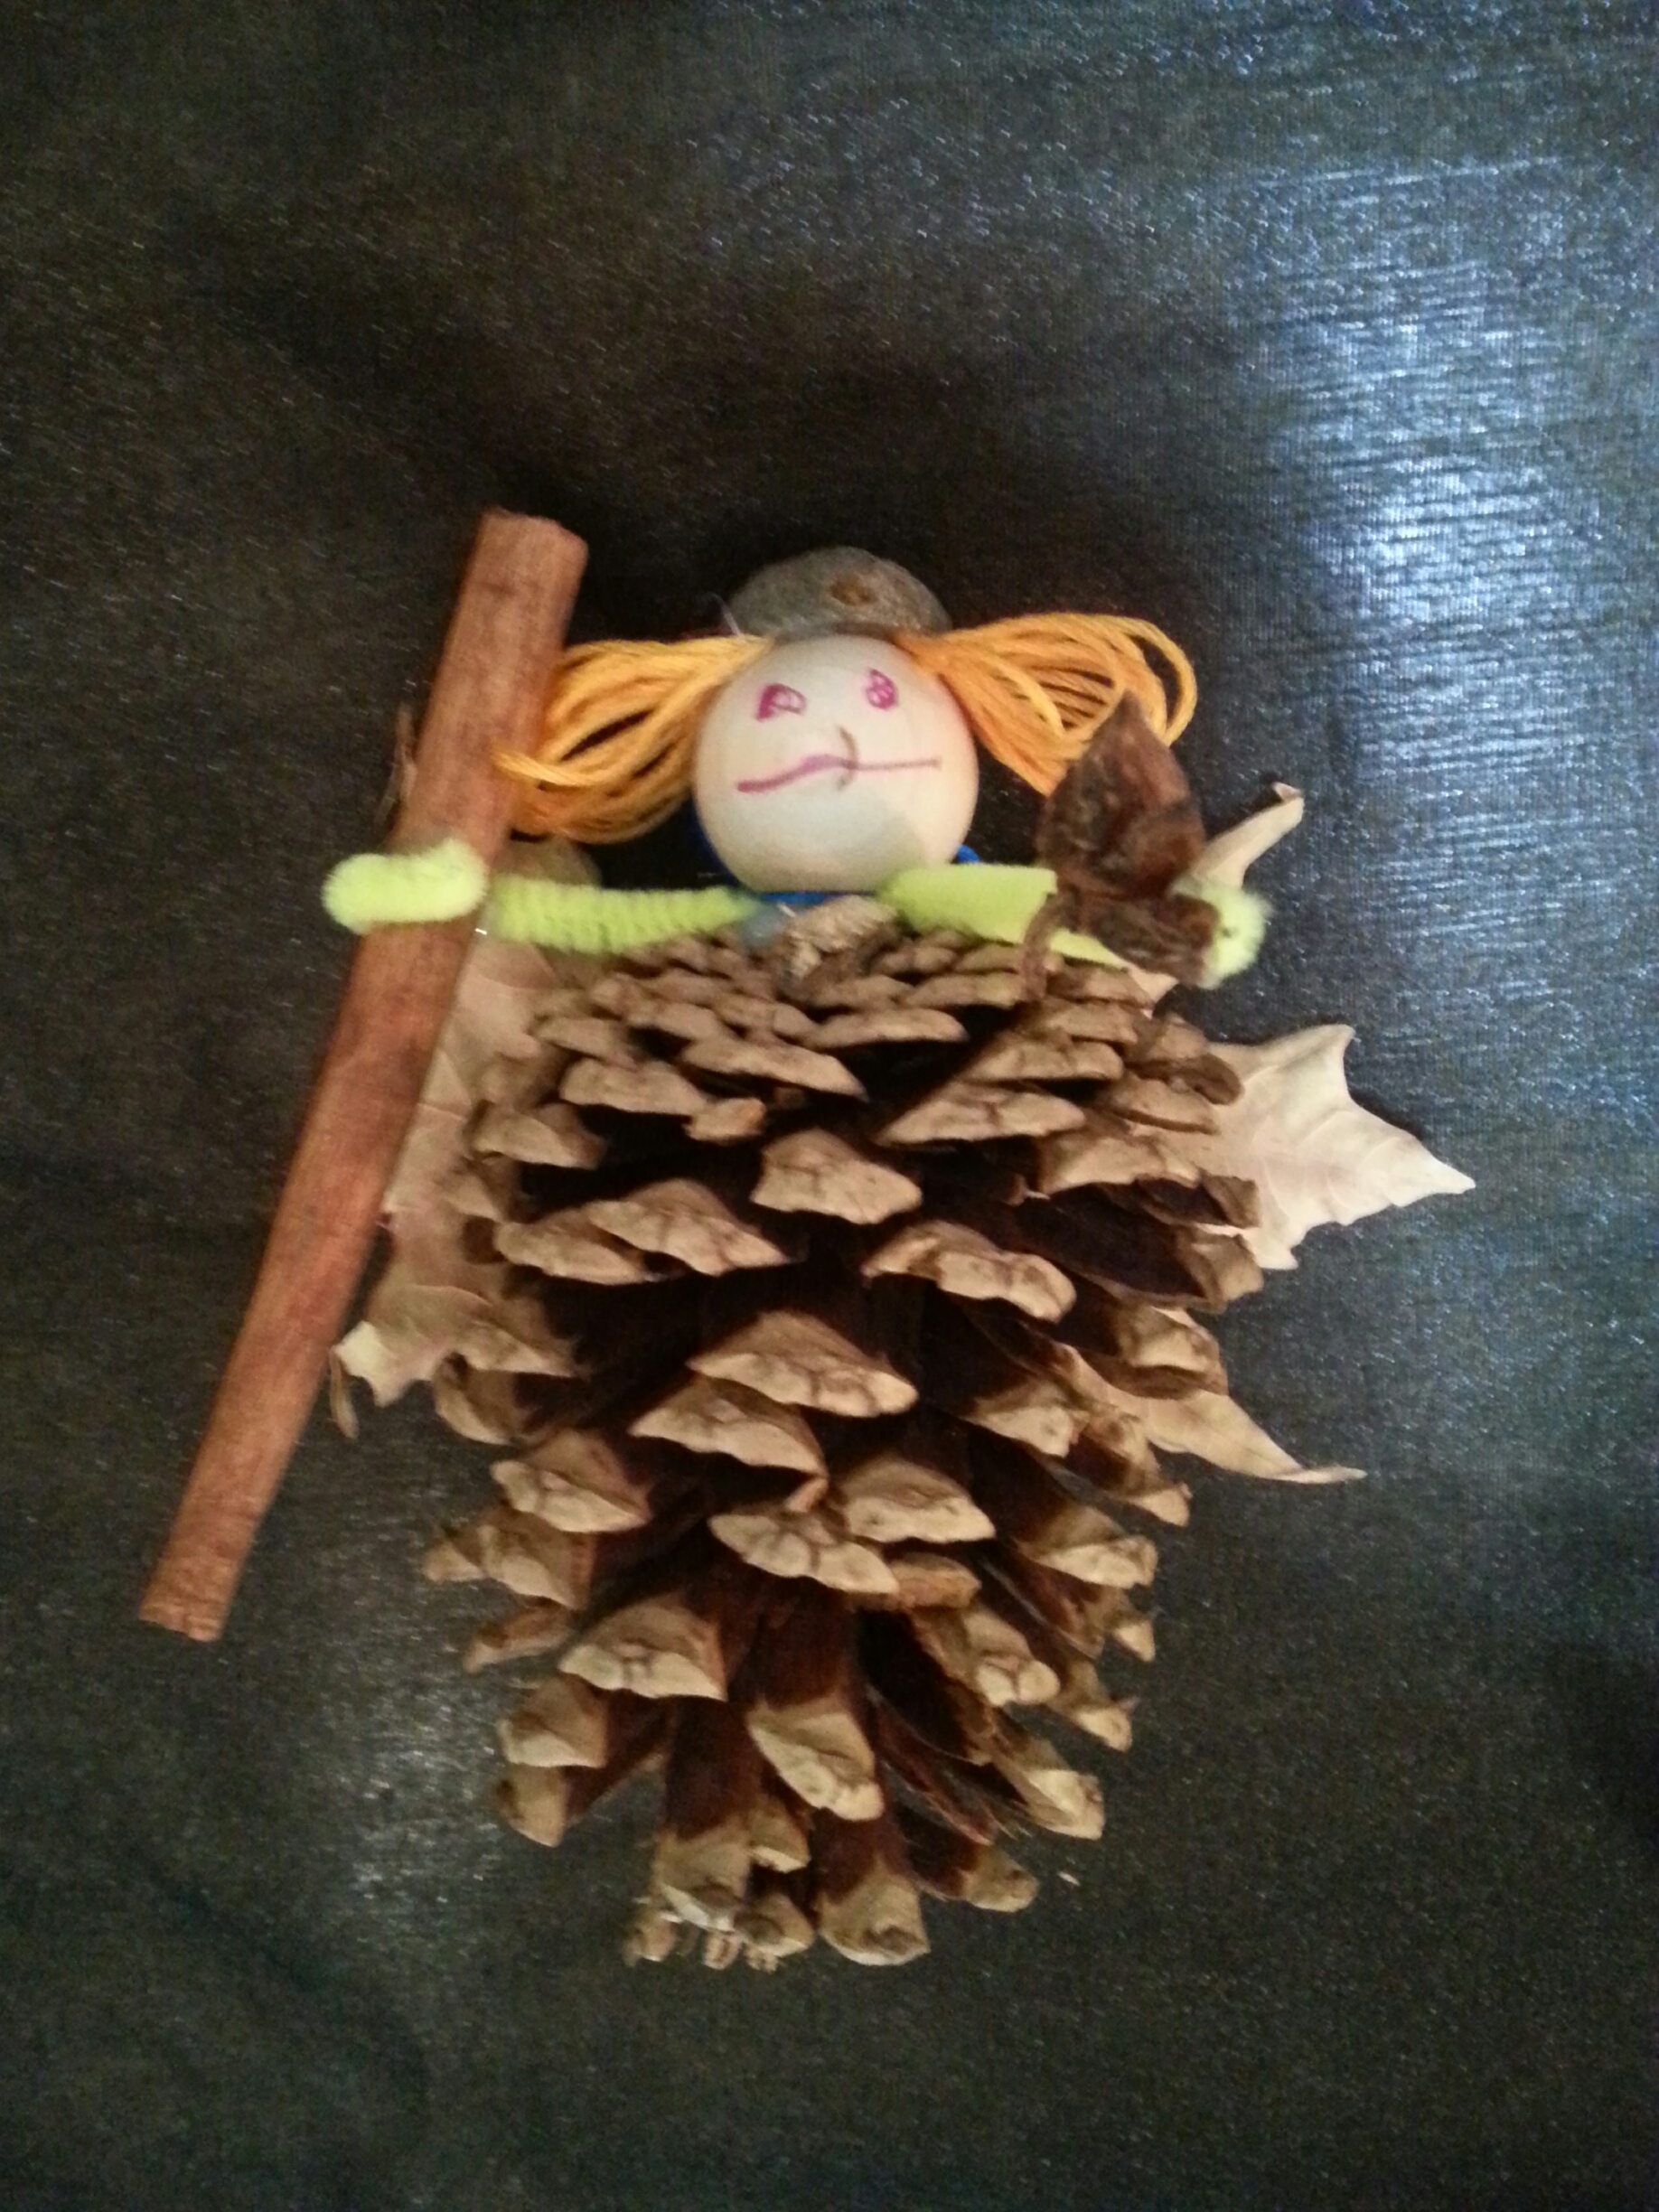
Now it is time to attach your fairy’s head to the body which is made from a pinecone. Position the fairy’s arms to the side or out in front of the fairy. Then using your hot glue gun glue your fairy’s head and arms to the bottom of your pinecone.
~ Wings and Accessories ~
Pick two (or more) of your loveliest leaves to attach to the back of the pinecone. These leaves will become your fairy’s wings!
Next add a cinnamon stick and star anise if you wish. The kids are the preschool imagined their cinnamon sticks to be wands and brooms. If you are helping a small child, have them show you where they want the wings, cinnamon stick and star anise attached. If you are using cloves and allspice berries, this would be a great time to decorate your fairy with them. You can add more leaves to make a skirt and star anise to make a skirt like my daughter Violet did.
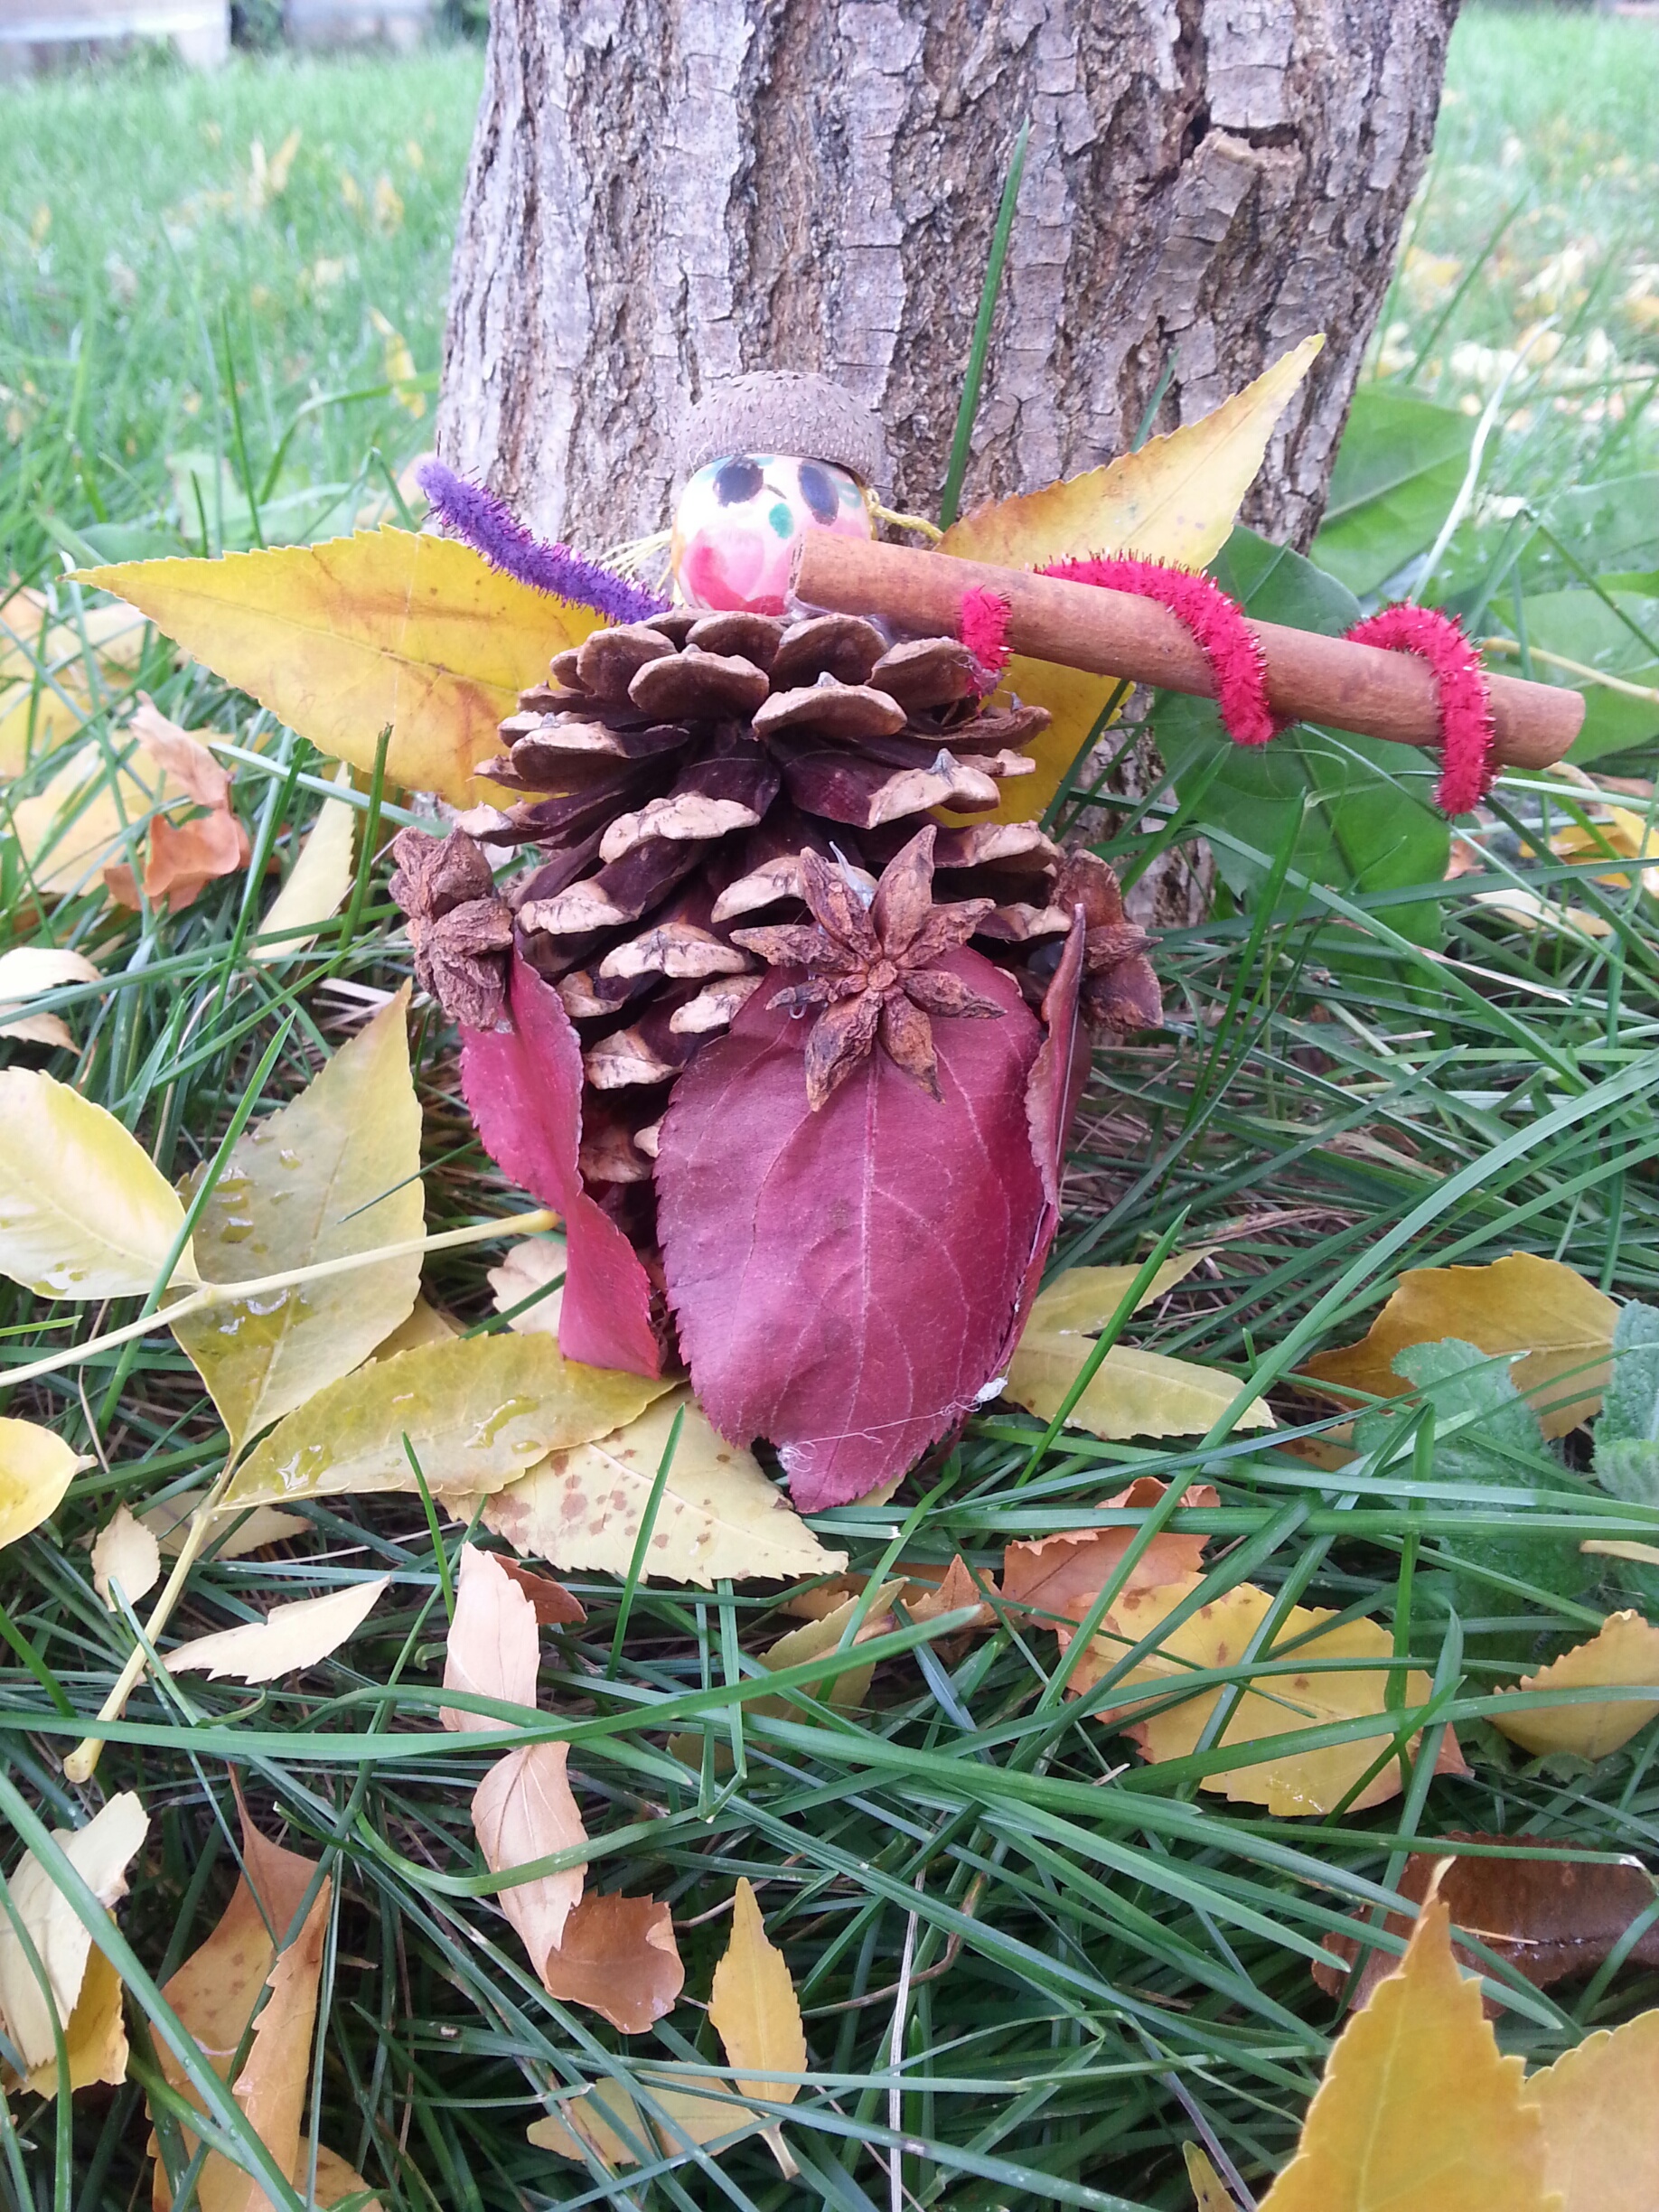
Violet who is 7 has just used to learn a glue gun all on her own. She made this fairy all by herself!
Violet's fairy has a skirt of leaves and star anise. She is also blowing a merry tune from her flute!
~ Now Your Fairy Is Done ~
You can play with your fairy friend if you wish.
You might consider placing your fairy somewhere special or hanging your fairy friend in a window.
Here is a gallery of fairy friends we created at preschool!


Wishing You Lots Of Magic Fairy Fun!
More Please! Enjoy these other fairy crafts!
Please Note: As I said before this wonderful craft comes from The Magic Onions. If you have never visited this incredible site, please do as soon as you can! The crafts and projects on The Magic Onions are presented with such love and beauty, it is really a wonderful place to visit for inspiration. One of my absolute favorite websites!
Shared On: It's Playtime! , The Weekly Kid's Co-op, Natural Living Link-Up