MYO Flower Fairies
/These make the perfect little friend for playing with in the garden!
Over the years I have crafted many wee fairy friends with my daughters, my daughters' friends and my little friends at preschool. Each fairy is as unique as the child who made it, right down to their hand-drawn faces. We have even created elves using silk leaves and hot glue to make clothing. There is really no end to this project and what you can do, just look around for tiny accessories, tools and anything else that strikes your fancy! Right now I am thinking tiny birds perched on little fairy hands could be fun! When you are done making your fairy, create a home-grown fairy garden or fairy house for your fairy!
This project originally comes from Spoonful, thank you Spoonful for the great idea!

3fairies
Materials ~
- Wooden Beads
- Chenille Stems (assorted colors)
- Silk Flowers that can be easily pulled apart
- Embroidery Floss (assorted colors)
- Fairy Accessories ~ little hats, tiny flowers, small insects, jewels, ribbons, acorn hats, feathers, and tiny garden tools etc...
- Scissors
- Glue Gun
- Glue Stick
- Sharpies or Markers
Instructions ~
This project is fun for little kids and big kids alike. Little children will need lots of help with each step. An adult should do the hot gluing. Older kids can make these fairies all by themselves once they know the steps and are safe using the glue gun. In fact yesterday afternoon both my girls (age 11 and 7) spent the afternoon together crafting fairies!
~ The Face~
Start by having the child draw a face if so desired on the bead. Make sure that the holes on the bead line up with the top and bottom of the fairy's head. You can also rub the fairy's head with the glue stick and attach glitter for a sparkly fairy dust face.
~ Hair and Body ~
Have the child choose a chenille stem for the body and embroidery floss for the hair. Wrap the floss around your fingers to form a large loop of floss, going around many times. Go around more fingers to make longer hair and less fingers for shorter hair.

creating hair

attaching the hair
Then take the chenille stem and bend it in half around the loop of embroidery floss. You can either bend the stem around the middle of the floss or closer to one end of the floss bundle which will create longer hair and potentially little bangs!
~ Attaching the Head to the Body ~
Once you have bent the stem around the floss, simply thread both ends of the chenille stem through the wooden bead. Now you have the hair at the top of the head and the two ends of the chenille stem will create the body and legs.

attaching the head

happy fairy
~ Hair Style ~
At this point you can take some time to style your fairy's hair if you wish. You can cut the loops of the embroidery floss to create loose hair ends. and you can give you fairy a braid, pony tail or even a hair cut!

fairy haircut
Fun accessories to consider are little crowns and hats decorated with tiny flowers and ribbons. Check out the little hat we decorated.
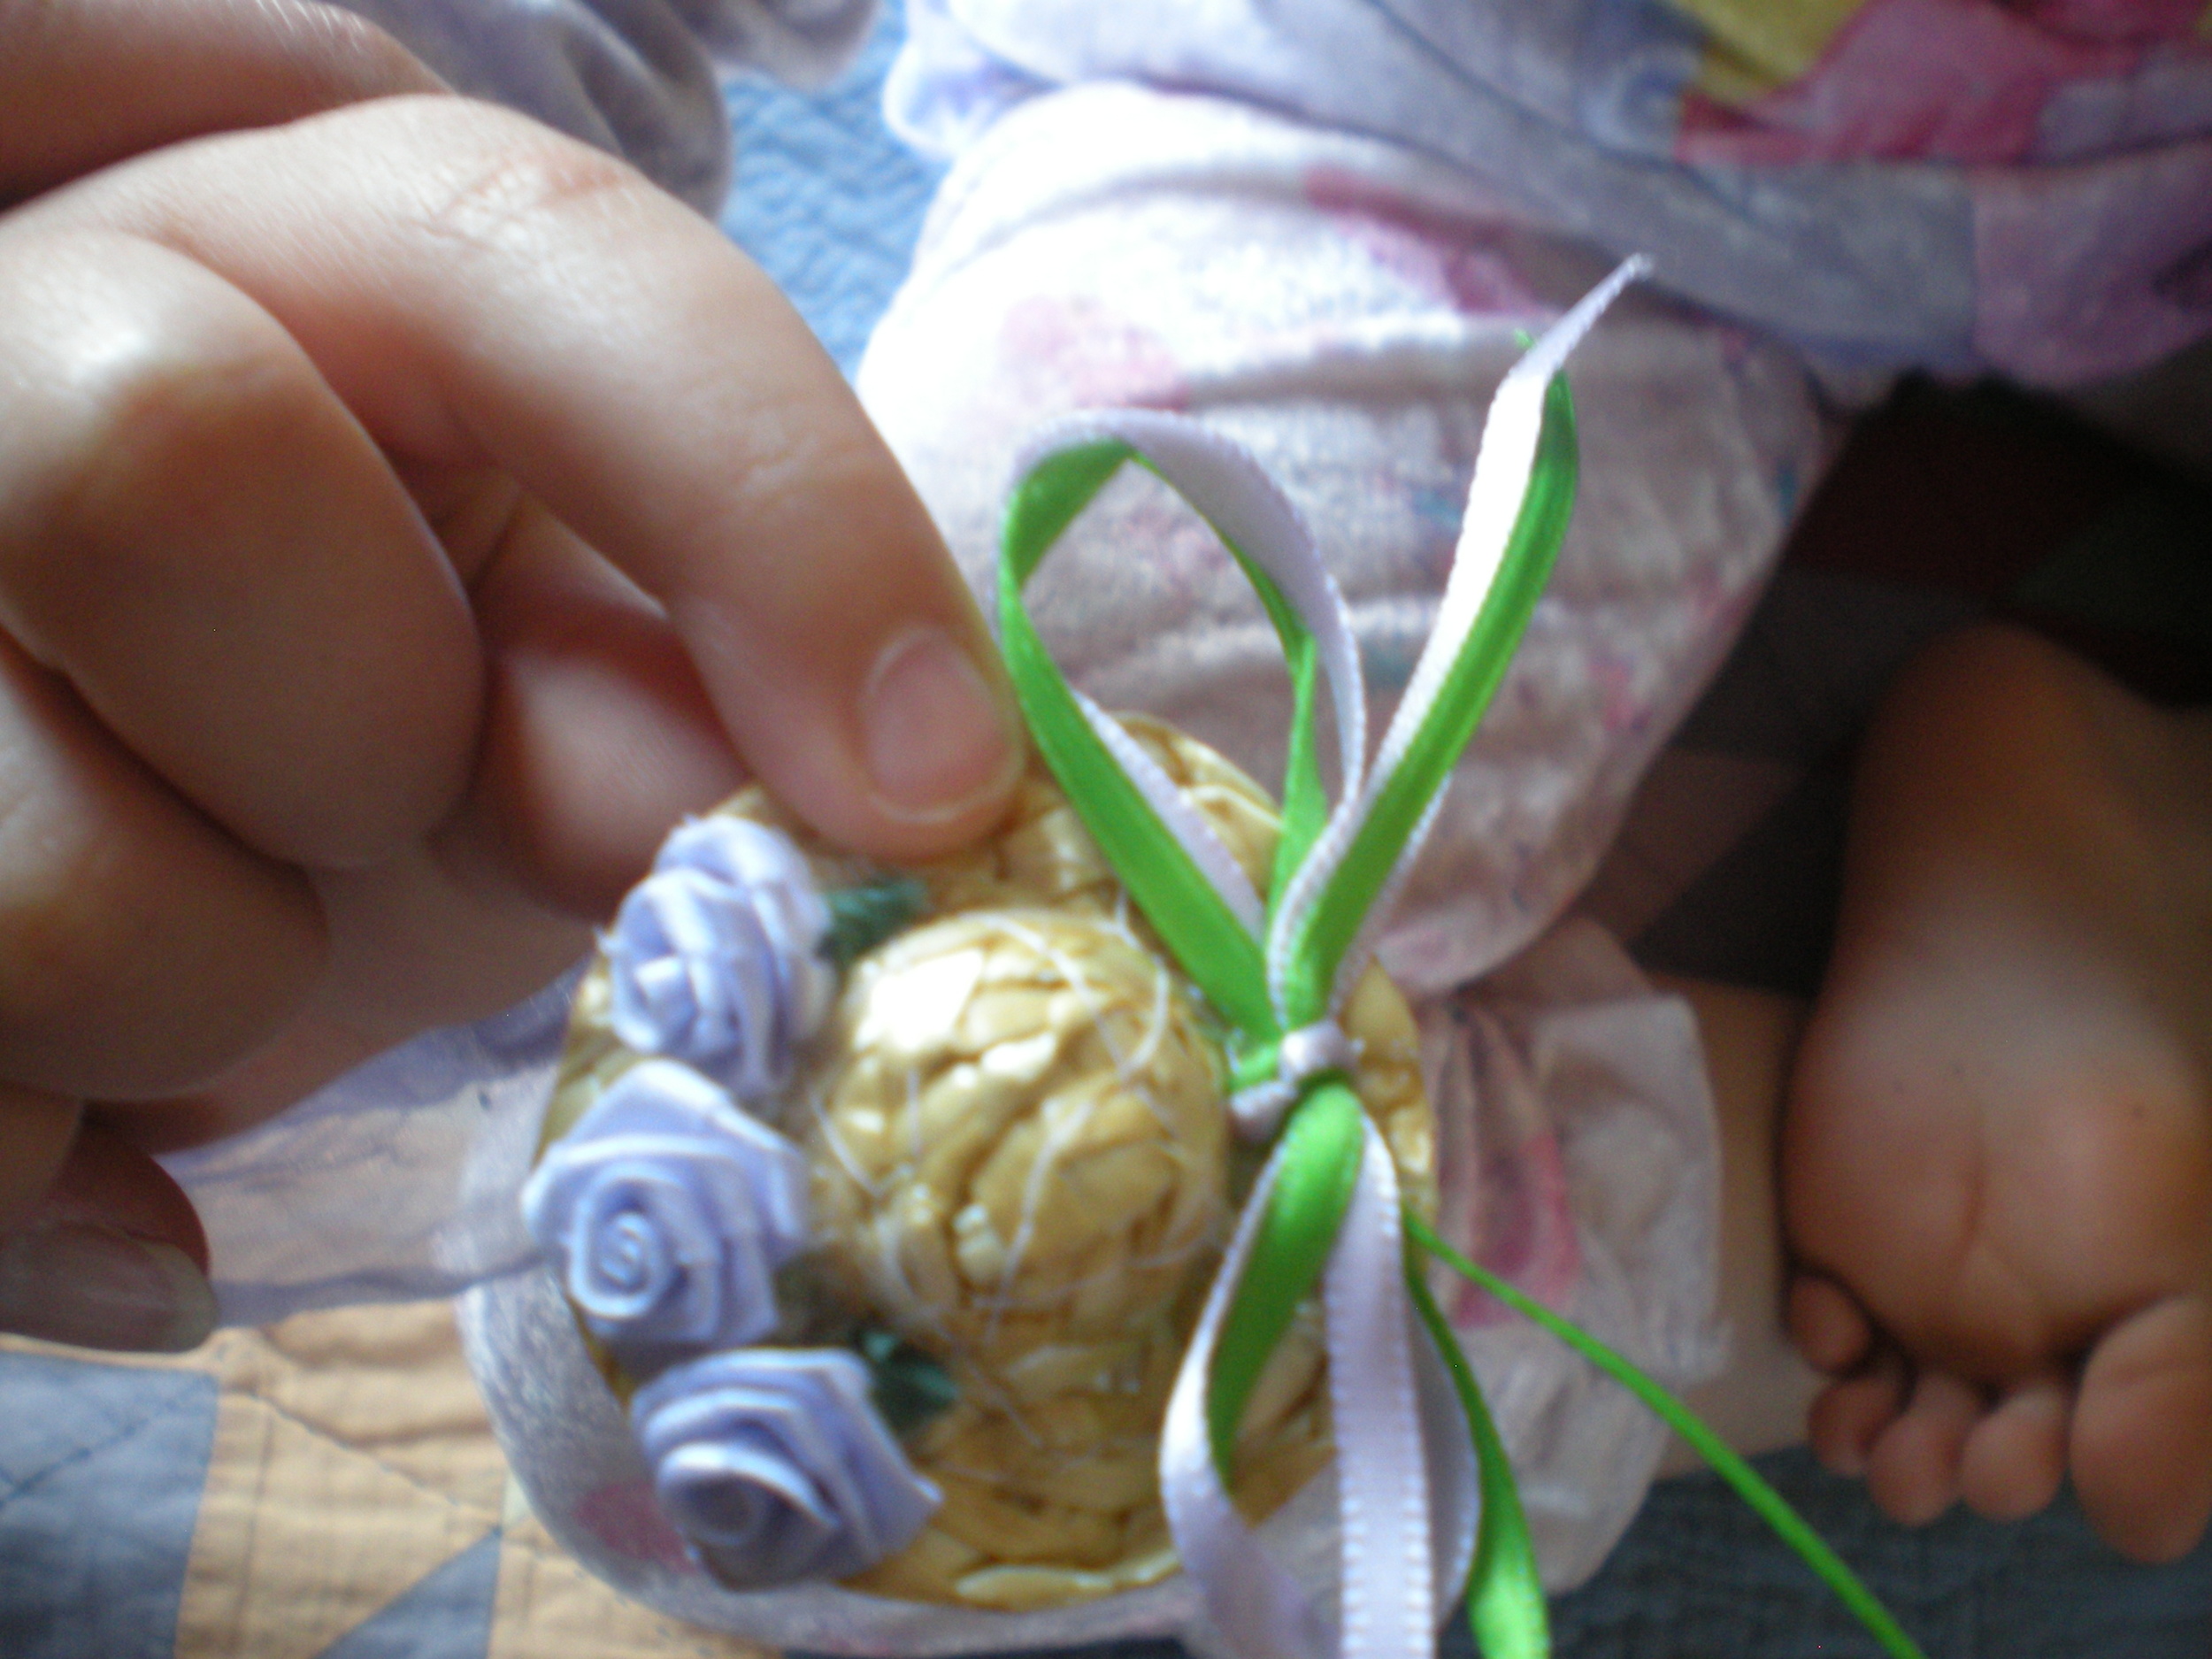
garden hat

Happy fairy
I usually secure the hair to the head by rubbing a glue stick on the back of the fairy's head and then pressing the embroidery floss into the glue. And if we make bangs I do the same at the top front of the head. This step really helps to hold everything together.
~ Arms and Wings ~

creating arms
To make the arms have the child choose another chenille stem and cut it in half. Then center this little half piece underneath the two chenille stems that extend out from the bottom of the wooden bead and wrapping right at the base of the bead, go around from front to back 1 or 2 times until the arms are the length you want them to be. You can create little hands by folding the poky sharp end of the chenille stem in on it's self 1 or 2 times.
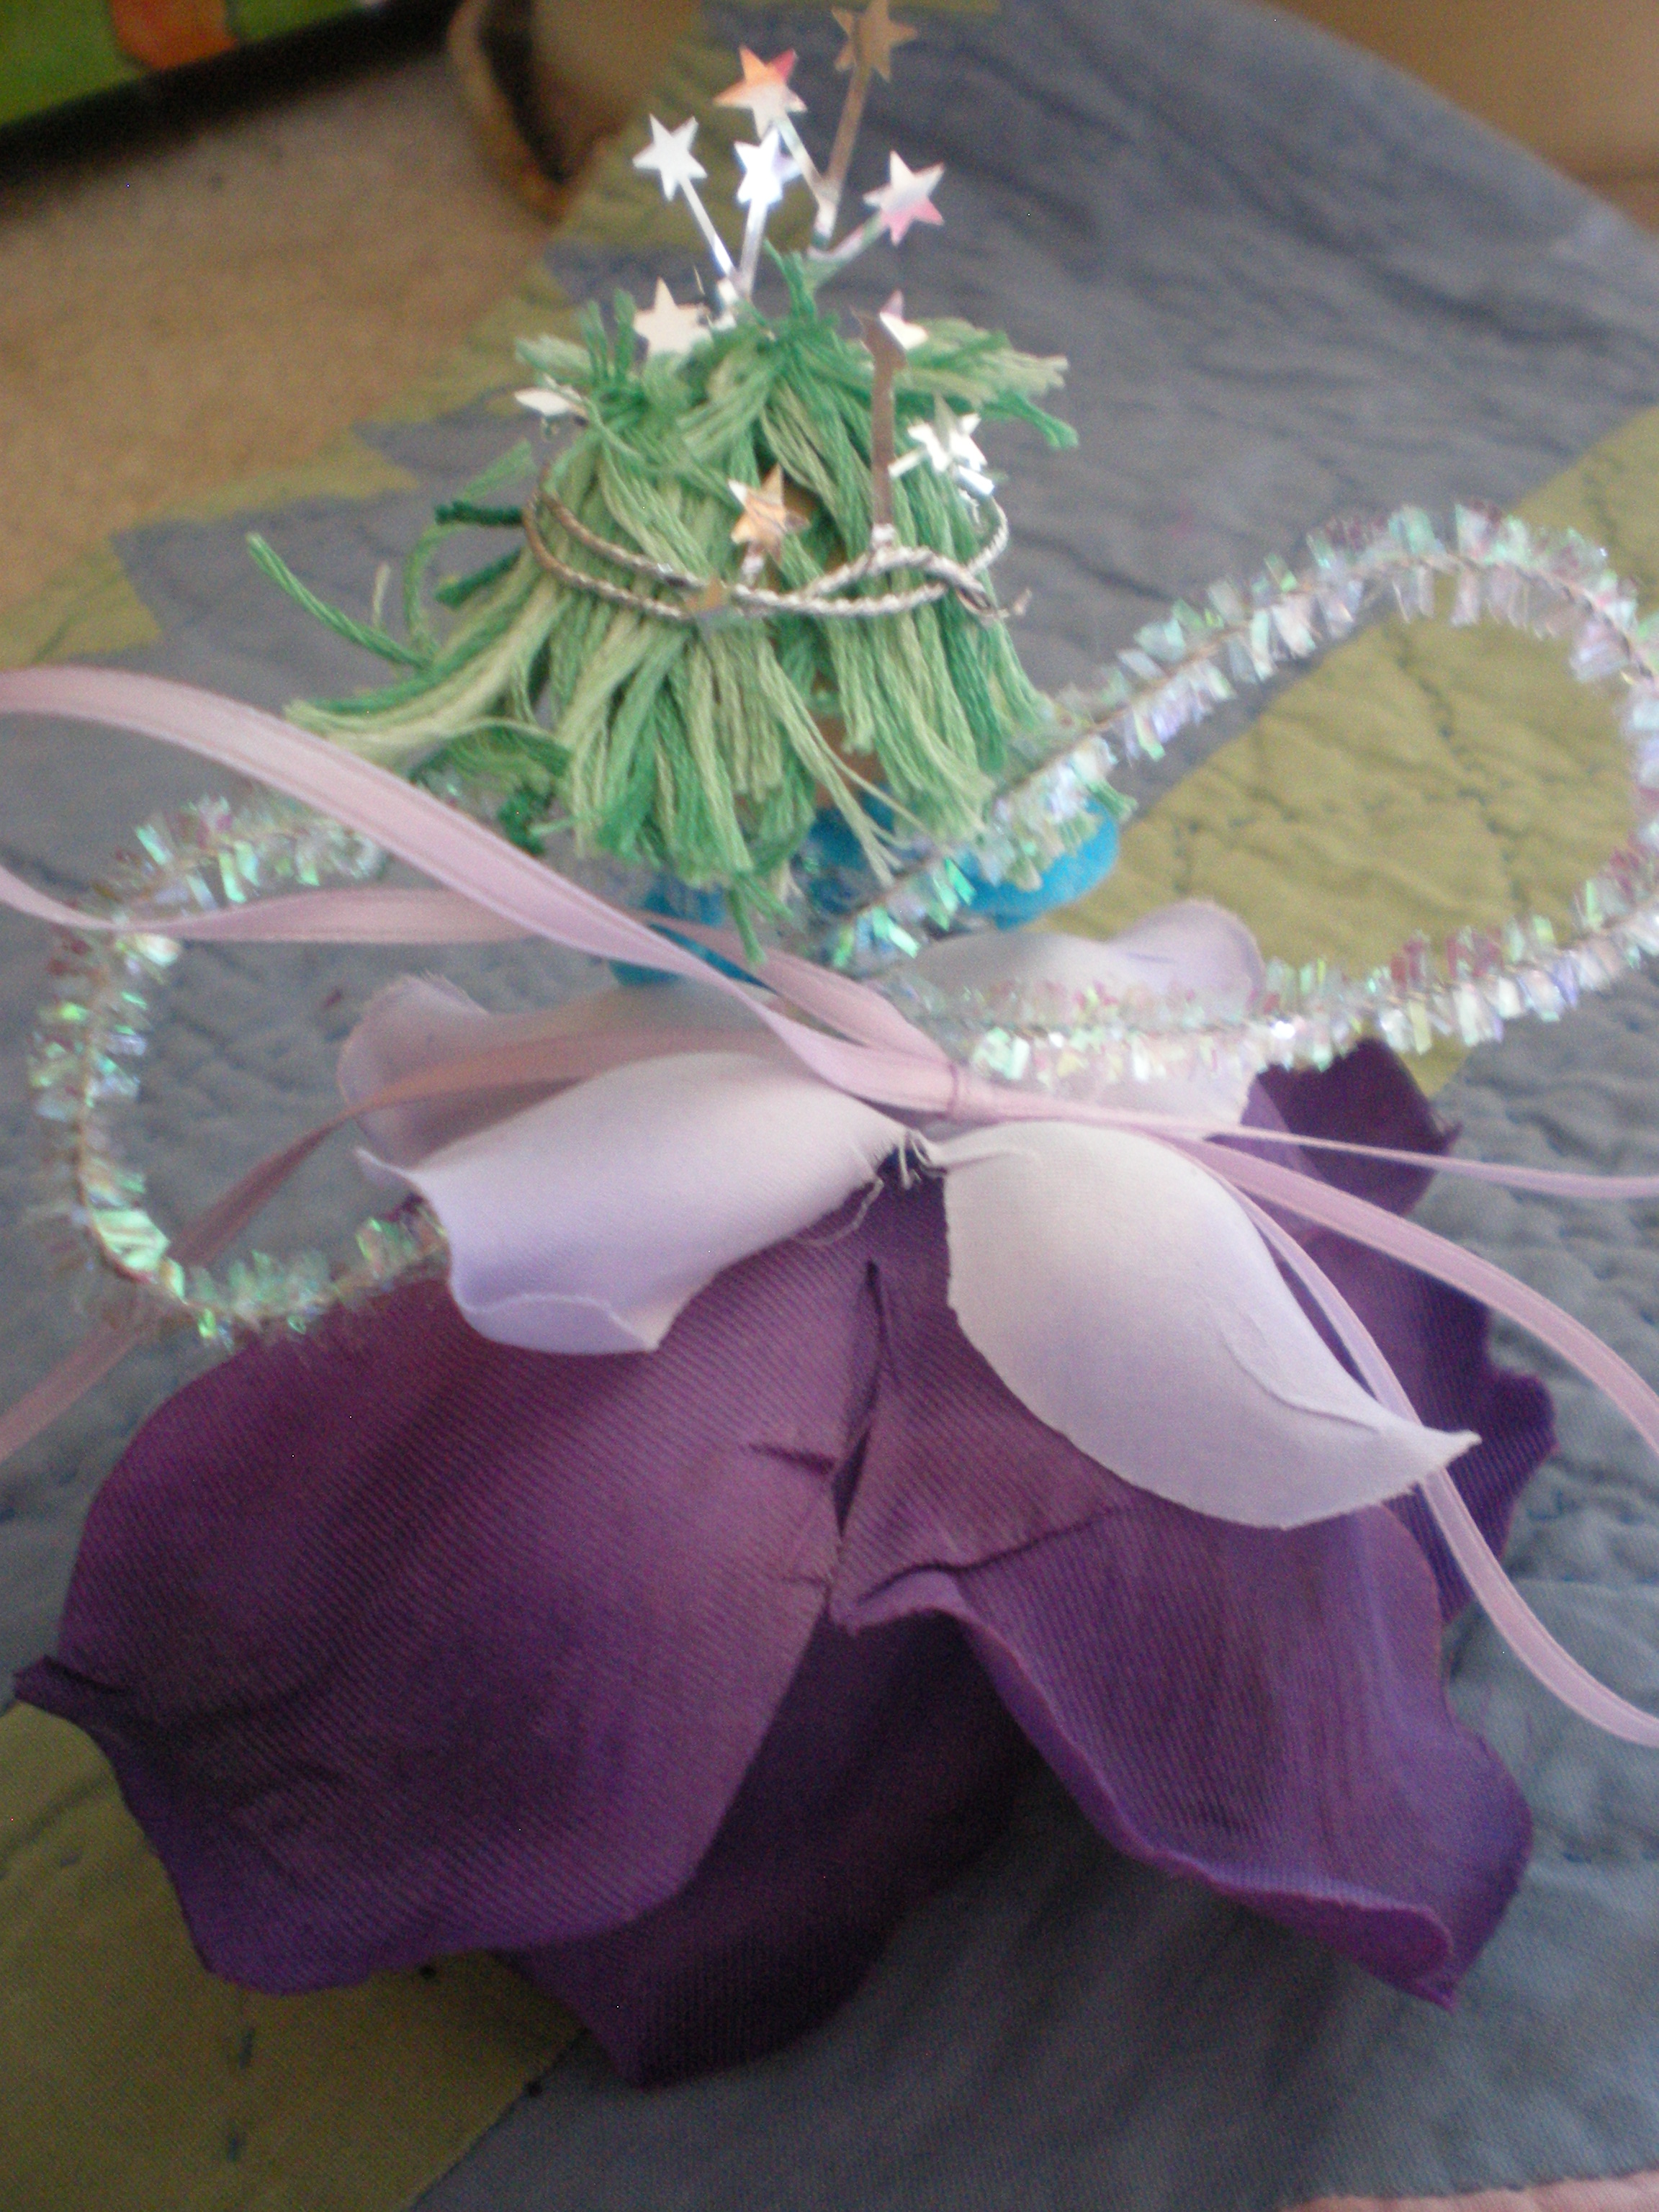
Creating the wings is very similar, using yet another chenille stem. Look for sparkly stems for sparkly fairy wings! To make the wings take the chenille stem you are using and center it on underneath the arms. Starting from the front just like you did with the arms, wrap the chenille stem around those two chenille stems (which extend from the base of the bead) and twist into a wing shape. You can also hot glue feathers to the fairy's body to create wings!

wings

wings
~ Skirt and Clothing ~
Take a silk flower and pull it apart until you have little circles of petals with a hole in the center. Then simply thread the two chenille stems that create the body through the hole.

fairy skirt

feather fairy
Now you have a skirt! You may want to twist the chenille stems under the skirt a little to hold the skirt on more tightly or even glue the flower on. You can take petals from several different flowers and layer them to create a full colorful skirt if you want. My daughter added feathers to her fairy's skirt by hot gluing the feathers to flower petals. Another variation is to take some of the leaves from the silk flowers and using a hot glue gun fold them around the legs to make pants! You can create little feet by folding the poky sharp end of the chenille stem in on it's self 1 or 2 times.
~ Now Your Fairy Is Done ~
Consider giving her or him a flower or crystal to hold, a butterfly friend to perch on a wing or a garden hoe!

fairyrain
wings from the back
Wishing You Lots Of Magic Fairy Fun!
More Fairy Fun ~
- Landscaping A Fairy Garden With Medicinal Plants
- Easy Peasy Dinosaur Fairy Garden
- Fairy Crowns And Mint Magic Cookies
- Rosebud Crowns And Hearts
- An Enchanted World ~ Snowglobes
Shared On These Wonderful Blogs: The Kid's Co-op, Eco-Kid's Tuesday, It's Playtime!, Kid's Get Crafty, Friday' Nature Table