Peppermint Bugs
/
Peppermint bugs are funny little creatures made with fresh mint.
They make great garden friends and are perfect for when a bit of herby fun is in order.
Read MoreLittle Herbalists and Healthy Families
Little Herbalists and Healthy Families

They make great garden friends and are perfect for when a bit of herby fun is in order.
Read MoreWhat kid doesn't love bugs? Butterflies, caterpillars, rollie pollies and lady bugs are some of the most treasured critters in the garden. I even know a child who has a deep love and respect for spiders. Of course not every child loves bugs yet many do and lady bugs are among the most enchanting of bugs and are very approachable for most kids.
Read MoreWhat do you get when you mix an acid with a base?
A party!
"It is like the acid and the base like each other so much
that they make the best of bubbly friends."
This is one way that I explain the fun, interesting chemical reaction of acid/base mixing to little kids. I also make sure we talk a bit about the ph scale; where an acid and a base are on that scale; and how when mixed together, they meet in the middle becoming neutralized.
Read MoreMany happy days were spent stalking bugs when I was a little child. I had an array of bug catchers and I knew where all the good places were to find a new pal. My often caught favorites were roly polies. I also sought after treasured lady bugs, butterflies and caterpillars which were hard to come by and when I would find one, I would be enchanted with my imagination completely sparked. So, can you guess what one of my favorite things to do with kids? Play with bugs of course! Many, many summer days have found my girls and I "hunting bugs" and going on "roly poly" walks with bug catchers in hand.
Read MoreThese make the perfect little friend for playing with in the garden!
Over the years I have crafted many wee fairy friends with my daughters, my daughters' friends and my little friends at preschool. Each fairy is as unique as the child who made it, right down to their hand-drawn faces.
Read More
Precious little hands stay tiny for such a short while. I am so in love with making a keepsake of this very special time, of those amazingly beautiful little fingers and palms.
Pink rose petals in this dough are to symbolize love and motherhood, plus they give the dough a very delicate fragrance.

pink rose petals
I did this simple little project both at home with my girls and at the preschool, making two different versions. At home we made a big plaque with both my big girls hands pressed into the dough, their thumbs overlapping. The kids at the preschool cut out hearts from the rosy salt dough and pressed their fingers into the dough. Both versions are totally cute and precious!
This makes enough dough for 15 hearts about 2" by 3" and one 8" by 6" plaque. You can cut the recipe it in half if you want!

dough all pressed out

imprinting

fingers
You could also paint these with modge podge to preserve them. Or you could let the kiddos paint them to add a nice little personal touch. Because we used the roses we aren't going to paint ours so we can see and smell the roses!
A little poem to go with this sweet gift would be a lovely addition. I found all a wonderful collection of poems on Can Teach. Most of them make me tear up thinking about my own little ones growing up so very fast!

More Ideas for Mother's Day Gifts ~
Some Sweet Foot Lovin' For Mother's Day
When I was researching this project I found a lot of wonderful salt dough recipes to choose from. Here are two that I used the most for inspiration:
Create, Craft, Love and eHow Mom
Shared On: Eco-Kid's Tuesday, Kid's Get Crafty, Friday's Nature Table, Kid's Activity Blog, The Weekly Kid's Co-op
Chamomile is a super friendly herb for kids. Chamomile is gentle while being powerful at the same time for helping kids with tummy upset especially when related to nervousness, general nervous tension, headaches and colds.
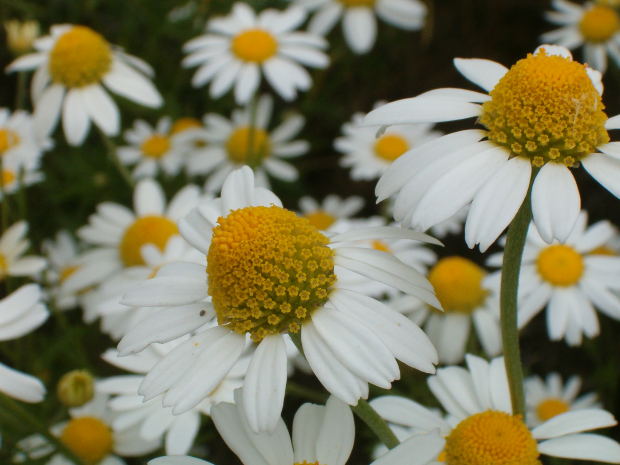
We started our day at preschool with a tea tasting which is a great way to introduce kids to a new plant. Most children love the apple like taste of the tea made from happy sunshiny little flowers. The kids at the school really enjoyed the tea and it seemed to help calm them down a bit... we were having another late Spring snow storm and the kids were all kinda crazy with the sudden change in the weather.
To make your own tea simple steep up to 1 tablespoon of flowers per cup in hot water for 2 to 5 minutes max. If you steep for any longer than that chamomile tea becomes very bitter. Of course children are very sensitive to any bitter taste. You can add a bit of honey or agave to taste if you wish.
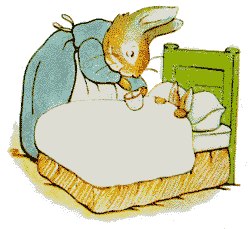
After indulging in our tea we sat down for a cozy reading of this classic tale by Beatrix Potter. The kids were still a bit antsy and yet were really involved with the book. Many of them having read Peter Rabbit before, knew what was to come on each and every page. Except when we got to this little bit on the last page where they noticed one little detail which was overlooked before ~
“Peter was not very well during the evening. His mother put him to bed, and made some chamomile tea: "One table-spoonful to be taken at bedtime.” ― Beatrix Potter, The Tale of Peter Rabbit
Smiles and giggles came when the kids heard that Peter had chamomile tea, just like they did! We talked about how scared and tired and sick Peter must have felt after has intense adventure in Mr. McGregor's garden. It was a perfect little example from a familiar story about using herbs.
I bet you are wondering what about chamomile potatoes, and so we come to the part of our day when we made these together...
These are not something yummy to eat, though I think creating some kind of recipe with these two ingredients might be interesting. Nope, chamomile potatoes are for growing! Potatoes make great little pots for sprouting plants, just like sprouting plants inside egg shells.
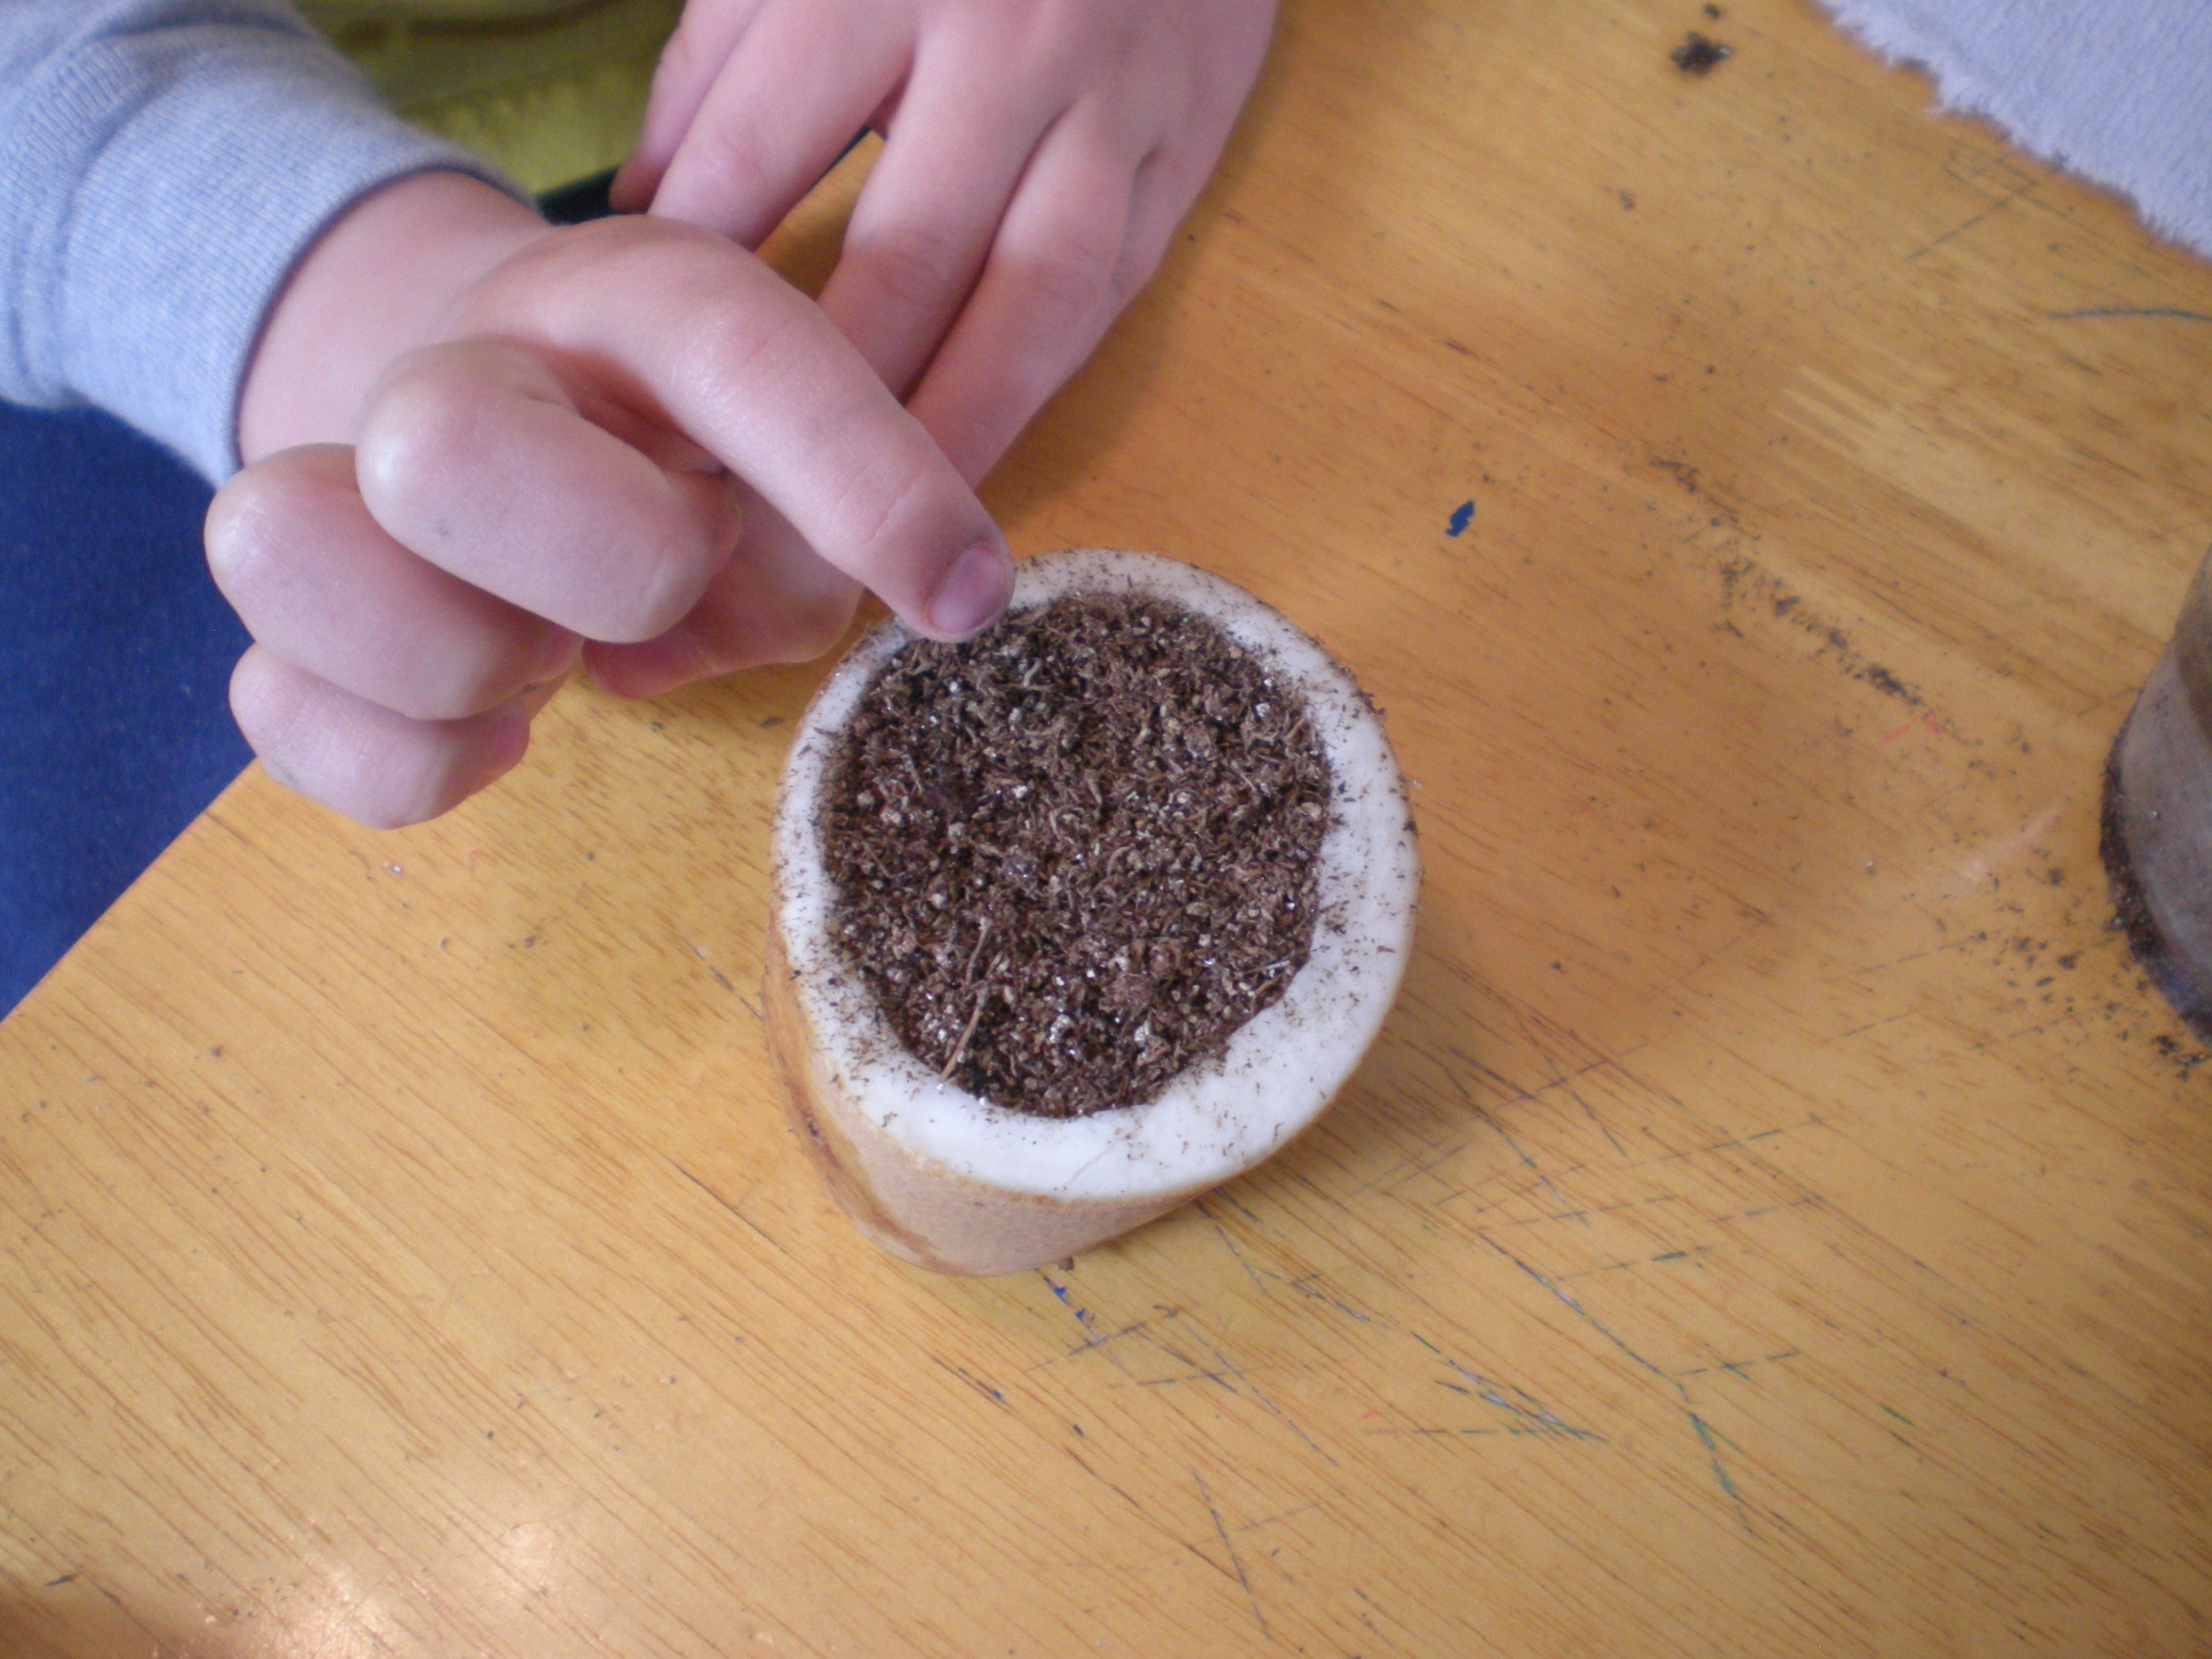
When the seeds have sprouted and are ready to be planted outside you can simply plant the whole potato in the ground. In the past we have given created Potato Heads by using markers and googly eyes to create faces. Then we planted grass inside the potatoes which grew into hair! It is lots of fun to for kids to cut their Potato Head's hair with scissors. Today we simply planted chamomile seeds into our potatoes, gave them a little drink and are eagerly waiting for them to sprout!
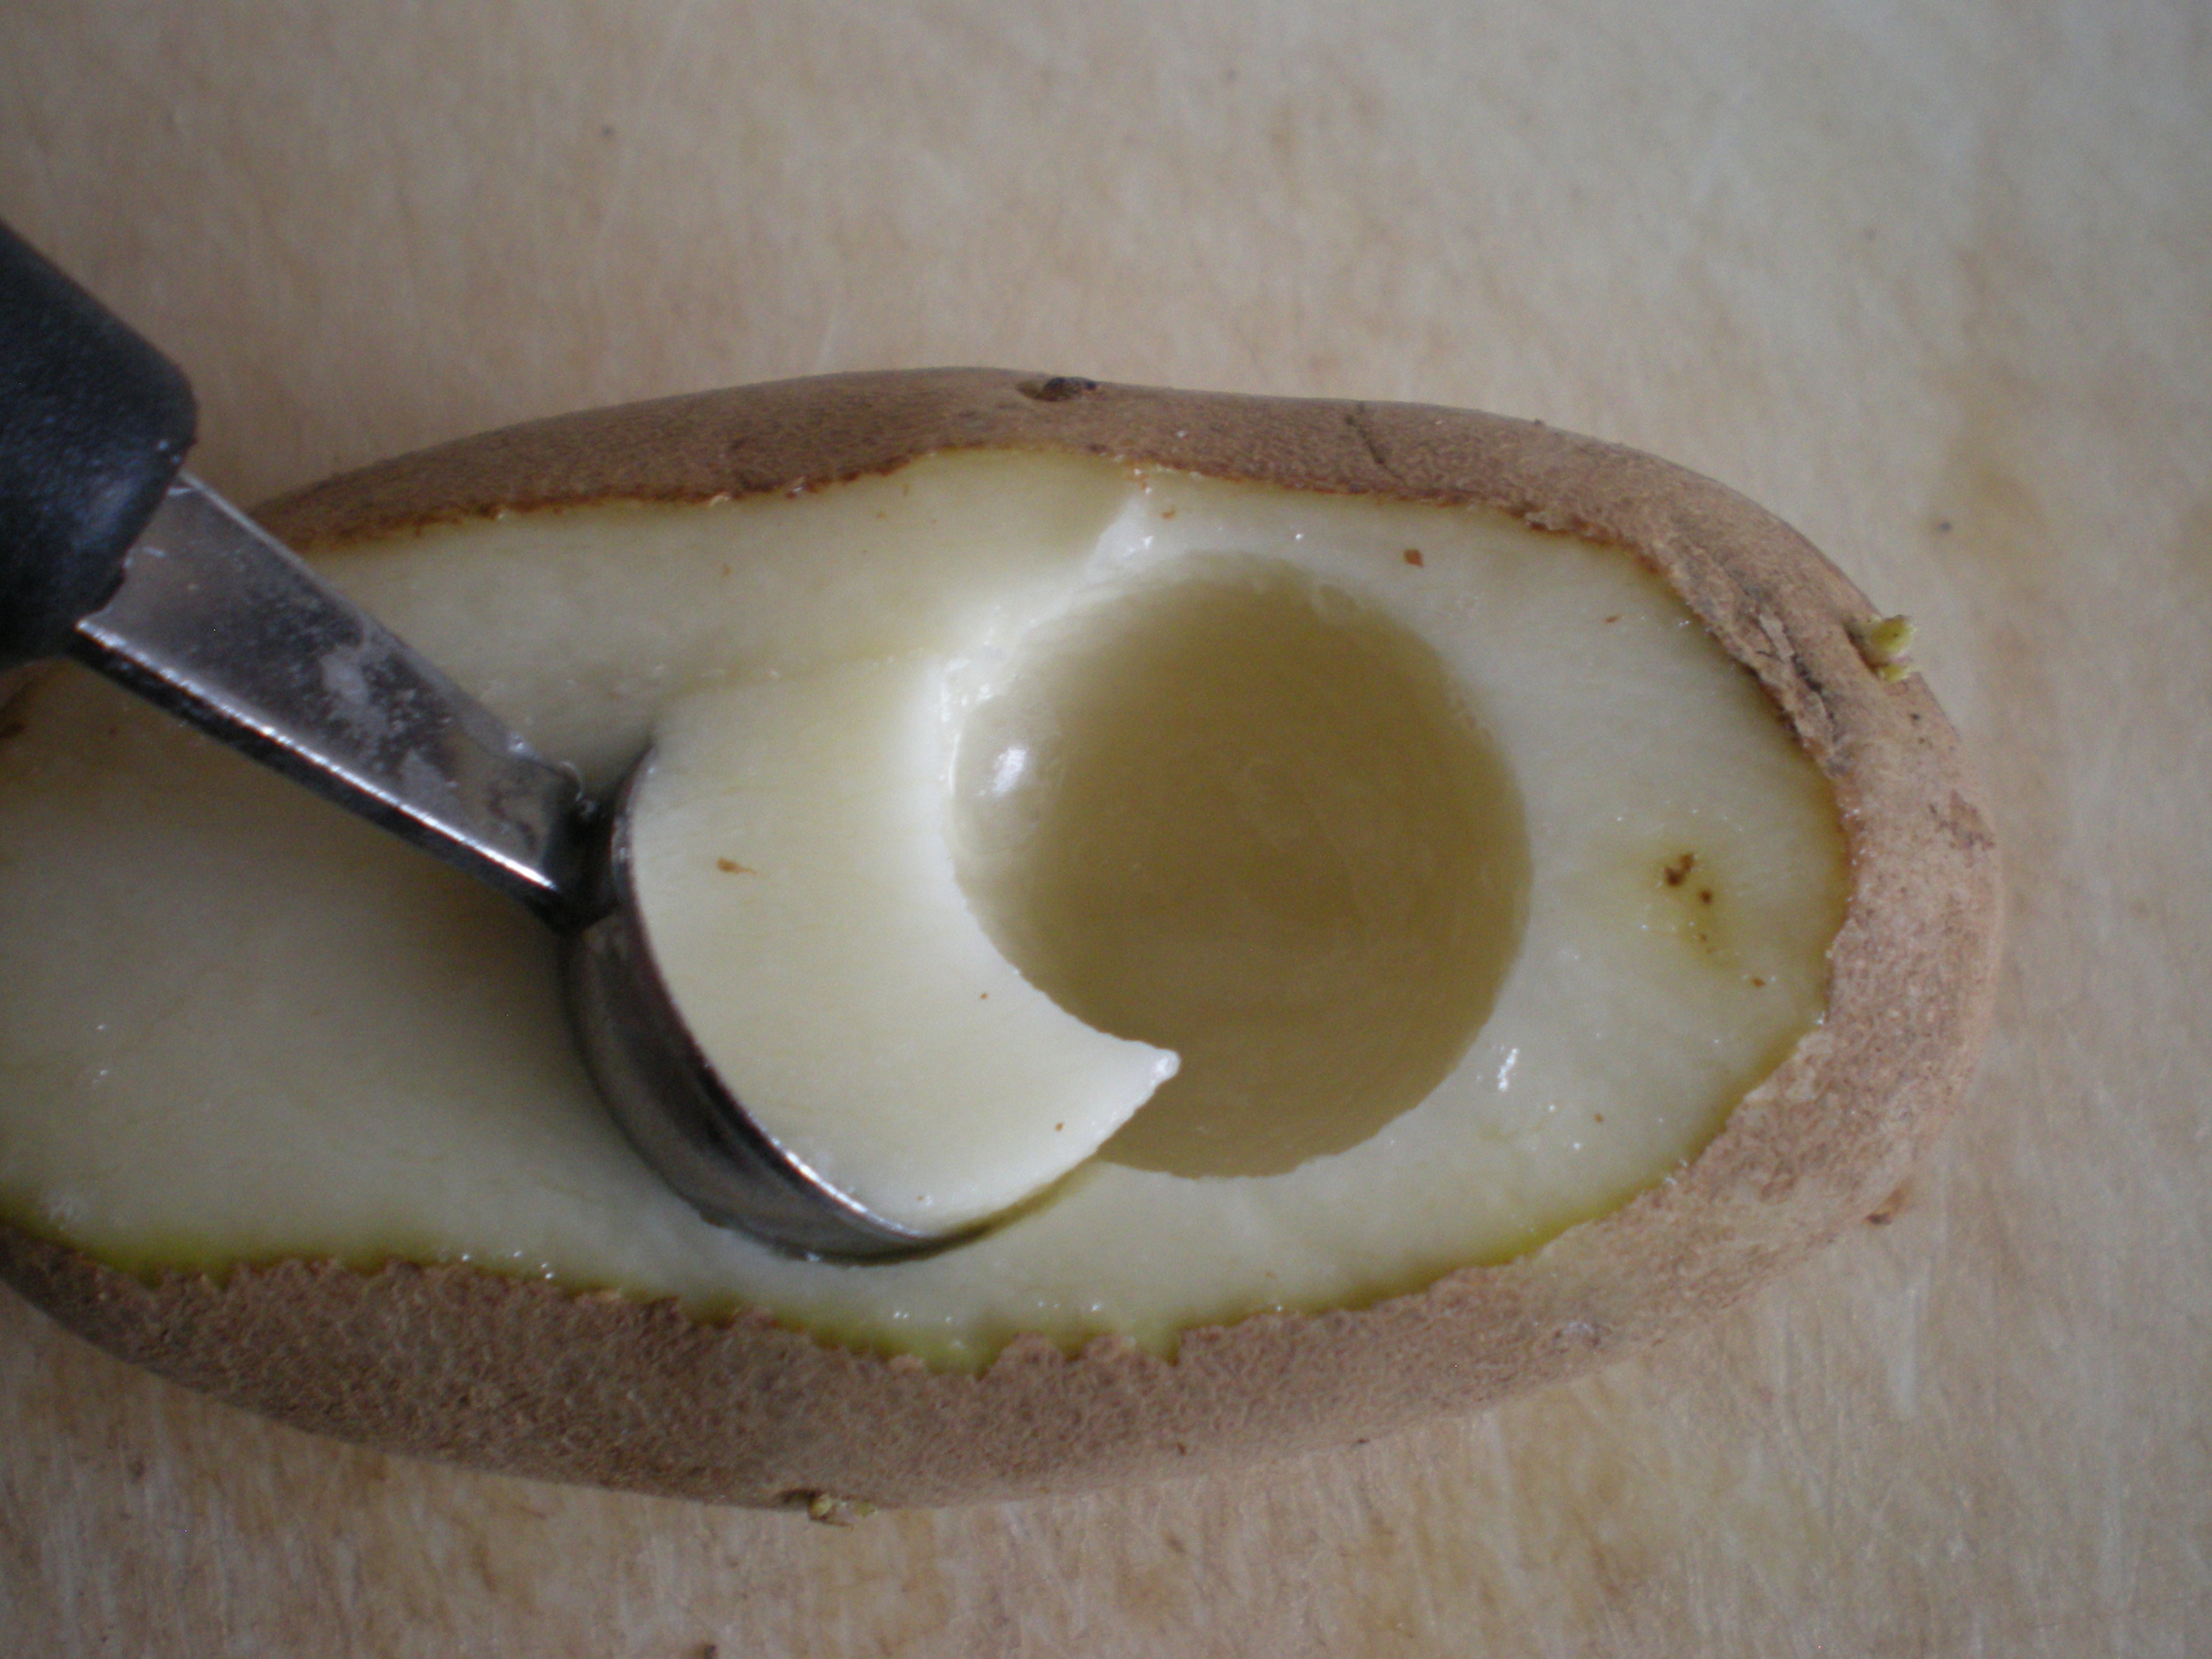
If prepping the potatoes ahead of time you will need:
Prep the potatoes by cutting the a thin slice off of the top of the potato or the side if the potato is long and skinny. Then using the melon baller remove the center of the potato to make a place for the dirt to go. Test to see if the potato will stand straight by setting it down on a flat surface. If it wobbles or rolls around cut a flat surface on the bottom of the potato so it will stand sturdy and straight. I did this the day before class and I wanted to keep the potatoes fresh. So, I place the potatoes in a big bowl filled with water and a generous sprinkle of citric acid. The potatoes came through the night beautifully!
Have the children fill their potato with dirt and then gently press the tiny chamomile seeds into the top. Help the children give their chamomile potato a small amount of water to help the seeds sprout.
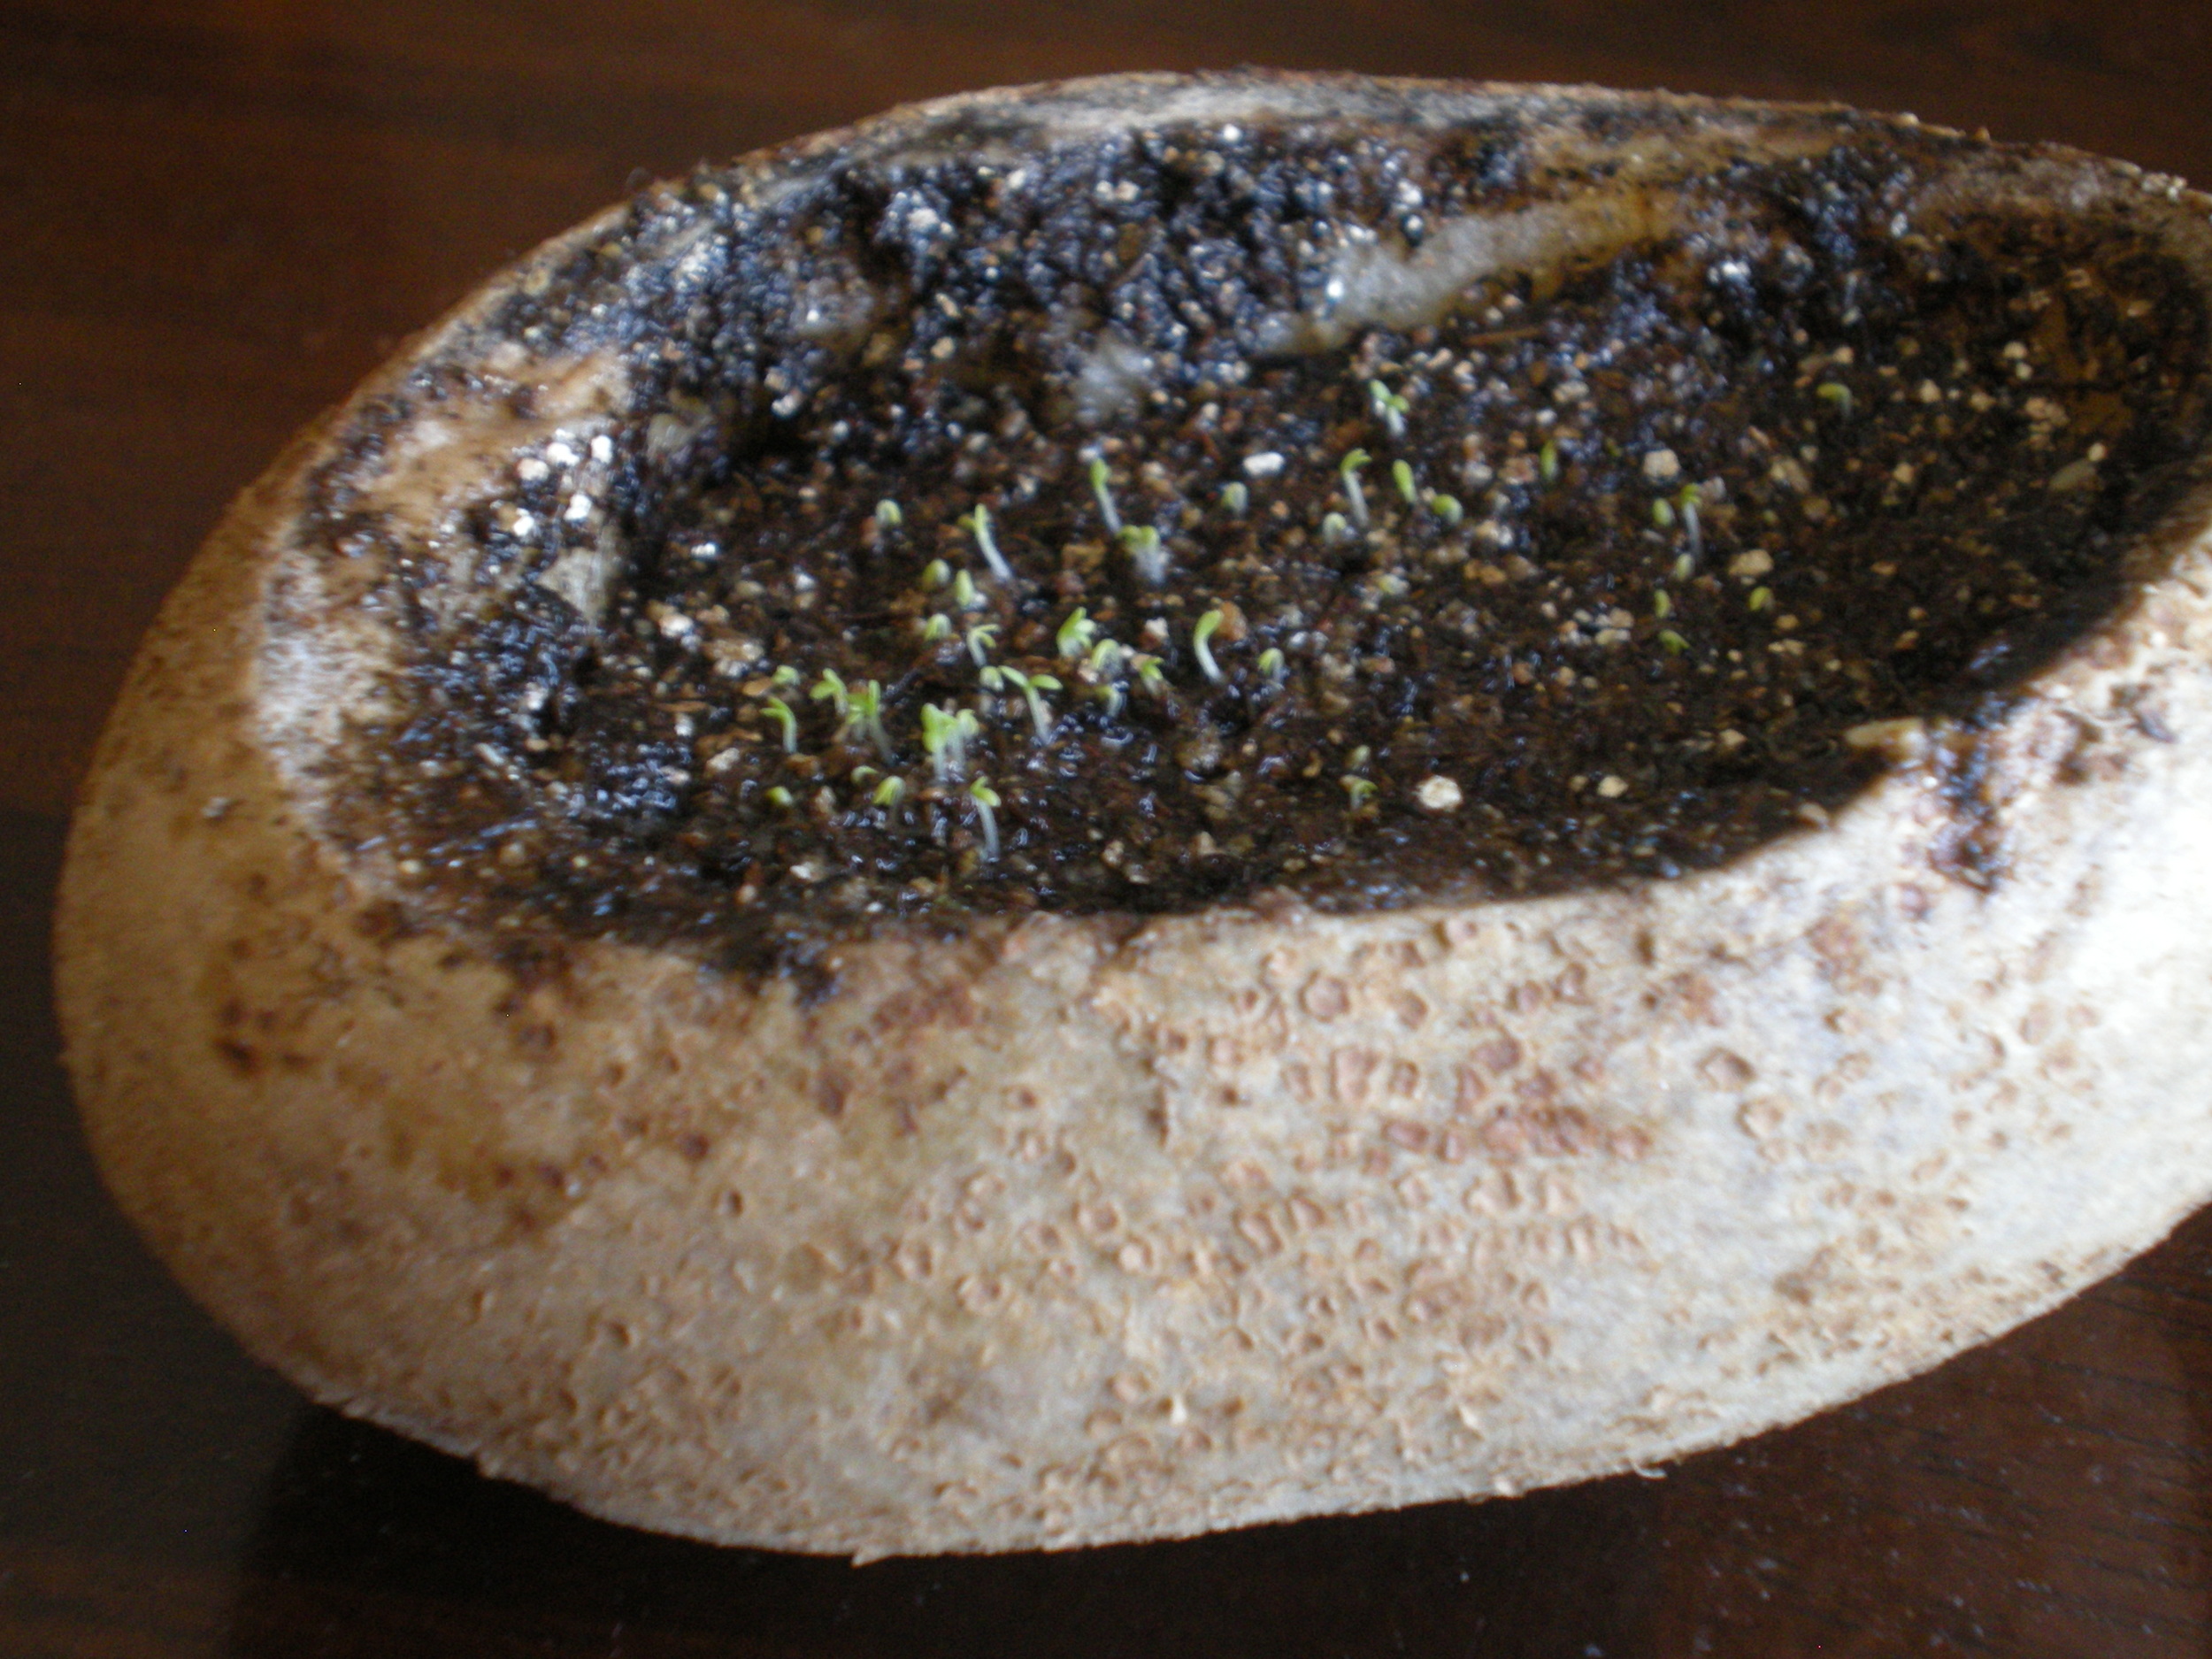
Keep the soil moist and place the potato in a sunny spot. You should have tiny sprouts within about three days, almost instant gratification! When my girls saw these wee little sprouts they instantly exclaimed, "Aw, how cute!"
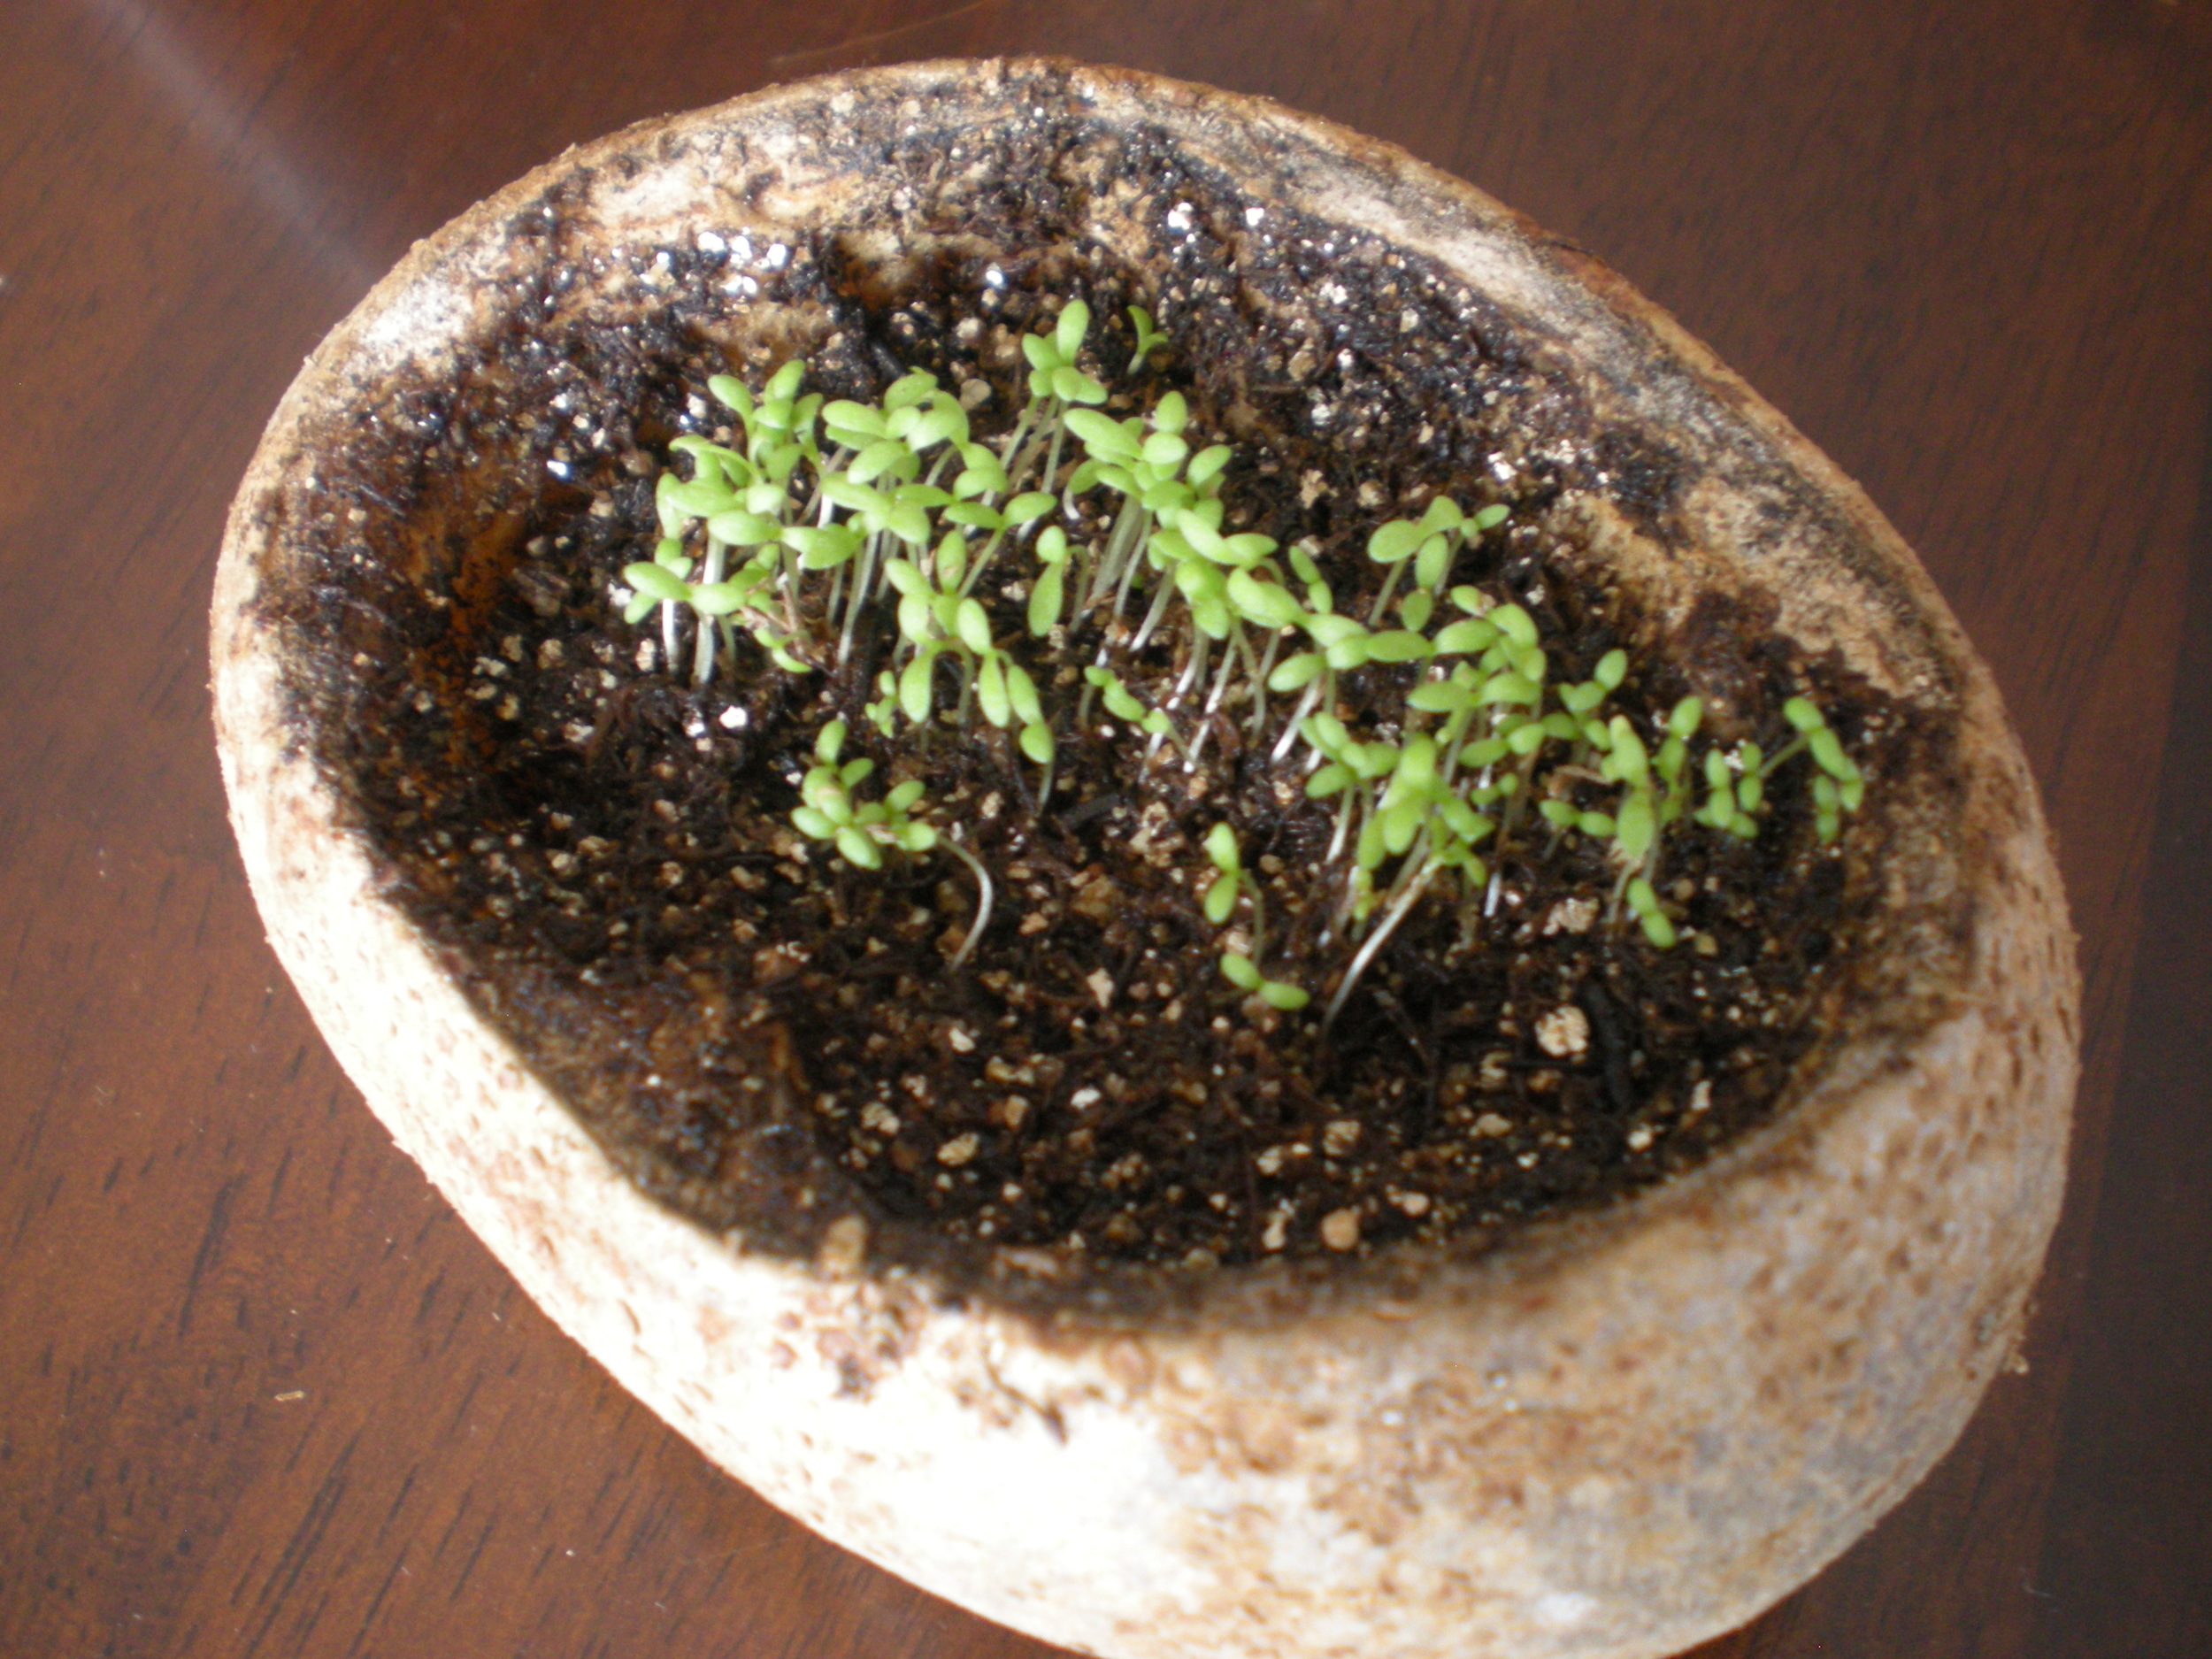
Within one week the sprouts are much bigger and follow the sun during the day, turning their leaves to soak up nourishing sunlight.
Shared On: It's Playtime!, Eco-Kid's Tuesday, The Kid's Co-Op, Kid's Get Crafty, Friday's Nature Table
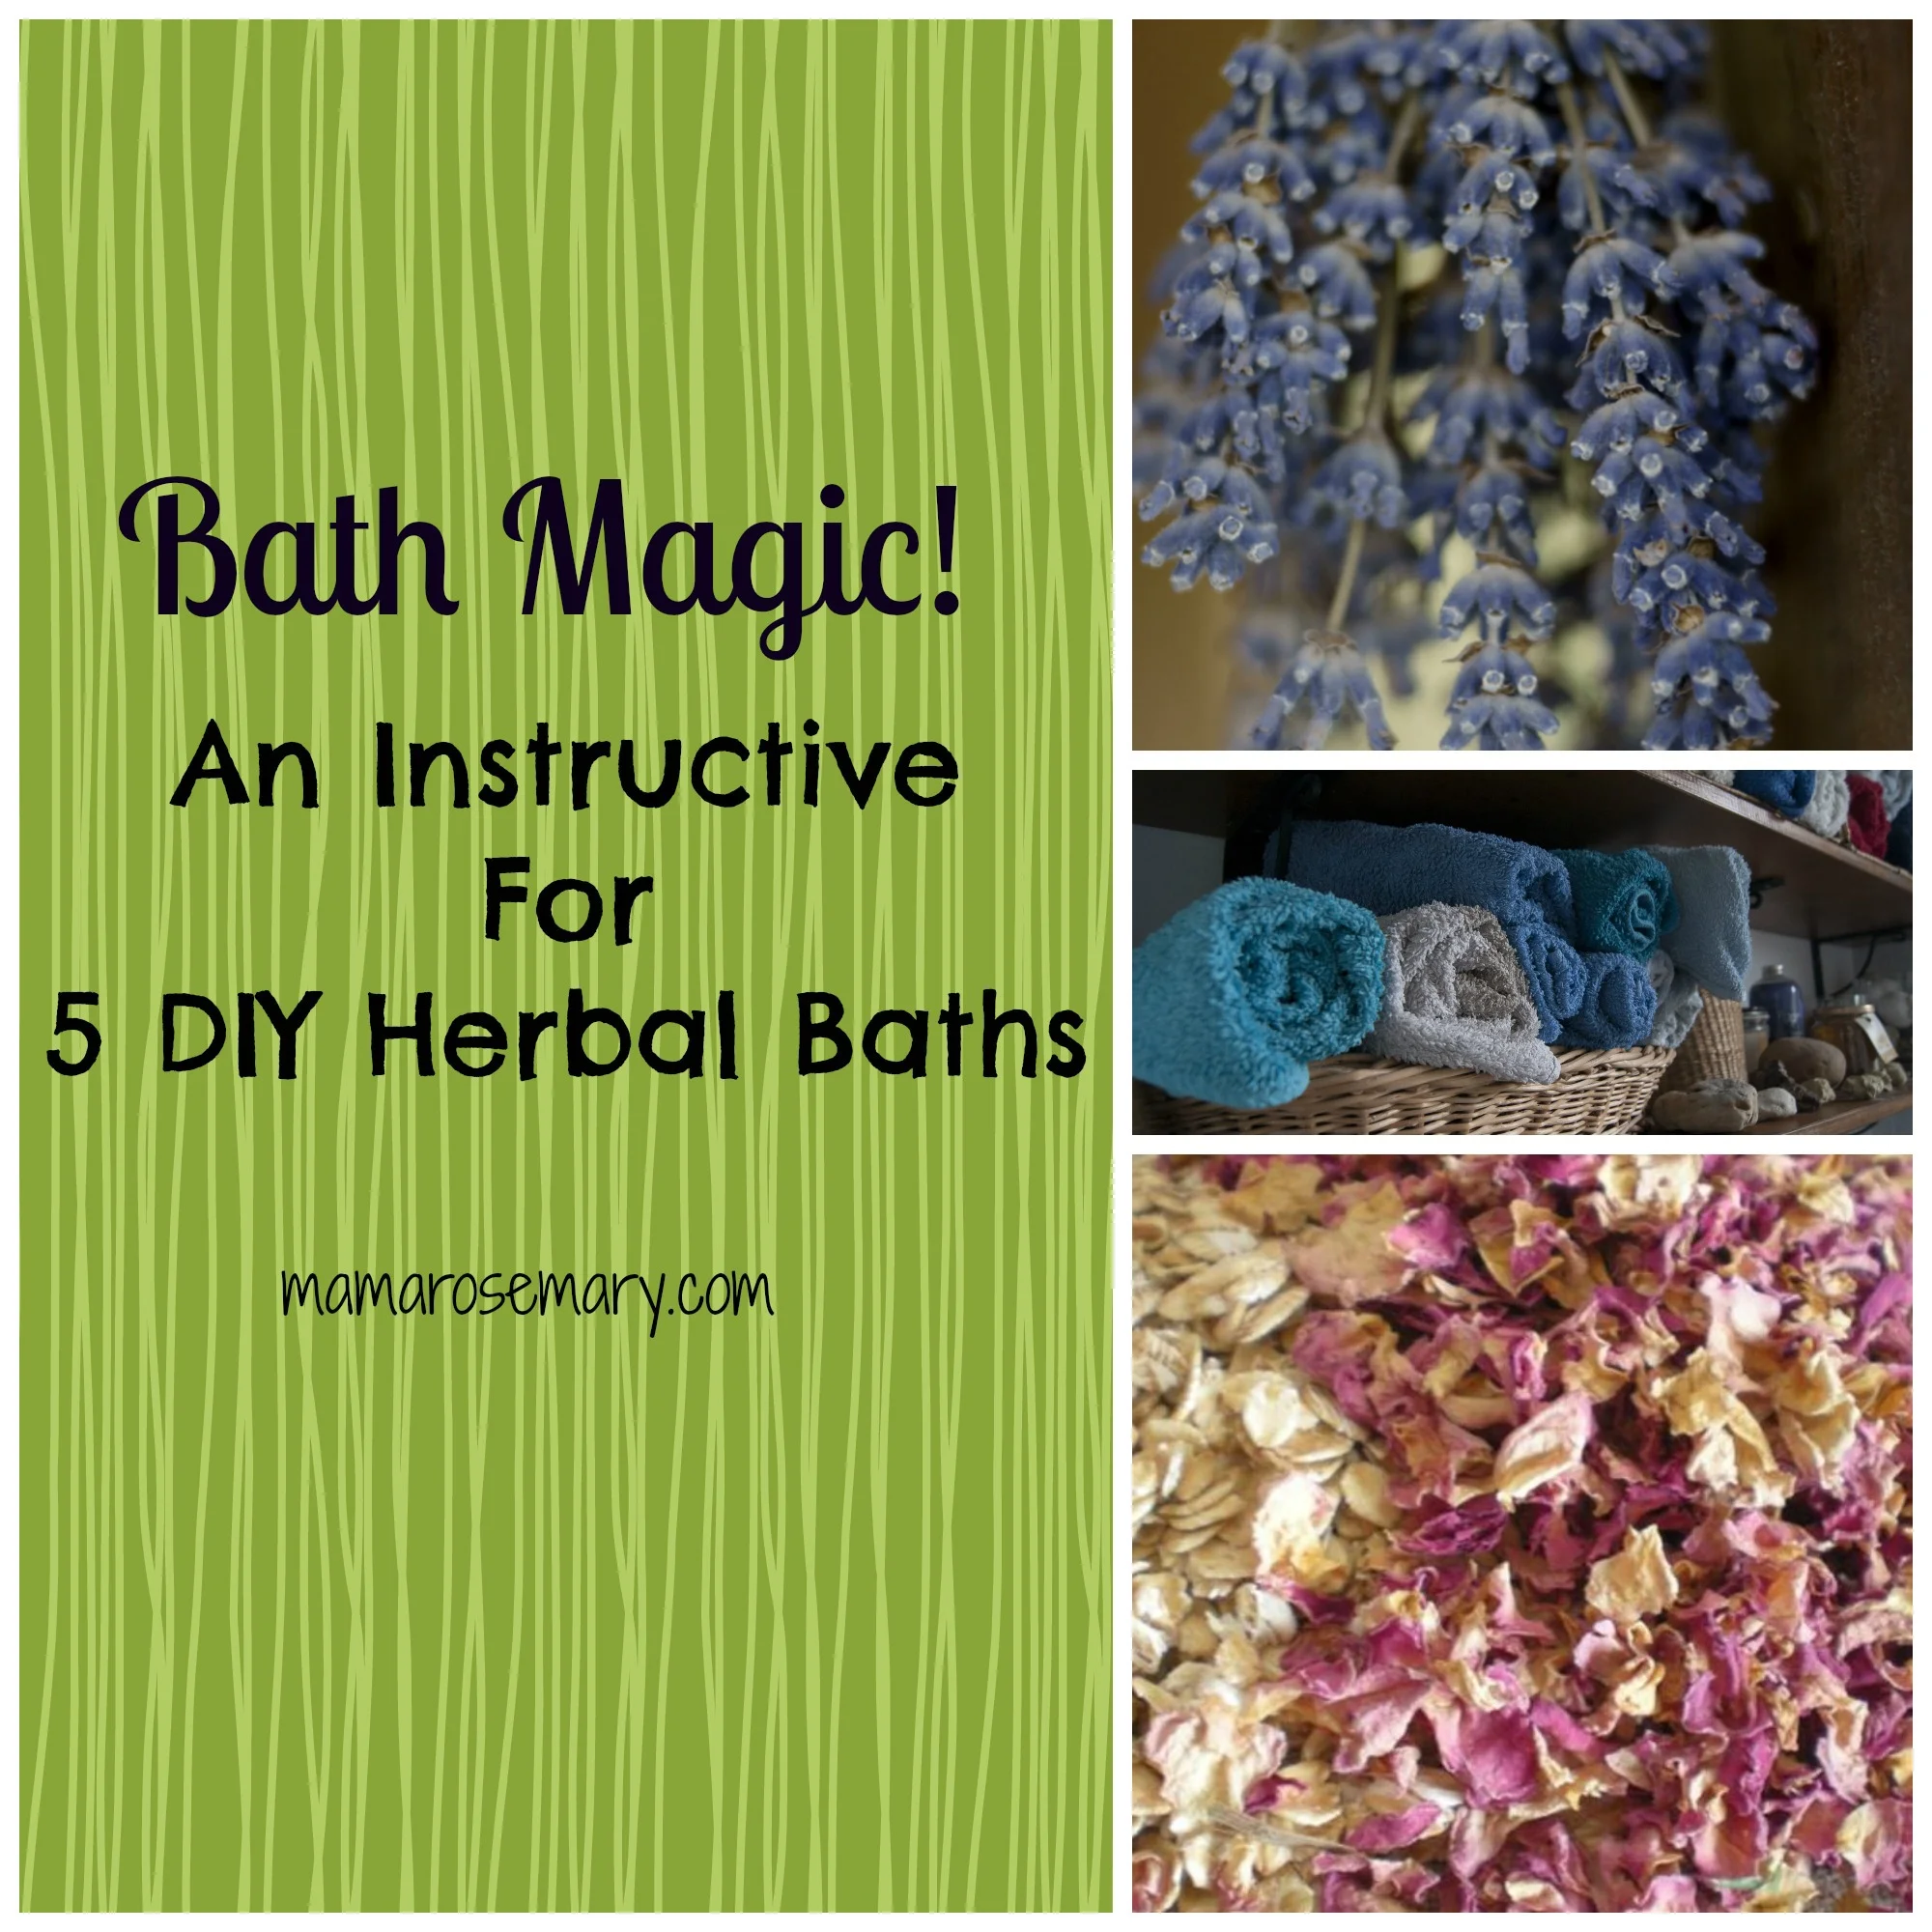
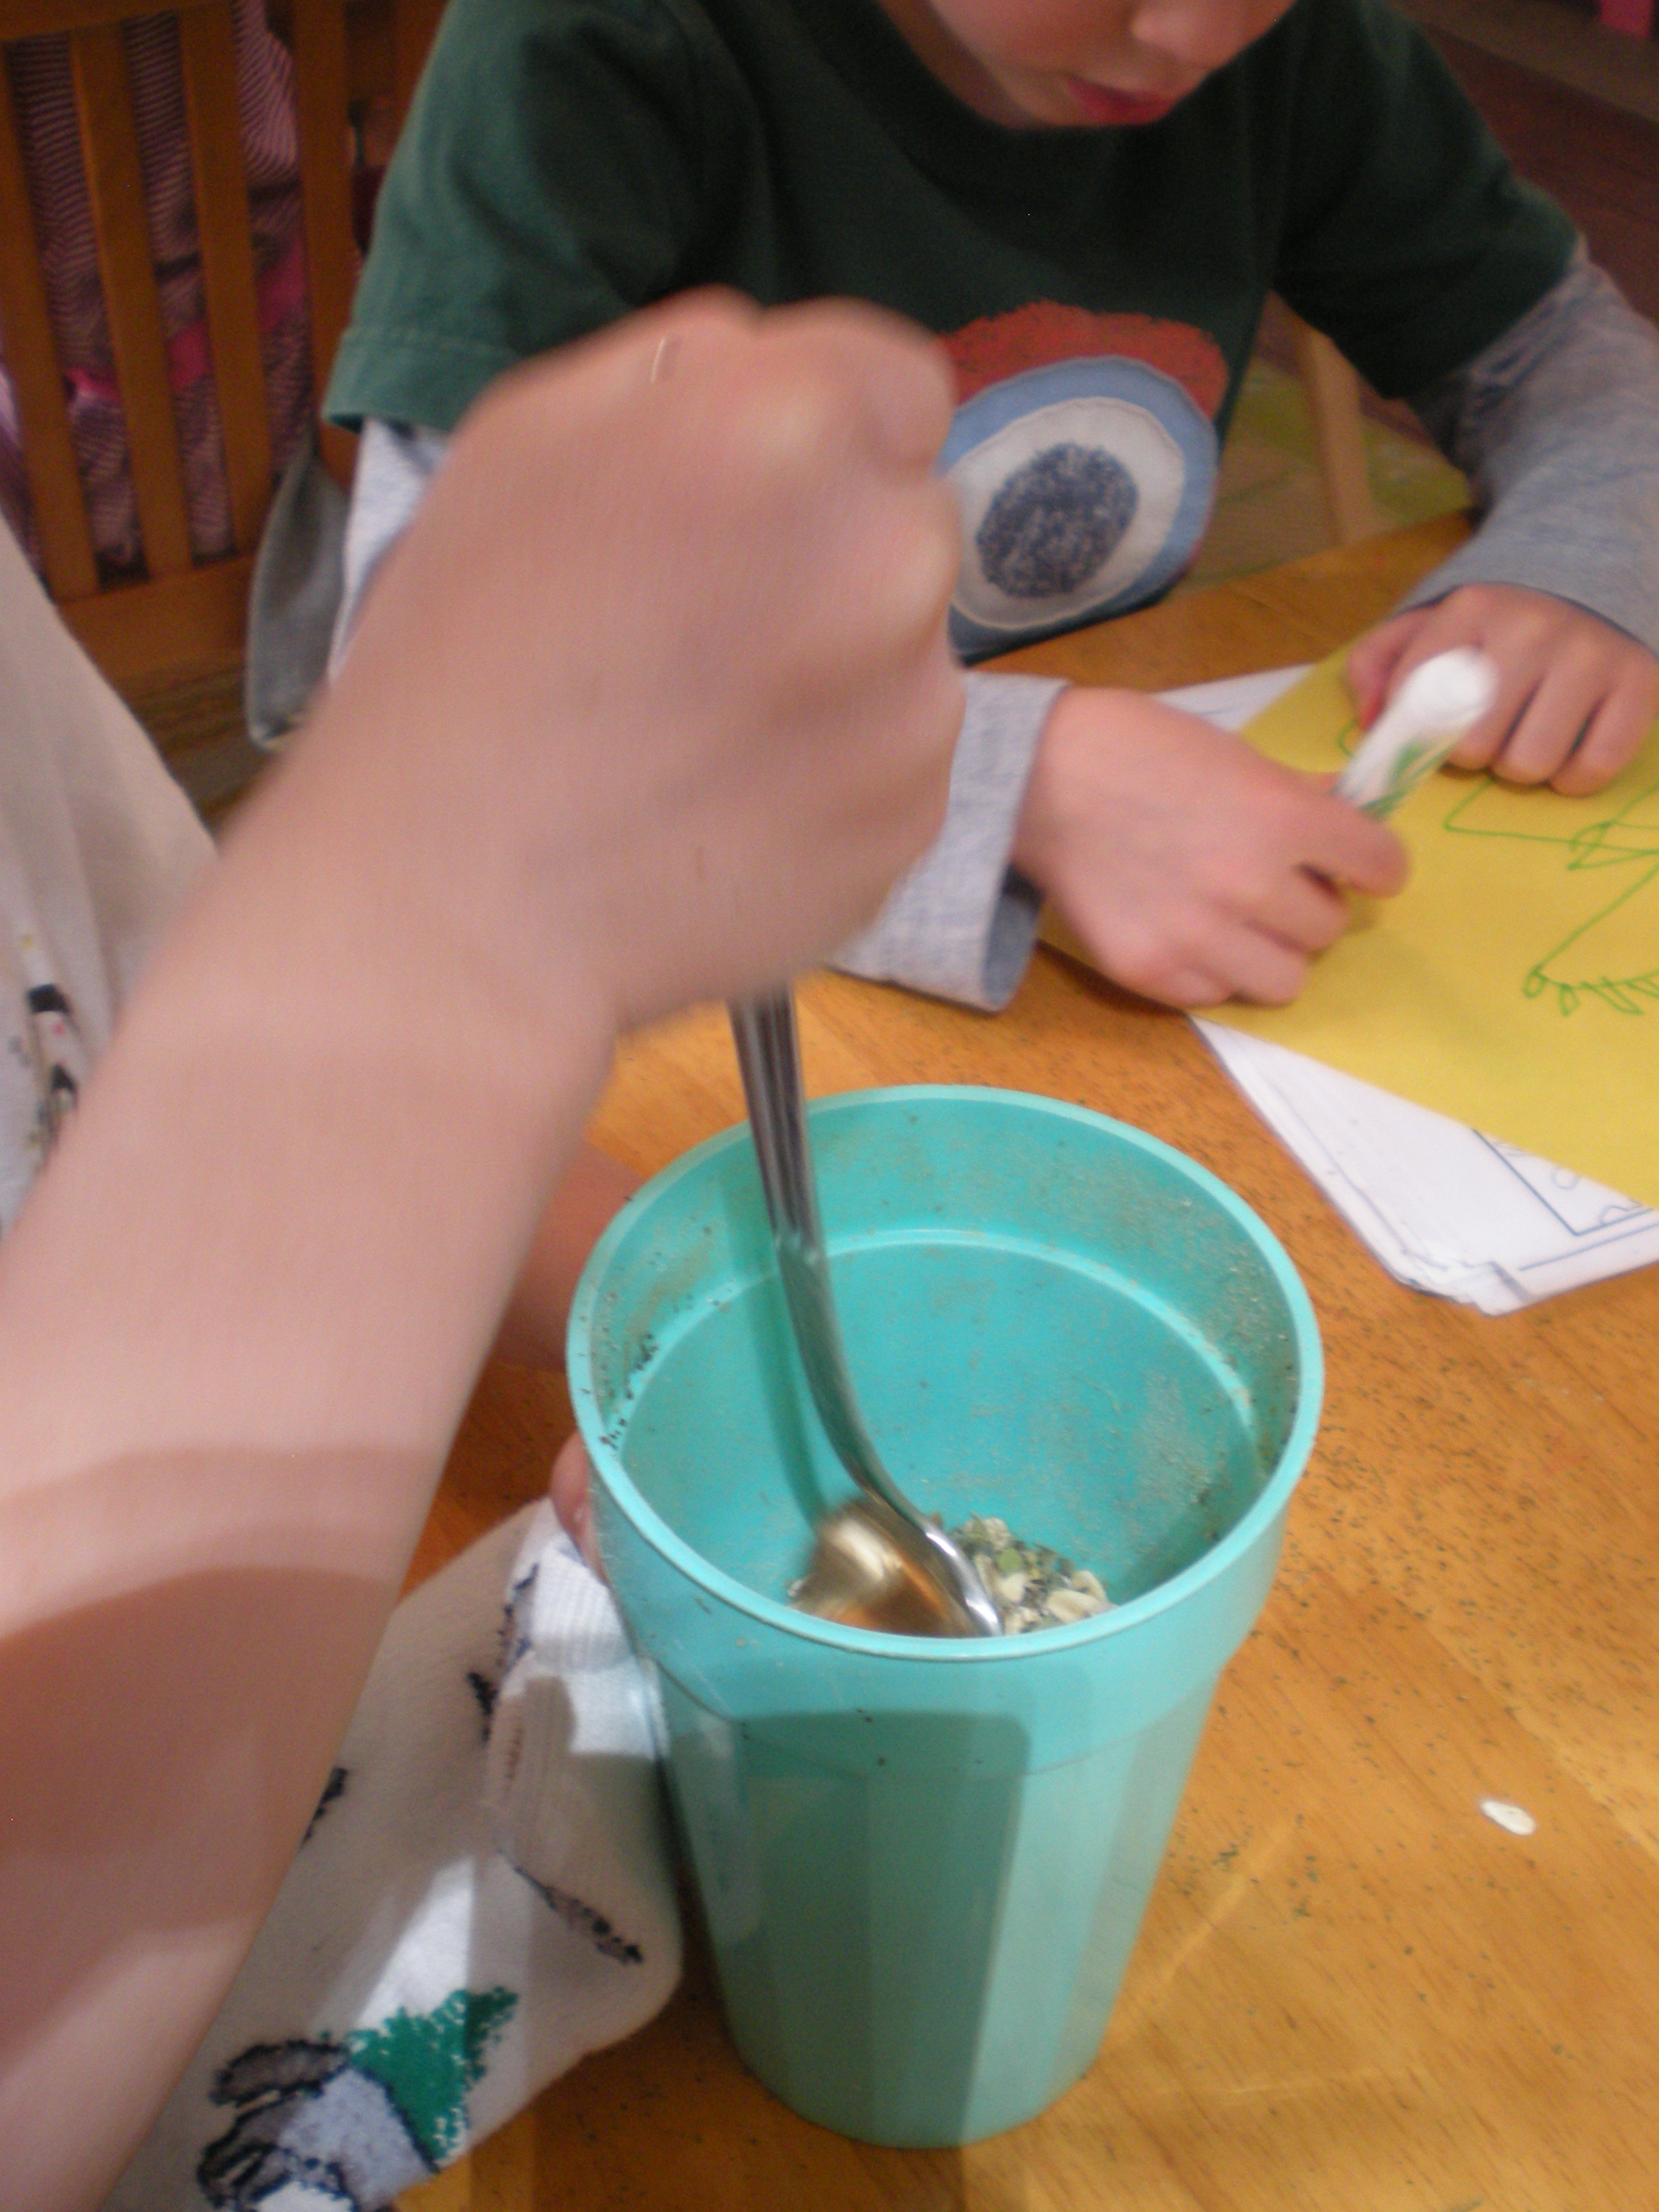
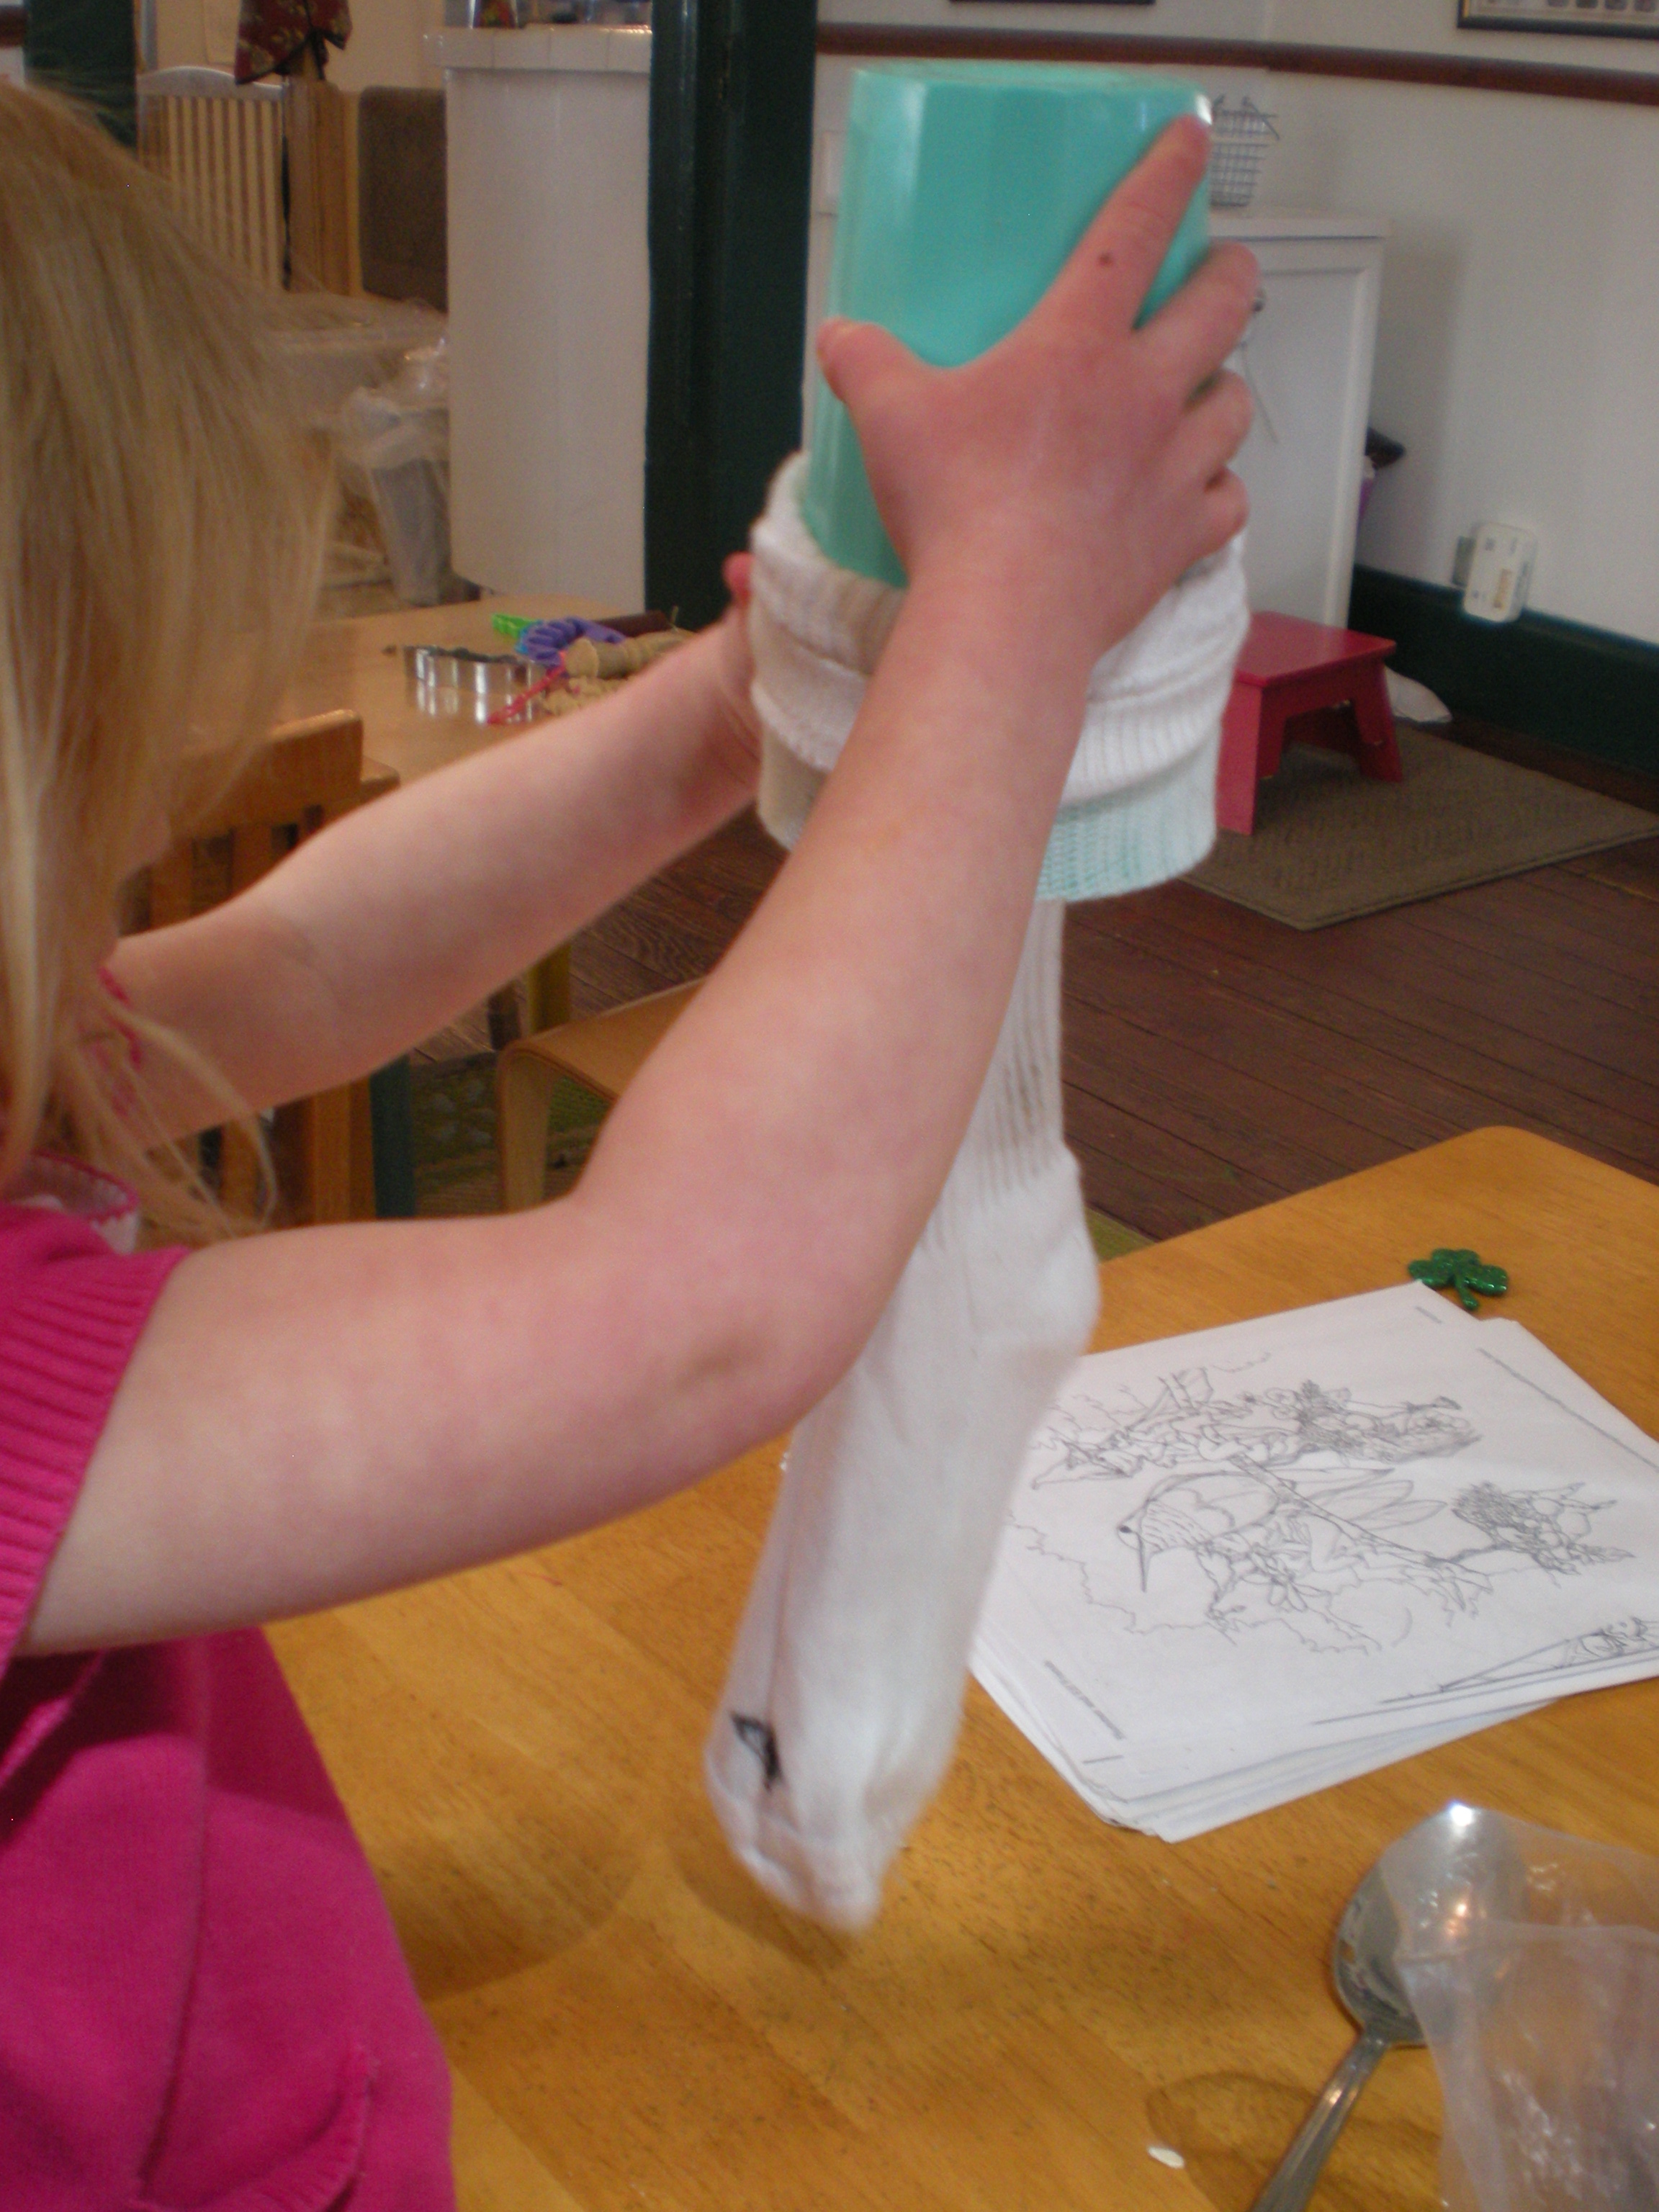
An interactive experience from start to finish, the sock bath is lots of fun to make with children. What is the sock bath you ask? I first learned about this great way to use herbs in the tub from my teacher, Brigitte Mars. To make a sock bath simply put your chosen herbs in a sock, tie a knot in the top and toss it in the tub... super easy! Having made sock baths a few times with the kids at preschool, I have come to notice that the kids just love them. They enjoy picking out their very own herbal blend to put in the sock and then they love playing with the knotted sock, snuggling with it and enjoying the scents of the herbs. Once you get the sock bath into the tub it is great fun to watch the water change color as the herbs mix with the bath water. And then squeezing all the herb-rich water out of the sock into the bath makes for a very tactile experience indeed.
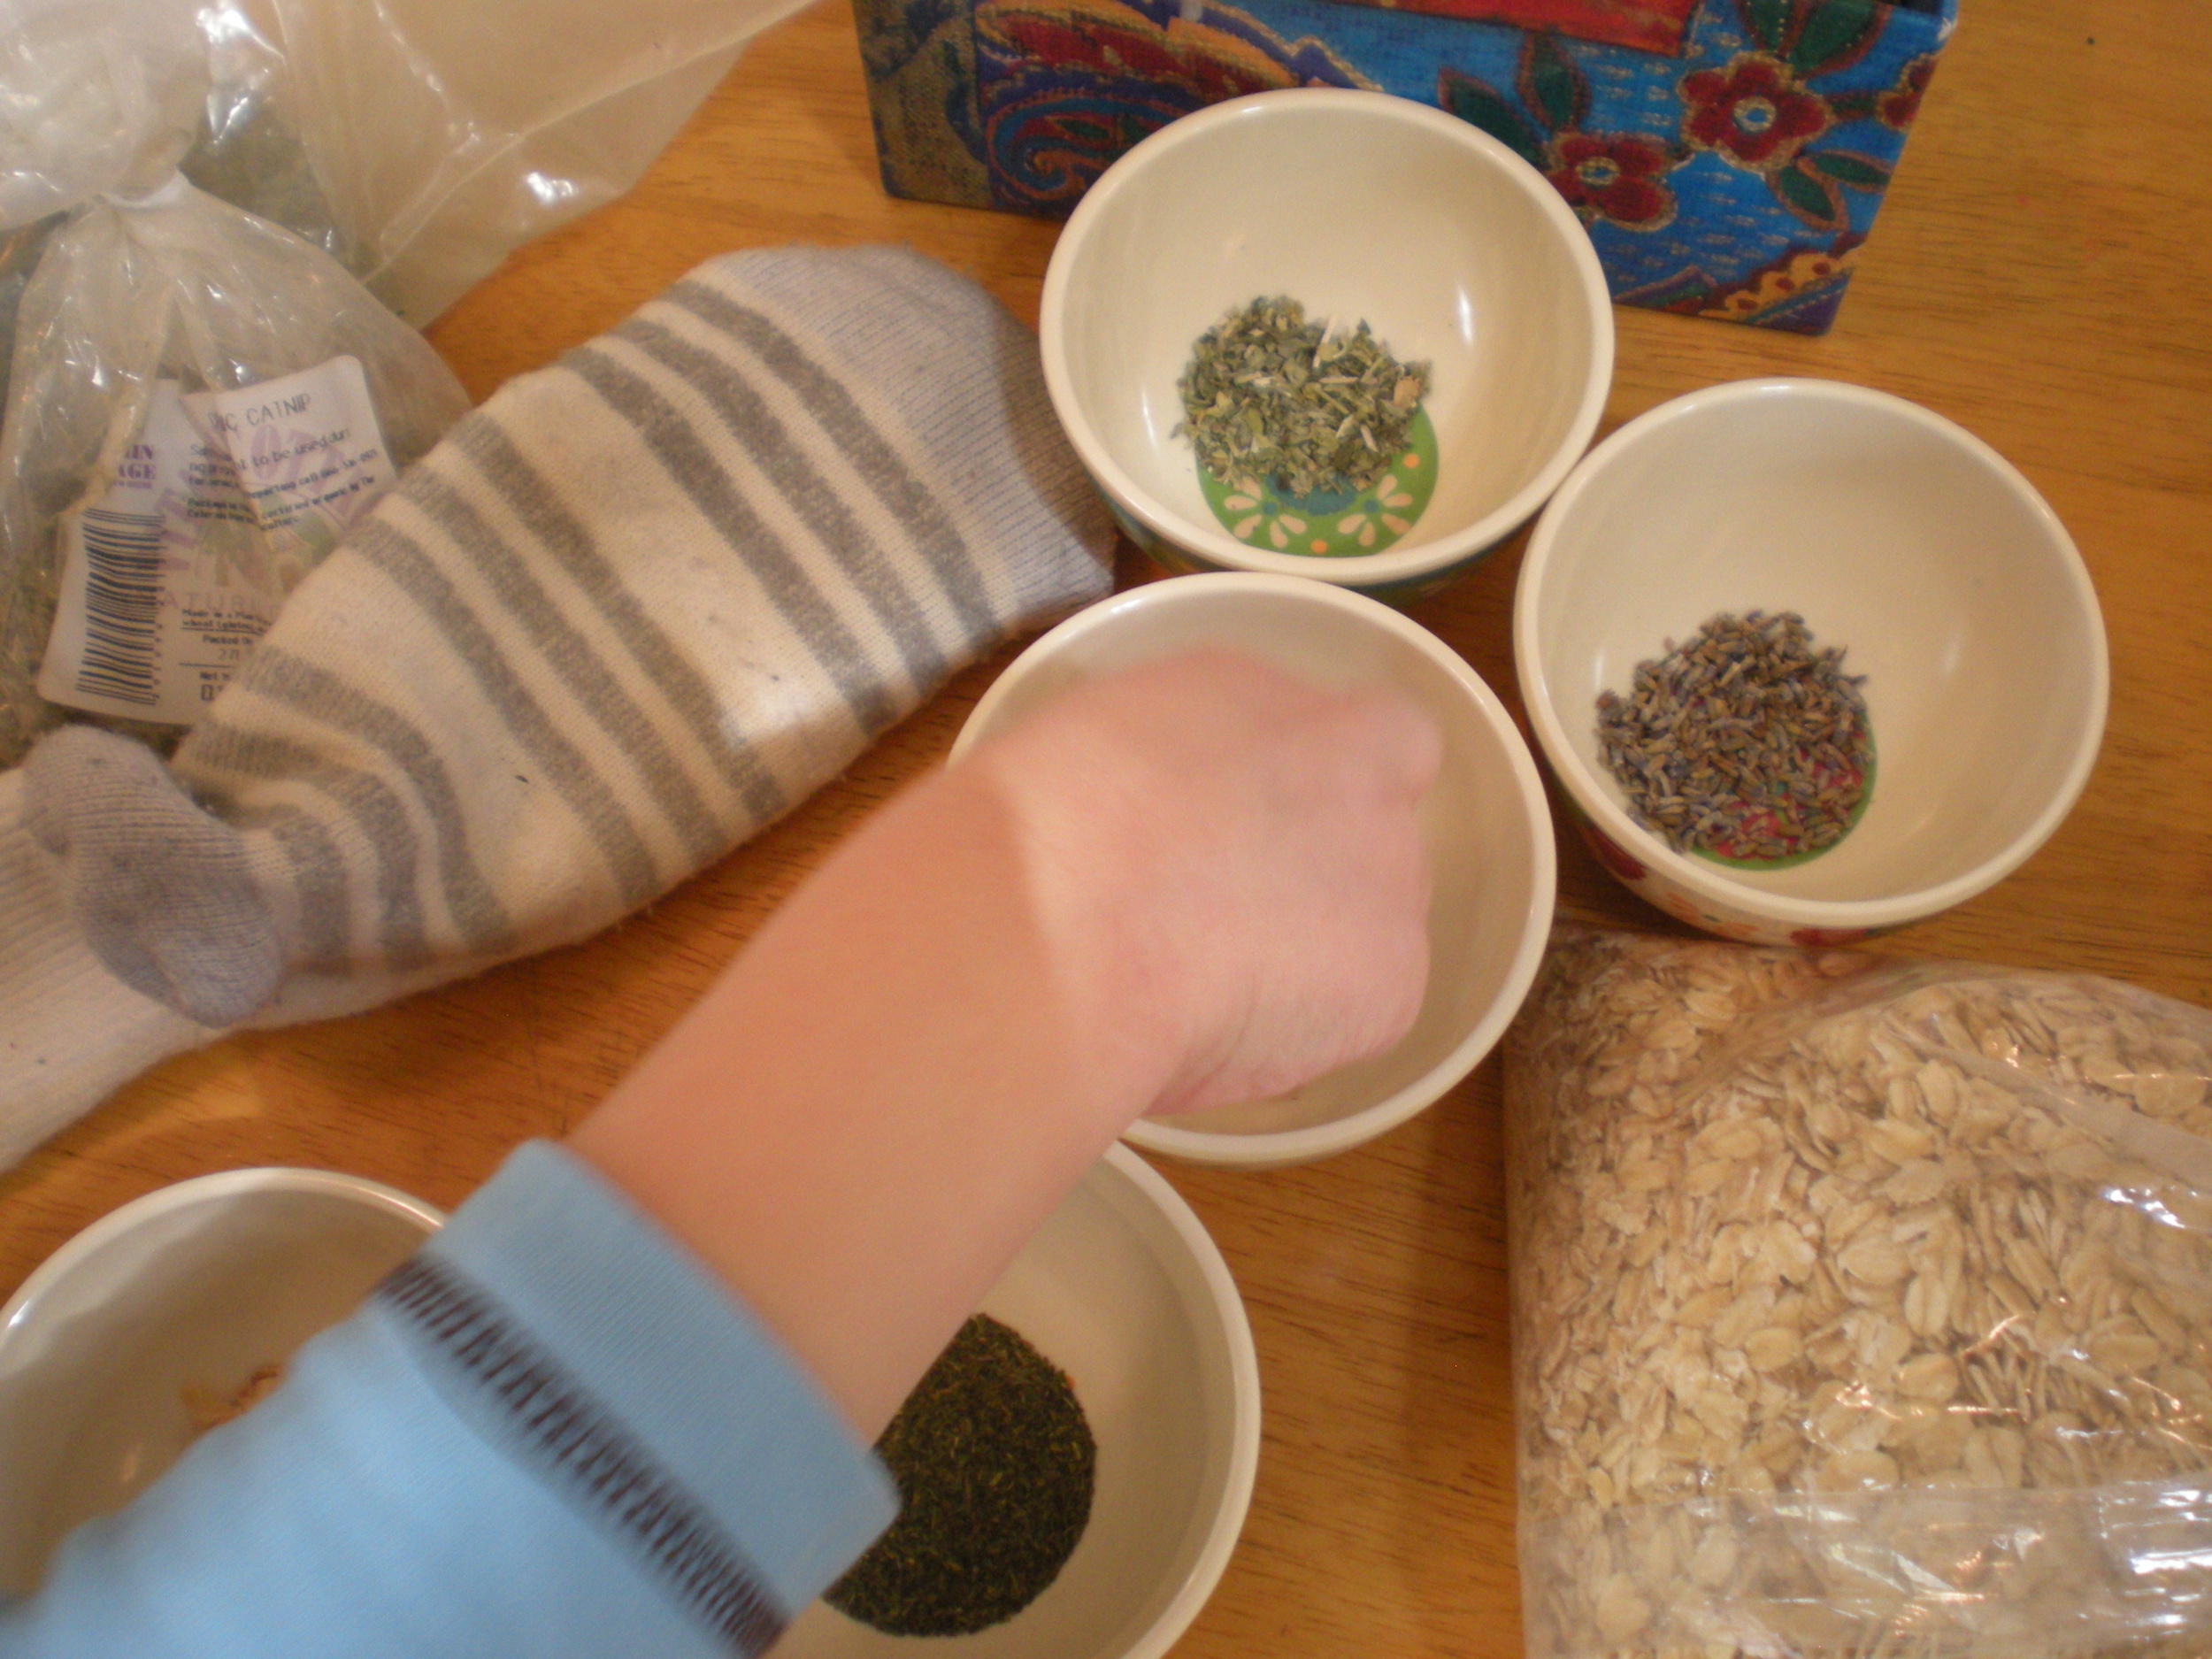
The process is a lot like some of the other baths I have shared like, Minty Mint Bath and Rosy Oatmeal Bath, but is tailored for creating with kids.
Shared On: It's Playtime!, Tender Moments, Eco-Kids Tuesday, The Kid's Co-op, Make Your Own Monday, The Gathering Spot, Frugal Days, Sustainable Ways, Kid's Get Crafty, Friday's Nature Table
Finding meaningful ways to engage children in becoming aware of and exploring their emotions is an important step towards raising confident, happy kids. And the last few weeks the kids and I filled our time together breathing deep, talking about our emotions and playing! I would like to share some of the wonderful projects we did that helped us engage our whole-selves, become aware of our emotions and find ways to center ourselves. These projects are perfect to do with young children and even have complete lesson plans for those of you working with a group of kids. Most of the projects have a bit of science thrown in while all of them offer kid-approved fun and creativity!
Conduct a science experiment with essential oils to see what oils insight certain feelings. Then create a unique piece of art work inspired by an aroma of your choice!

Create a beautiful fragrant meditative mandala from lovely botanicals.

Create a special mind jar with a friendly face. This project helps kids learn to breathe and slow down with they feel out of sorts.
A special twist on Meditation Friends that allows for even more personalization of your child's special new friend!

Simple yoga play with a favorite elephant! We used this super fun book to guide us through a morning of giggly yoga.

Do you have any special ways to help kids learn about emotions or mindful ways of how to engage themselves? I would love to hear about them and give them a try!
Wishing you lots of peaceful fun!
Tiny little seeds beckoned excited glances and little hands to explore as we began our herbal adventure this week with fennel. Did you know that fennel is a wonderful tummy soother? It relaxes smooth muscle, eases inflammation and even acts as an expectorant all while tasting pretty yummy!

We started our day at preschool with a tea tasting as well as trying some fresh fennel bulb at snack time. Most of the kids liked the tea and I got to refill many cups! The fresh bulb was only embraced by a few little ones with adventurous palates.
So, what does it taste like? Well, the tea tastes a bit sweet and smooth with a definite taste of fennel seeds. In general I like to blend fennel seeds with other herbs for a tea but nothing beats tasting a simple infusion to really get the sense of a plant. The bulb has a juicy crunch with a sweet anise or licorice flavor. It is really quite lovely.
To make your own tea simple steep up to 1 tablespoon of seeds per cup in hot water for 15 to 30 minutes. Then strain and enjoy!
We furthered our culinary exploration with fennel by making fennel candy, kinda like the kind they have to munch-on on your way out of an Indian Food restaurant. This activity came directly from A Kid's Herb Book by Lesley Tierra. If you haven't seen this book, you are missing out. Totally fun and informative with tons of stories and activities for kids of all ages.
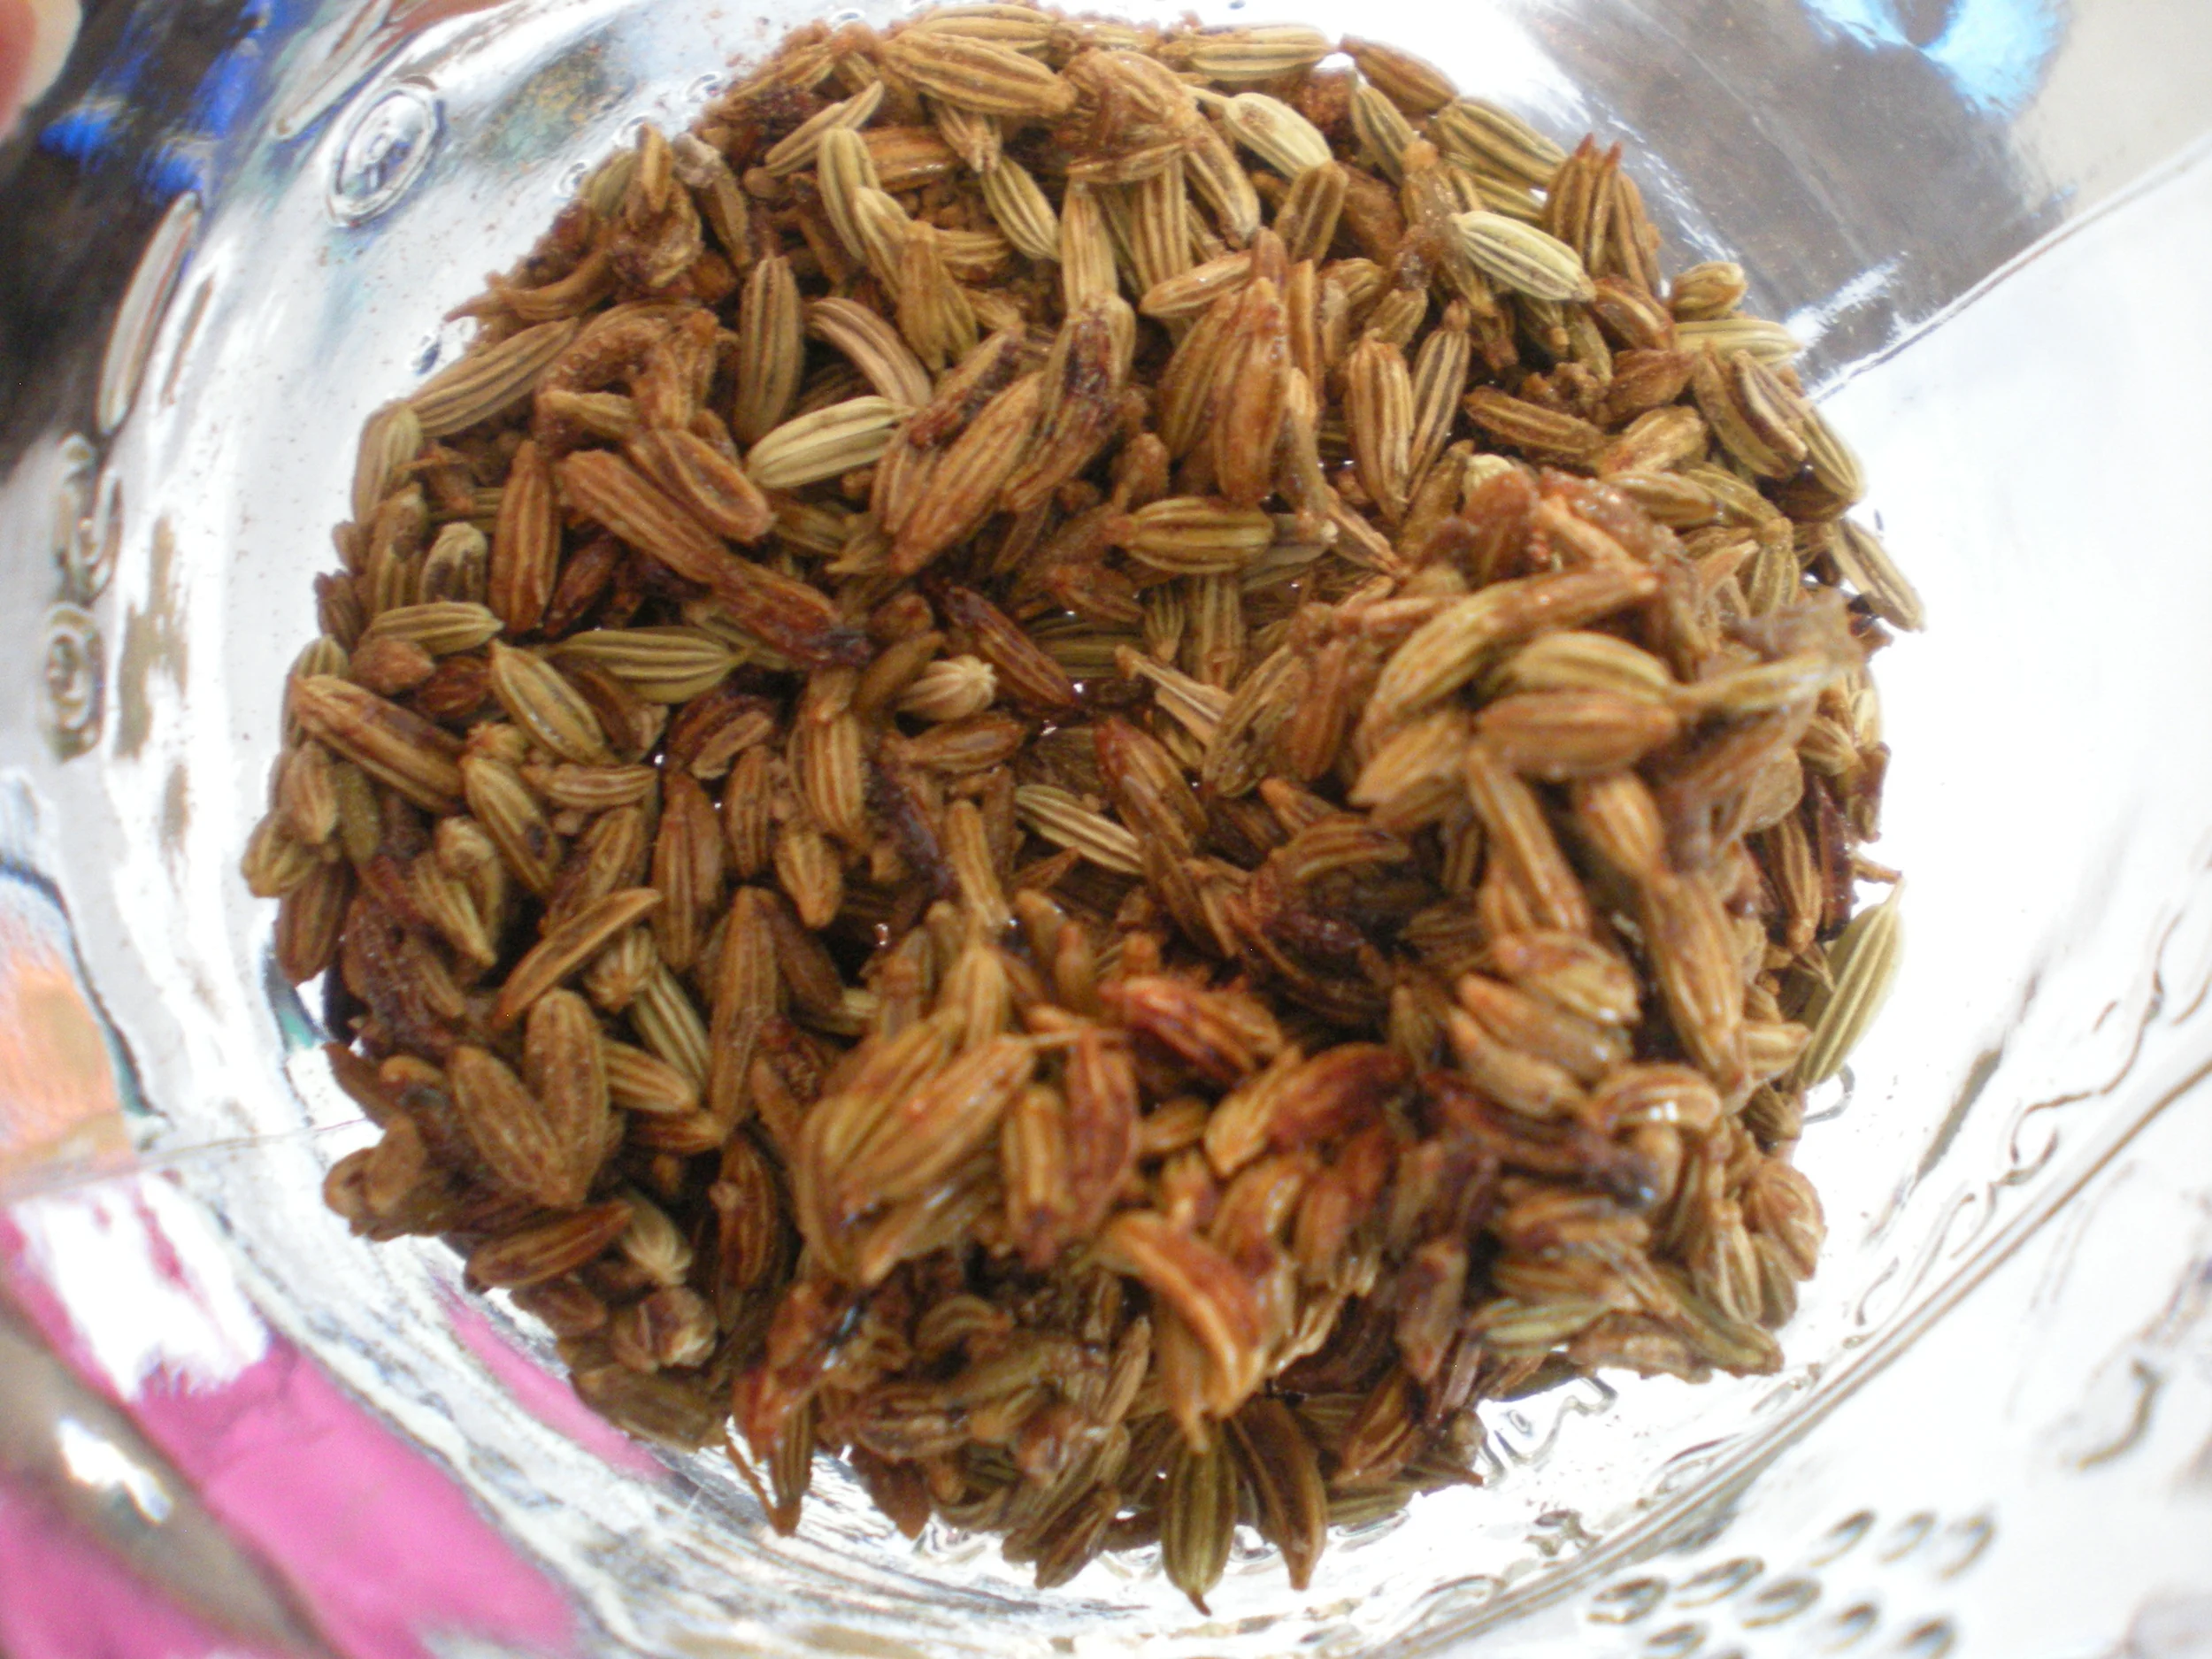
Combine in a pan. Heat to dissolve the sugar and coat the seeds.
Then add:
After we got acquainted with fennel we came to the fun hands-on part of the day, planting fennel babies! Before planting our babies we made them a nice home, little "baskets" for them to begin their sprouting.

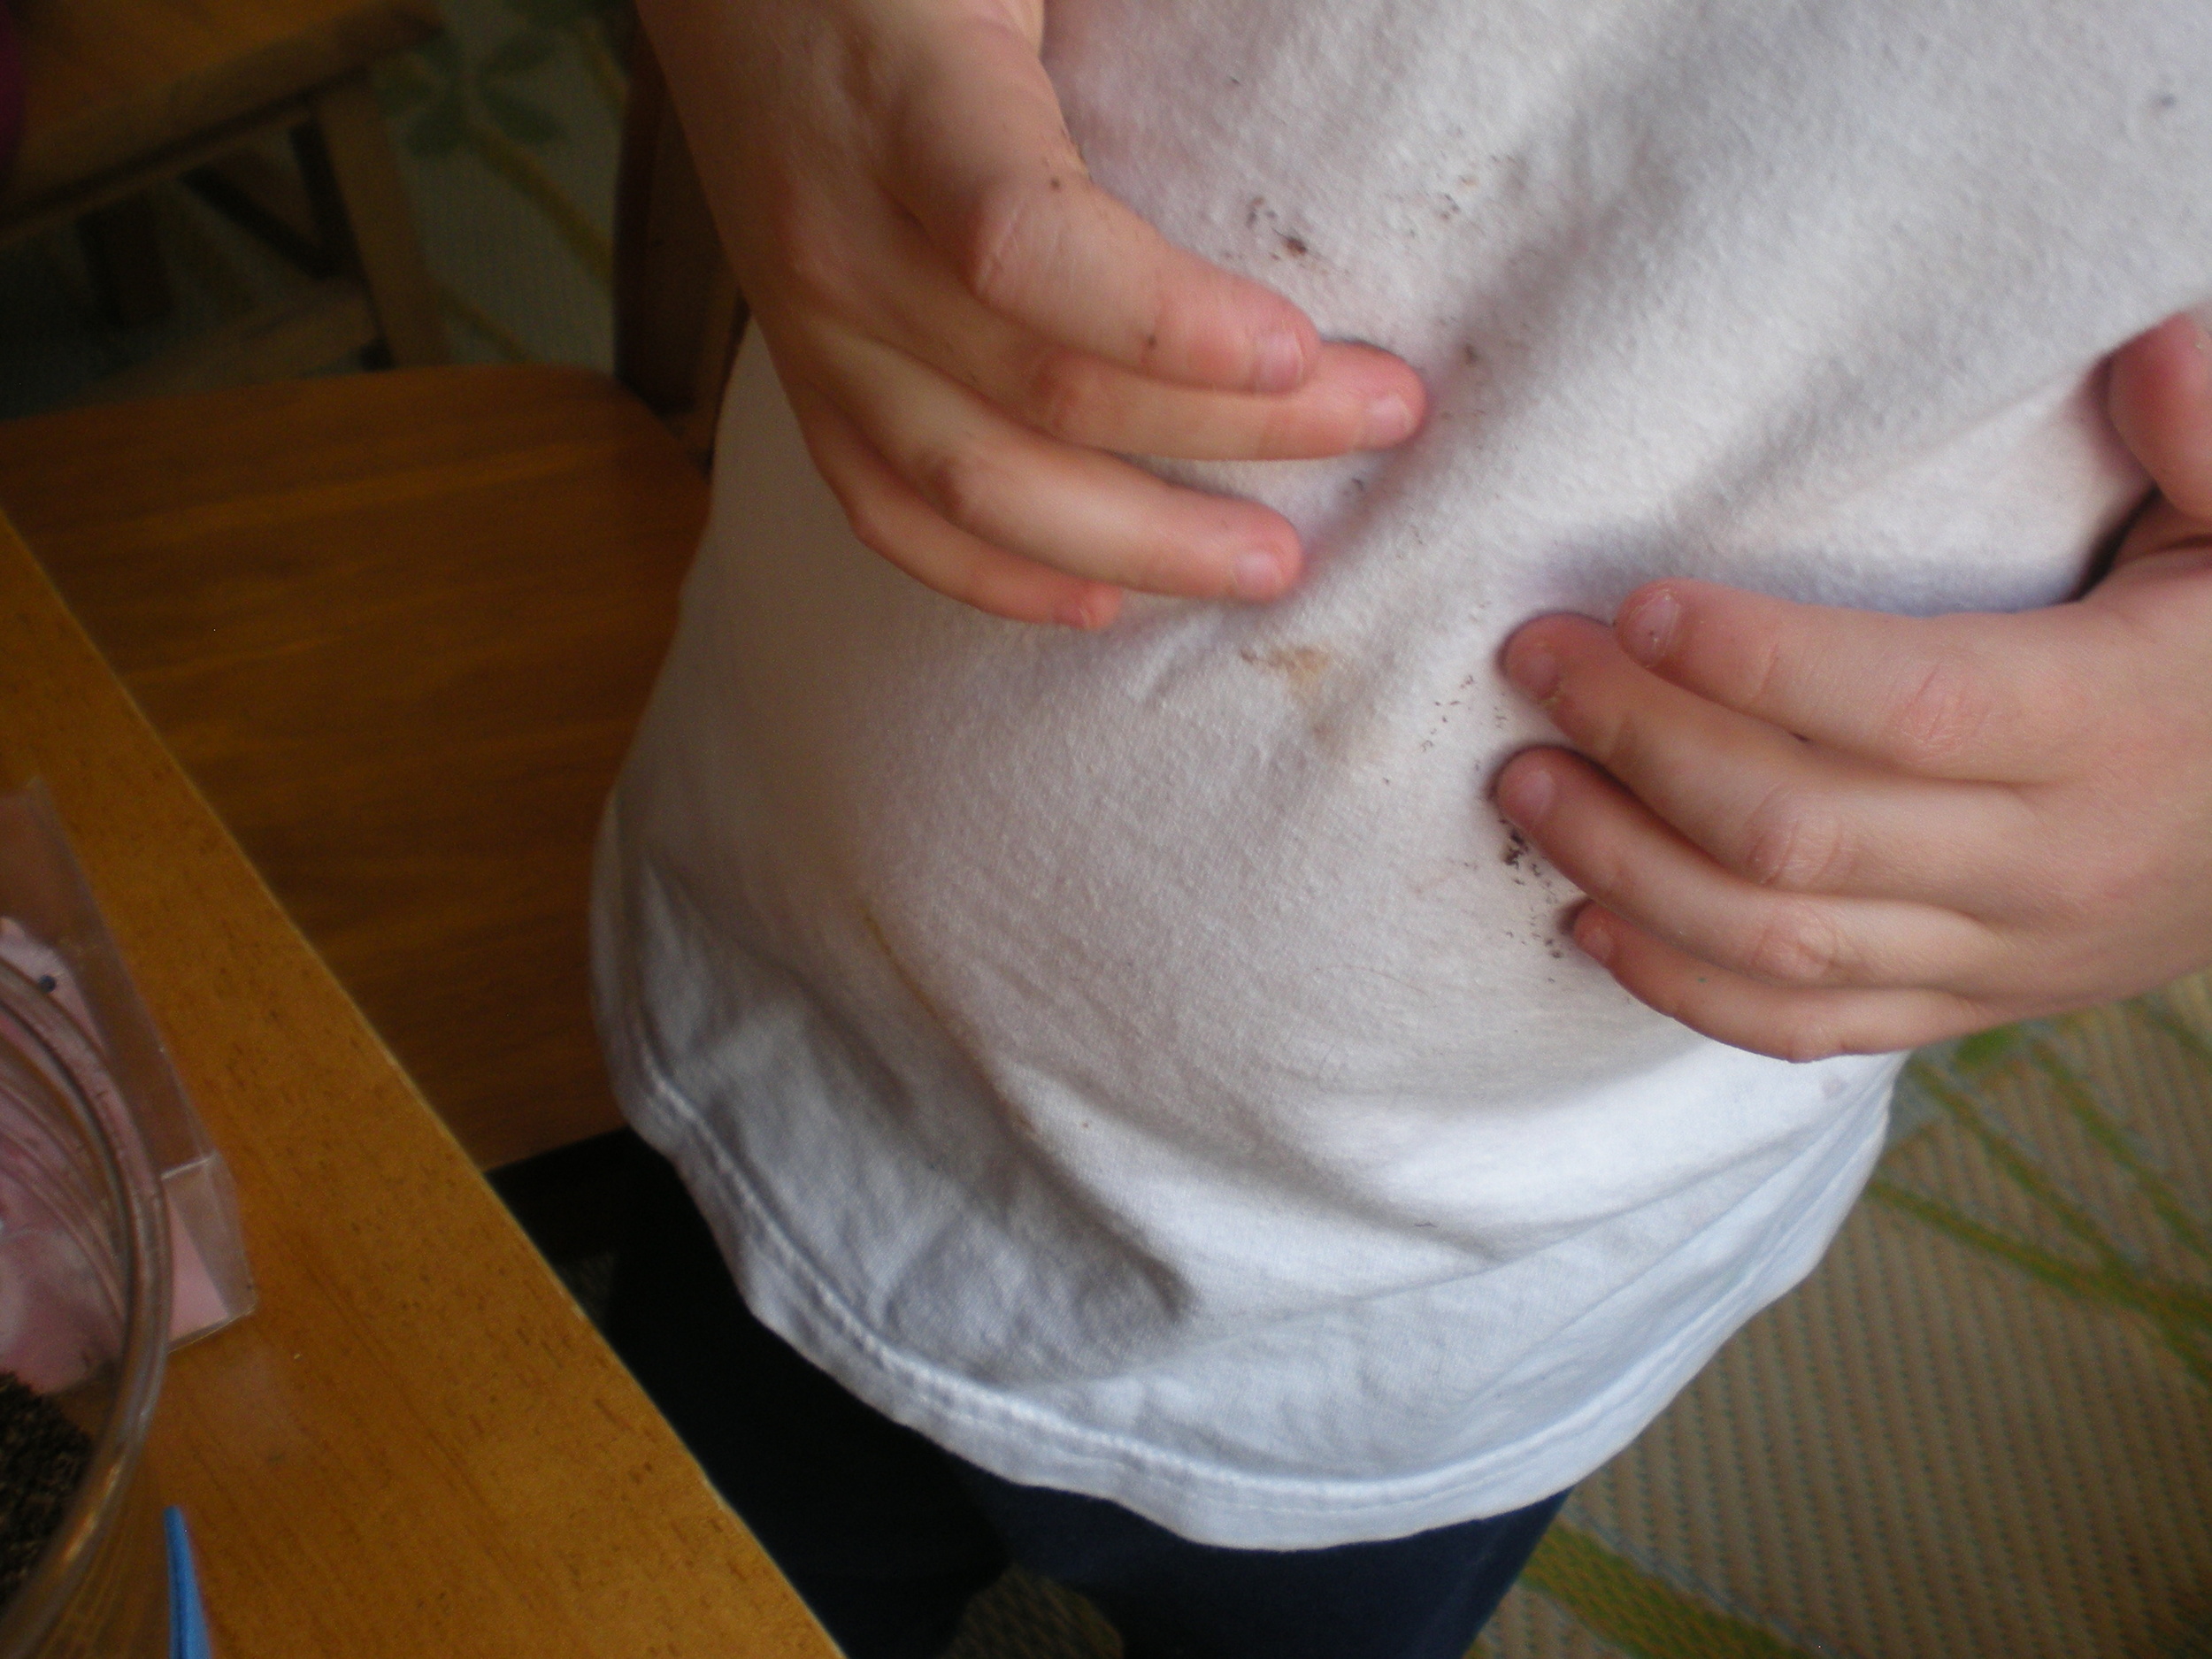

The day ended with each child happy to take home their new babies and some candy for their families. When their babies are strong enough and the danger of frost has passed, they will be ready for a new home outside. Lots of fun with fennel!
Shared On: Eco-Kid's Tuesday , Kid's Get Crafty. It's Playtime!, The Kid's Co-op, Friday's Nature Table
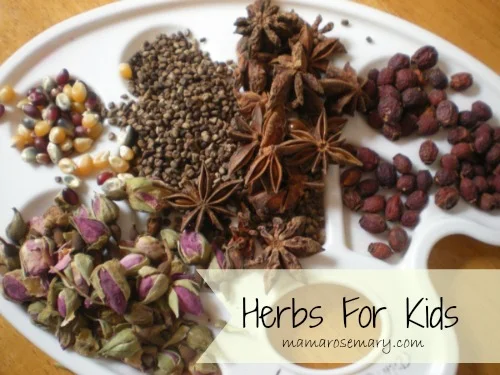
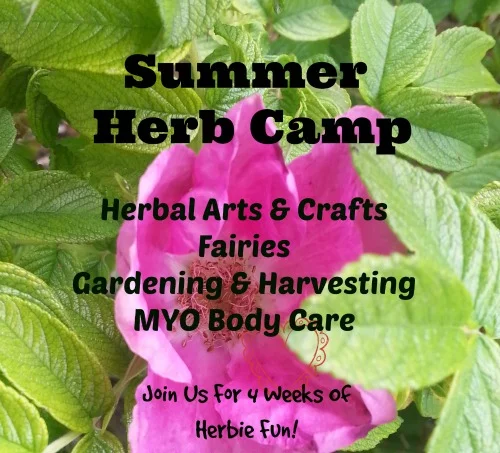
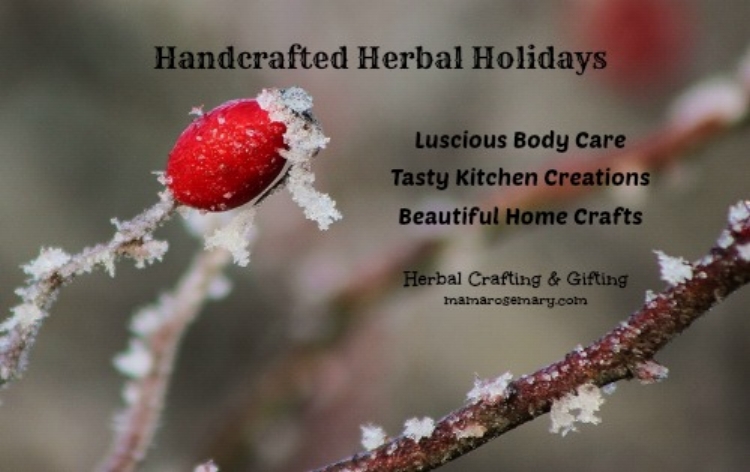
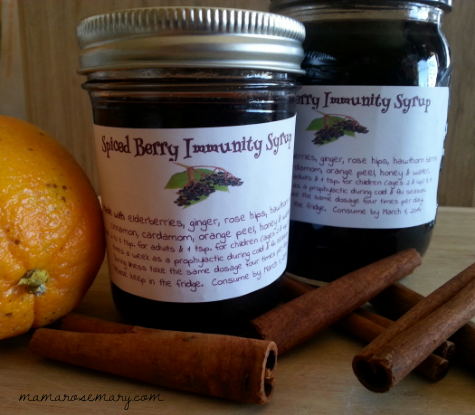
Herbs for kids and families! Crafting, learning and projects for children, parents and teachers including herbal crafts. Also natural living ideas for healthy families.