Adventures With Earthworms
/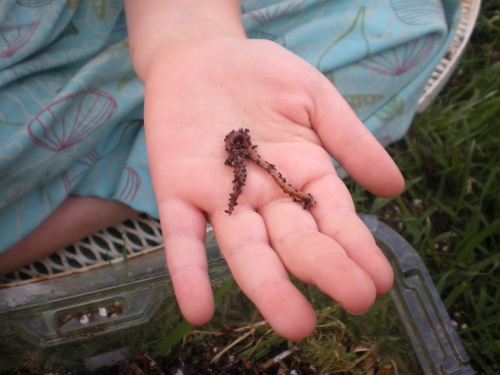
A Wormy Friend!
Many happy days were spent stalking bugs when I was a little child. I had an array of bug catchers and I knew where all the good places were to find a new pal. My often caught favorites were roly polies. I also sought after treasured lady bugs, butterflies and caterpillars which were hard to come by and when I would find one, I would be enchanted with my imagination completely sparked. So, can you guess what one of my favorite things to do with kids? Play with bugs of course! Many, many summer days have found my girls and I "hunting bugs" and going on "roly poly" walks with bug catchers in hand.
The Helpful Earthworm

Worm In It's New Home
The preschool I teach at has a wonderful garden that the kids help to grow every summer. They get to help plant, water and even pick food for the healthy lunches and snacks we serve. This spring we spent a couple weeks studying a couple beneficial friends for our garden, lady bugs and worms! Naturally when we were done learning and reading we added some lady bugs and worms to help our garden grow.
"Ms. Angela! Did you know worm poop is dirt?"
After a nice little discussion about earthworms and how they help enrich our soil enabling plants to grow healthy and strong, we continued our study of worms by making a worm farm. There are a large number of sites to find information on making your own worm farm, with much more detail than what we did. Here is a quick run down of what we did if you want to make something super simple.
MYO Worm Farm
Materials ~
- Earthworms: I got a huge amount at our local garden centers ~ more than enough to make 2 worm farms which we did, one for school and one for home.
- Dirt
- Sand
- Worm Food: Things like grass clippings, leaves, food bits, oatmeal, tea leaves and coffee grounds, shredded newspaper.
- Water
- Container For the Farm: We used a salad green container. You know the kind that has washed lettuce in it?
- Dark Paper
Instructions ~
Layer the dirt and sand in your container to make distinct layers so you can see the soil get all mixed up by the worms. We even used oats for layering at home because we didn't have sand.

Add the food bits to the top of your worm farm.
Here we used a bit of old grass clippings and dandelion flowers.

Adding Food Bits
Dump your worms in and watch them bury themselves deep into your farm.
Check it out, so very many worms!

Adding The Worms
Give your farm enough water to keep it moist but not water-logged.
Put a lid on your farm making sure to poke holes in the top so the worms and the farm can breathe.
Cover the sides of the farm with dark paper to encourage the worms to come to the sides of the container. If you are lucky, you may see the dirt/sand layers get mixed up and little worm tracks along the sides. We got to see lots of worm tracks one year, but sadly not this year.
Keep your farm in a nice coolish place (but not too cool) and check periodically to see what your worms are up too and to make sure they have enough water and food.
When you are done enjoying your farm, release the worms into your garden!

Worms Being Released Into The Garden
We also read this wonderful book to help us learn more about worms:Diary Of A Worm by Doreen Cronin
This book offers a humerous way to look at worm life and learn about worm facts as well as how worms help our planet.
Wishing you lots of wormy fun!
For more buggy fun visit Playing With Lady Bugs
Shared On: The Kid's Co-op, Eco-Kid's Tuesday, It's Playtime, Kid Lit Blog Hop, Tender Moments, Friday's Nature Table, Multicultural Kids