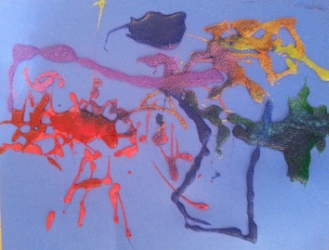
Rainbow Aromatherapy Sand Paintings
/
Have you ever made a sand jar? Watching as each different colored layer of sand comes together to make a beautiful piece of art? This beautiful project uses that same lovely sand to make whimsical paintings.
We used the most colorful sand, all the colors of the rainbow in fact, each scented with it’s own special essential oil to create our latest works of art. All the colors and scents make for a very richly sensory experience. The kids simply loved this project!
Really this project couldn’t be any easier to set up and do with the kiddos. It is a perfect way to spend a summer afternoon!

~ Materials ~
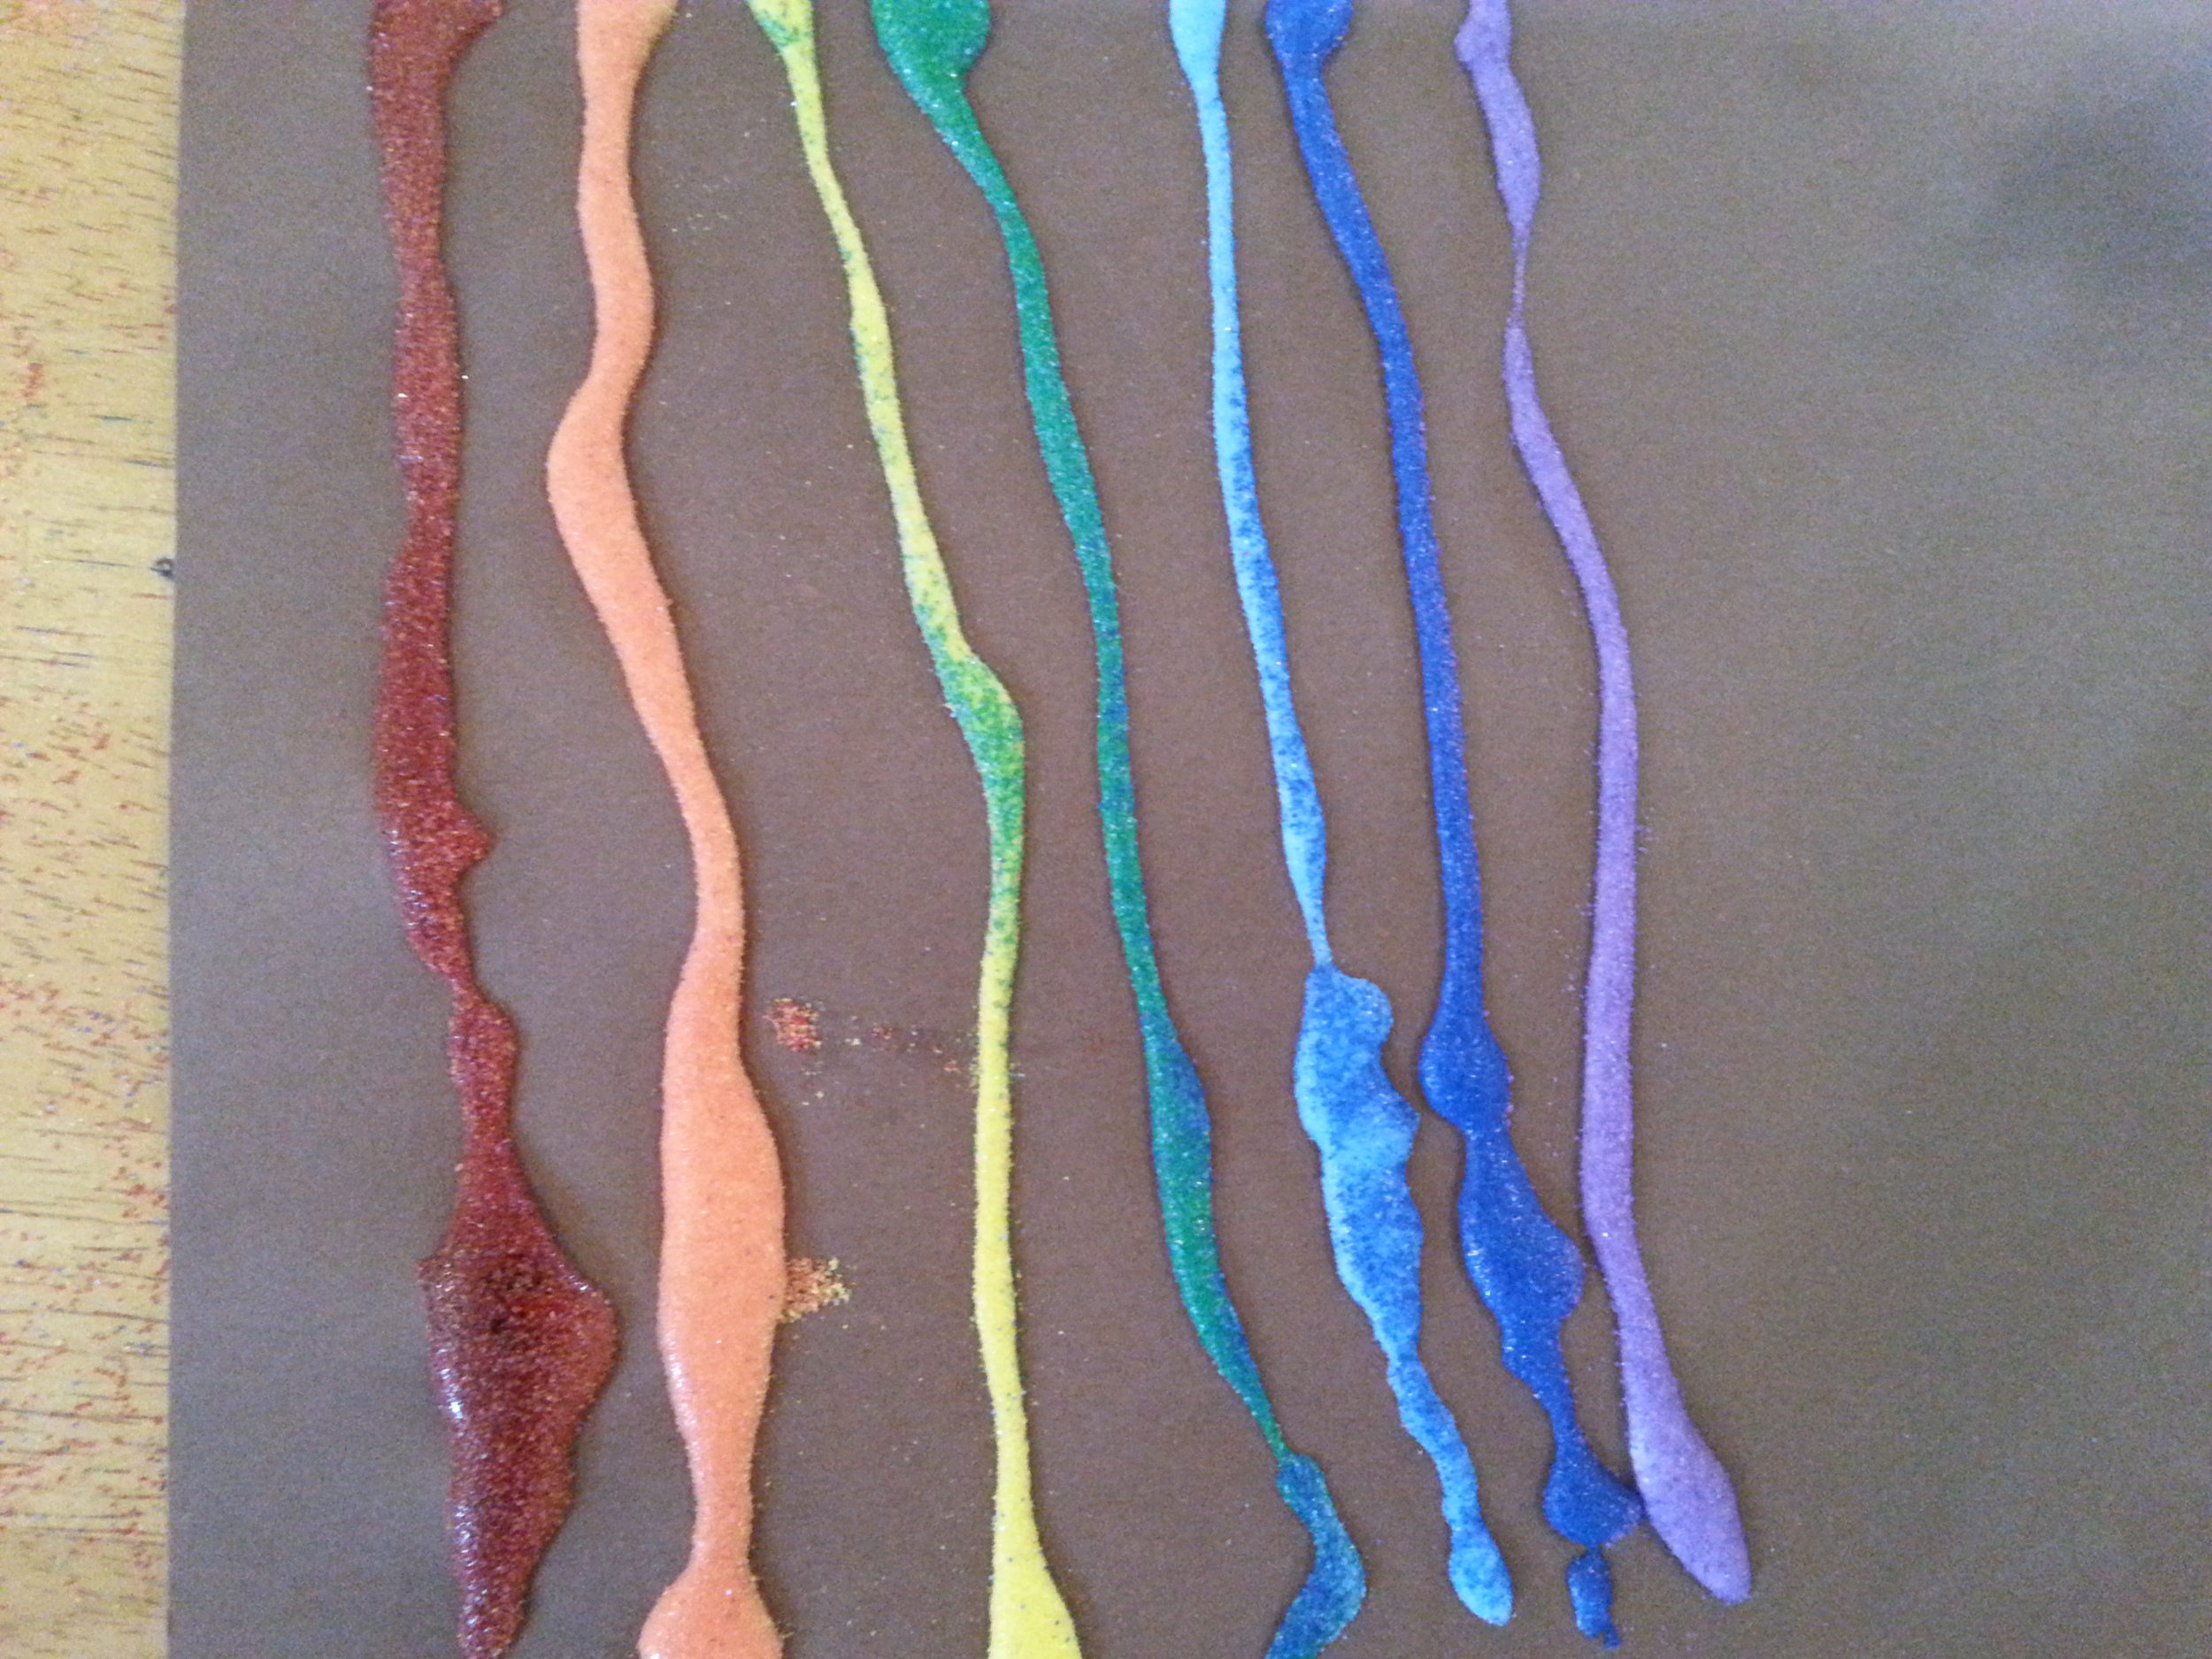
Colored Sand In Every Color of the Rainbow
Essential Oils
Thick Stock Paper or Paper Plates
Glue
~ Method ~
Scent The Sand
We started out by pouring each sand into it’s own container and then adding essential oils. I tried to pick oils with a scent suggestive of the colors we were scenting, such as lime essential oil for green sand. To scent your sands simply add a drop of two of each essential oil to the sand and stir!

we used...
Rose Geranium Essential Oil for Red Sand
Orange Essential Oil for Orange Sand
Citronella & Lemon Essential Oils for Yellow Sand
Lime or Spearmint Essential Oil for Green Sand
Rosemary Essential Oil for for Blue Sand
Cedarwood Essential Oil for Indigo Sand
Lavender Essential Oil for Violet Sand
Artistic Creation
There are a few ways to create these paintings. Use the glue to adhere the sand to the paper either by simply squirting from the bottle to create pictures or use paint brushes to apply the glue.
Method One: You can have the child create a glue picture by having them put down all the glue for their project at once. And then sprinkle the different colored sand wherever they want around their entire painting. Let sit to dry and then pour off the extra sand. This method will give you the best adherence of the sand and the least amount of color blending. However the leftover sand you pour off the picture will be a blend of all the colors.
Method Two: Apply the glue for each color separately and then add the sand. Shake off the sand before adding glue for the next color. For example, have the child put glue down on their painting for red sand. Then sprinkle the red sand over the fresh glue and dump it off right away. This is the method enables you to keep the sand colors separated when you pour them off the painting however you will end up with a blending of the colors as you pour off each color one at a time. I think the blending is pretty! We used this method at the preschool. I needed to keep the sand colors separated for each group and this worked well!
Are you working with older children? If so just let them run with this project. If you are working with very small children such as preschoolers, I find it works best to have an adult in charge of the sand. Otherwise you may end up with your lovely sand all on the ground or dumped all over the table.


More Please!!
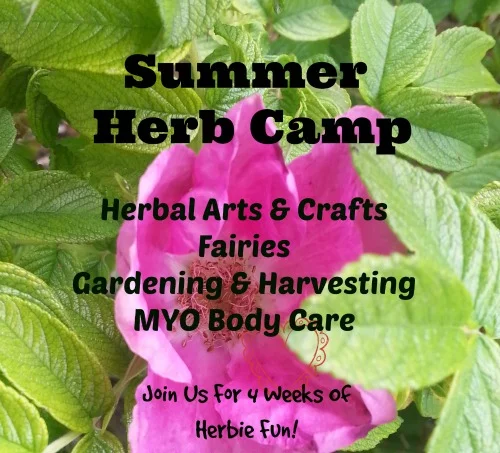
Join Us For
SUMMER HERB CAMP FOR KIDS!
For four weeks we will explore various themes such as Herbal Arts & Crafts For Kids, Fairy Fun and more!!
Lots of herbie activities for you and your little ones.
Super fun!!
Shared On: The Kid's Weekly Co-op, Kid's Activity Blog