Gratitude ~ Three Simple Crafts

Gratitude ~ Three Simple Crafts

Thanksgiving is tomorrow!  We have a whole day set aside to count our blessings and be thankful.  How can we make this meaningful for our children and for ourselves?  Here are three simple craft projects for kids and families to capture the spirit of Thanksgiving and hopefully help it spill over into the days to come.

Read More

Cinnamon Day ~ Herbs For Kids ~

When I share herbs with kids I love to do it on as many levels  as possible, engaging all their senses.  Of course taste, touch and smell are huge when working with herbs plus most herbs are a visual feast for the eyes.

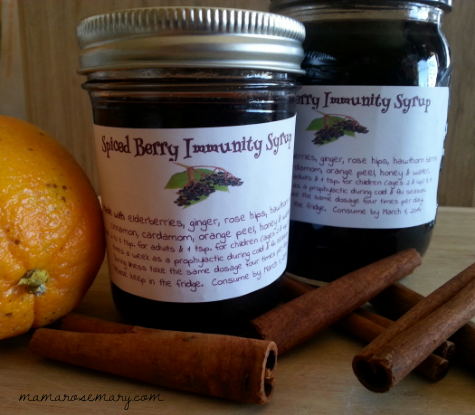
This day,  cinnamon day, was no exception.  Cinnamon is delicious and approachable often bringing up memories of comfort from home with its sweetly spicy taste, yummy fragrance and warming properties.  It is a great herb for working with kids.  They simply love the taste, the smell and it is a familiar herbs for most.

Cinnamon Milk

We had an absolutely lovely, cozy day playing with cinnamon.  I made the kids warm cinnamon milk for snack time which they LOVED.  Making cinnamon milk is so easy and at the same time tastes so special.  Because the preschool I work at is vegan, I used almond milk for the kiddos combining it with a bit of cinnamon, enough to really flavor the milk without being overwhelming, and then heated it to a nice warm drinkable temperature.

Cinnamon Play Dough 

Our hands on experience was making cinnamon play dough.  I have a great love of play dough stemming back from my childhood and combining herbs with play dough is just about one of the best things ever in my opinion!  I made a big supply of fresh play dough and brought it in still warm for the kiddos to enjoy.

As the kids playing I sprinkled on ground cinnamon and the warmth of the play dough interacting with the cinnamon made for a lovely smell.  We also added a bit of orange essential oil to the play dough for an extra dimension of fragrance.

I brought in lots of cinnamon sticks for them to use with the play dough.

Play Dough Recipe

  • 1 cup of flour
  • 1/2 cup of salt
  • 1 cup of water
  • 1 1/2 tsp cream of tartar
  • 1 tbsp oil

Optional: powdered herbs for color, either mix in when cooking (can give more even color) or let the kids mix in at the table.

Combine dry ingredients in a sauce pan.  Add the water and oil.  Stir together and heat slowly over low heat.  Stir almost constantly until the play dough sets up.  Let it cool to warm before playing, play dough right off the stove is hot.

While they played I read the story of Cinnamon, Queen of the Spices from A Kid's Herb Book by Lesley Tierra.  If you haven't checked out this book, you really are in for a treat when you do!  It is chock full of ideas, stories, recipes and herbal inspiration for kids.

Cinnamon Day was a simple creative day of great fun and rich experience.  A time to connect with a beautiful tasty plant friend.

Click for more information on cinnamon

Shared On: The Kid's Co-op, It's Play Time!, Kid's In The Kitchen, Eco Kid's Tuesday

All The Colors of the Rainbow

All The Colors of the Rainbow

Yesterday we made this gorgeous rainbow of food for lunch, a yearly Thanksgiving tradition at our preschool.   In preparation for making our delicious rainbow I asked each child to bring  in a fruit or veggie of a specific color to share.

Read More

Elderberry Day ~ Herbs For Kids ~

Elderberry Day ~ Herbs For Kids ~

As a preschool teacher and a parent, I am always on the look out for ways to help kids learn about staying healthy during cold and flu season.  So every year, just like I do at home, I make elderberry syrup with the kids at preschool.

Read More

Fall Science Project ~ Erosion

"What are we making today Ms. Angela?"  I am lucky to often answer this question.  Lucky because my job is to play with little kids and create fun things!  The answer this time was "an erosion bundle."

Logically the next question quickly followed the first, "What is erosion?"

I first found this neat idea on Art Club Blog and I thought it looked like a great project for introducing kids to concepts of weather, change and decay, and of course erosion.  

To get the kids engaged in our project we started out talking about weather.

  • What kinds of weather are there?
  • What happens to things that are outside when it rains?
  • When it snows and freezes?

We had a light-hearted chat about this; about how things change and wear away, or erode, when they are exposed to weather.

To give the kiddos a tangible hands on example of erosion and the effects of weather, we made our own "rain puddle".

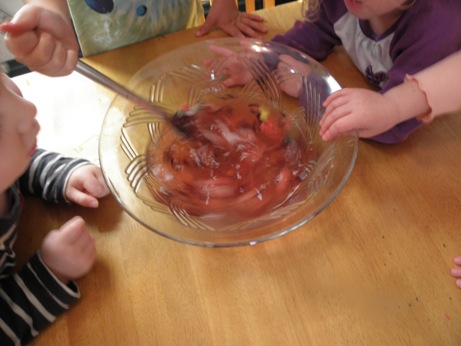
 I put warm water in a glass bowl in the center of our table.  Then we started adding things to it.  We started with paper. I gave each kid a scrap of paper to rip up and add to the water.  We stirred them around for a bit and then pulled the paper out.  The kids were surprised by the change, it was floppy and really easy to tear!  I asked them if they would be able to write on the paper now.

That was the start of our fun experiment.  Then we added other things like hibiscus flowers which changed the color of the water.  And we added these starchy noodle shaped things that dissolve in water.  I got them long ago at Hobby Lobby and can't remember what they are called, ah well...  The kids did really enjoy watching these dissolve and squeezing the noodle things as they changed shape.  We watched and stirred and exclaimed as our puddle eroded away all the things we had put in it, this experiment was a huge hit with the kids.

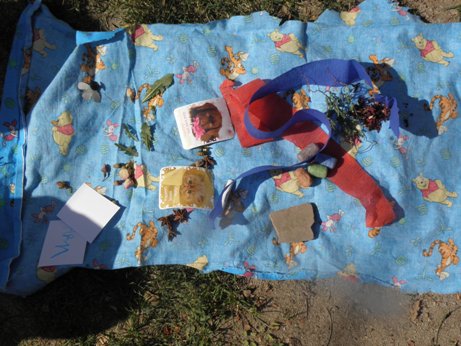
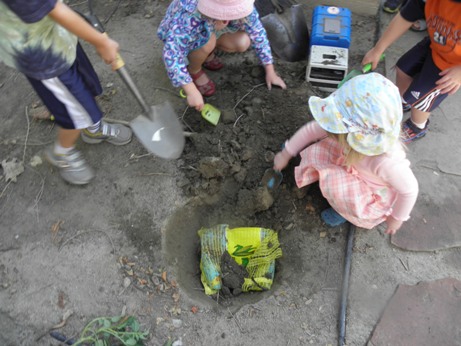
Next we went outside and created our erosion bundle.  I spread a cloth spread in the center of our circle and had each child add one unique thing to the center of the cloth.  We added rocks,  paper streamers, paper cards and broken crocs jibits among other things.

Then we wrapped it all up inside a mesh corn bag and buried it in the ground.  We plan to unearth it in the spring to discover what Mother Nature has done to the objects within.

Shared on: Science Sparks, The Kid's Co-op

Playing With Peppermint ~ Herbs For Kids ~

It is yummy.  It smells good and has tiny enchanting purple flowers.  Peppermint is a great herb for kids.   And this week at school we had a lovely time playing with peppermint.

We started with a peppermint tea tasting at snack time.  Everyone loved the tea, well, almost everyone.  There were a couple of skeptics at the table.  I was really impressed with how excited the kids were about the tea and how much they drank.  One little girl asked for about four refills!

Besides being super tasty, peppermint tea is great for digestion and enhancing immunity.

Here is how I made our kid friendly tea.  One handful of dried peppermint leaves went into a 1/2 gallon canning jar.  After covering the leaves with boiling hot water, I let the mint infuse for about 15 minutes.  Then I strained the leaves out and our tea was ready.  I did this in the morning before school started so the tea had plenty of time to cool down to a nice warm drinking temperature.

Our activity for the day was very hands on and simple.  First we sat on the rug and I gave each child a sprig of peppermint.  We looked at the stems and leaves.  We felt the square stems and talked about squares.  Then we ran our hands up and down the peppermint and gave it a good sniff.    Lots of big happy eyes looked back at me while they experienced the freshest peppermint fragrance.  One boy exclaimed that his peppermint smelled like zucchini!  So cute.  I explained to the kids that they were smelling the essential oil in the plant.  Like the essential oil we used in our aromatic playdoughthe week before.  We looked at the tiny purple flowers and talked about the plant making seeds.

Next I set up paper, glue, scissors, sunflowers and lavender, and lots of peppermint at our art table.

 The idea here was free time to just create with plants for a chance to get up close and personal.  Cut them up and see what is inside.  Get to know the plant through smell and feel.  Glue them down and create something.  One imaginative little boy made a map!

We also used our plants to make super simple wands but just binding plants together with ribbons.

What simple fun ways do you play with kids

and plants from the garden?

Shared on: The Kid's Co-op, It's Playtime!, Living Green, Natural Living Mama, Science Sparks

A Happy First Day of Preschool With Calming Aromatherapy

The new school year is quickly approaching for us at our very sweet little preschool.  Some of the kids will be coming to school for the very first time.  In fact they may have never been away from their mama.   Because needless to say, for some kids (and their parents too), the first day of school can be intimidating, scary and even a bit traumatic.  I know I sat in my car and cried for a good twenty minutes after I dropped my oldest daughter off on her first day of preschool. Every year on this very special day we help the kids adjust to their new environment by offering a time-honored and much loved activity, playdough, made a bit friendlier with the addition of calming essential oils and herbs.

Playing with playdough on its own provides stress relief through tactile squeezing and massaging of the smooth squishy dough.  With essential oils added the child instantly gets all the benefits of aromatherapy.  Breathing deepens as the oils are inhaled calming the mind and body,  bringing about a sense of peace.  Read Herbal Playdough for more info on the benefits of playdough and to get some great ideas for making your own colorful fragrant completely chemical free playdough. It is fun to let each child custom make their own playdough to take home.  They have something fun they made to share with their family at the end of the big day.

Materials you will need:

Prepared Playdough or you can make the playdough with the kids. Here is my favorite recipe:

  •  1 cup of flour 
  • 1/2 cup of salt
  • 1 cup of water
  • 1 1/2 tsp cream of tartar
  • 1 tbsp oil

Combine dry ingredients in a sauce pan.  Add the water and oil.  Stir together and heat slowly over low heat.  Stir almost constantly until the playdough sets up.  Let it cool to warm before playing, playdough right off the stove is hot.

Food Coloring (Please note that I am searching for affordable coloring made from natural materials that are healthy.  I do use powdered herbs for coloring when making a large quantity of one colored playdough for the school, yet I need something wonderful for coloring playdough when we are making personal playdough for taking home.  If any one has a source, please share!)

Essential Oils  I like to offer lavender, sweet orange, cardamon, spearmint, rosemary and rose geranium.

Dried Herbs like lavender blossoms, ground cinnamon and rose petals

Glitter 

Here is how I do this fun activity:

  1. Give each child a nice blob of playdough and some playdough toys.
  2. Have them pick out one color from your food colors to add to their playdough.  Put a couple of drops of food coloring in their playdough and start mixing it in for them so they don't get a big blob of food coloring on their hands.  You will have rainbow hands at the end.
  3. Let everyone smell the essential oils.  I usually talk with the kids a bit about smelling the oil by inhaling, not exhaling.  And then we practice.  I tell them to be sure not to touch their nose to the bottle.  This keeps the oils clean and safe for everyone to use.  Then let them choose which oils they want in their playdough.  I have found that most kids will want every oil!
  4. Have the child make a hole in the playdough.  Then you place a drop or two of oil in the hole and take a moment to personally squish up the oil into the playdough so that the oil doesn’t come into direct contact with the child’s skin. It is safe once it diluted into the playdough.
  5. Offer herbs and glitter for the kids to mix into their playdough.  Just dust a bit over the top of their playdough or make a little pile on the side for them to add in.  Some kids find the glitter and herbs to be "sharp" but usually they love adding in more and more as they go.
  6. When the child is done playing, bag up their playdough so they can take it home at the end of the day.

How do you welcome little ones to your school for that first big day?  I would love to hear all about it! 

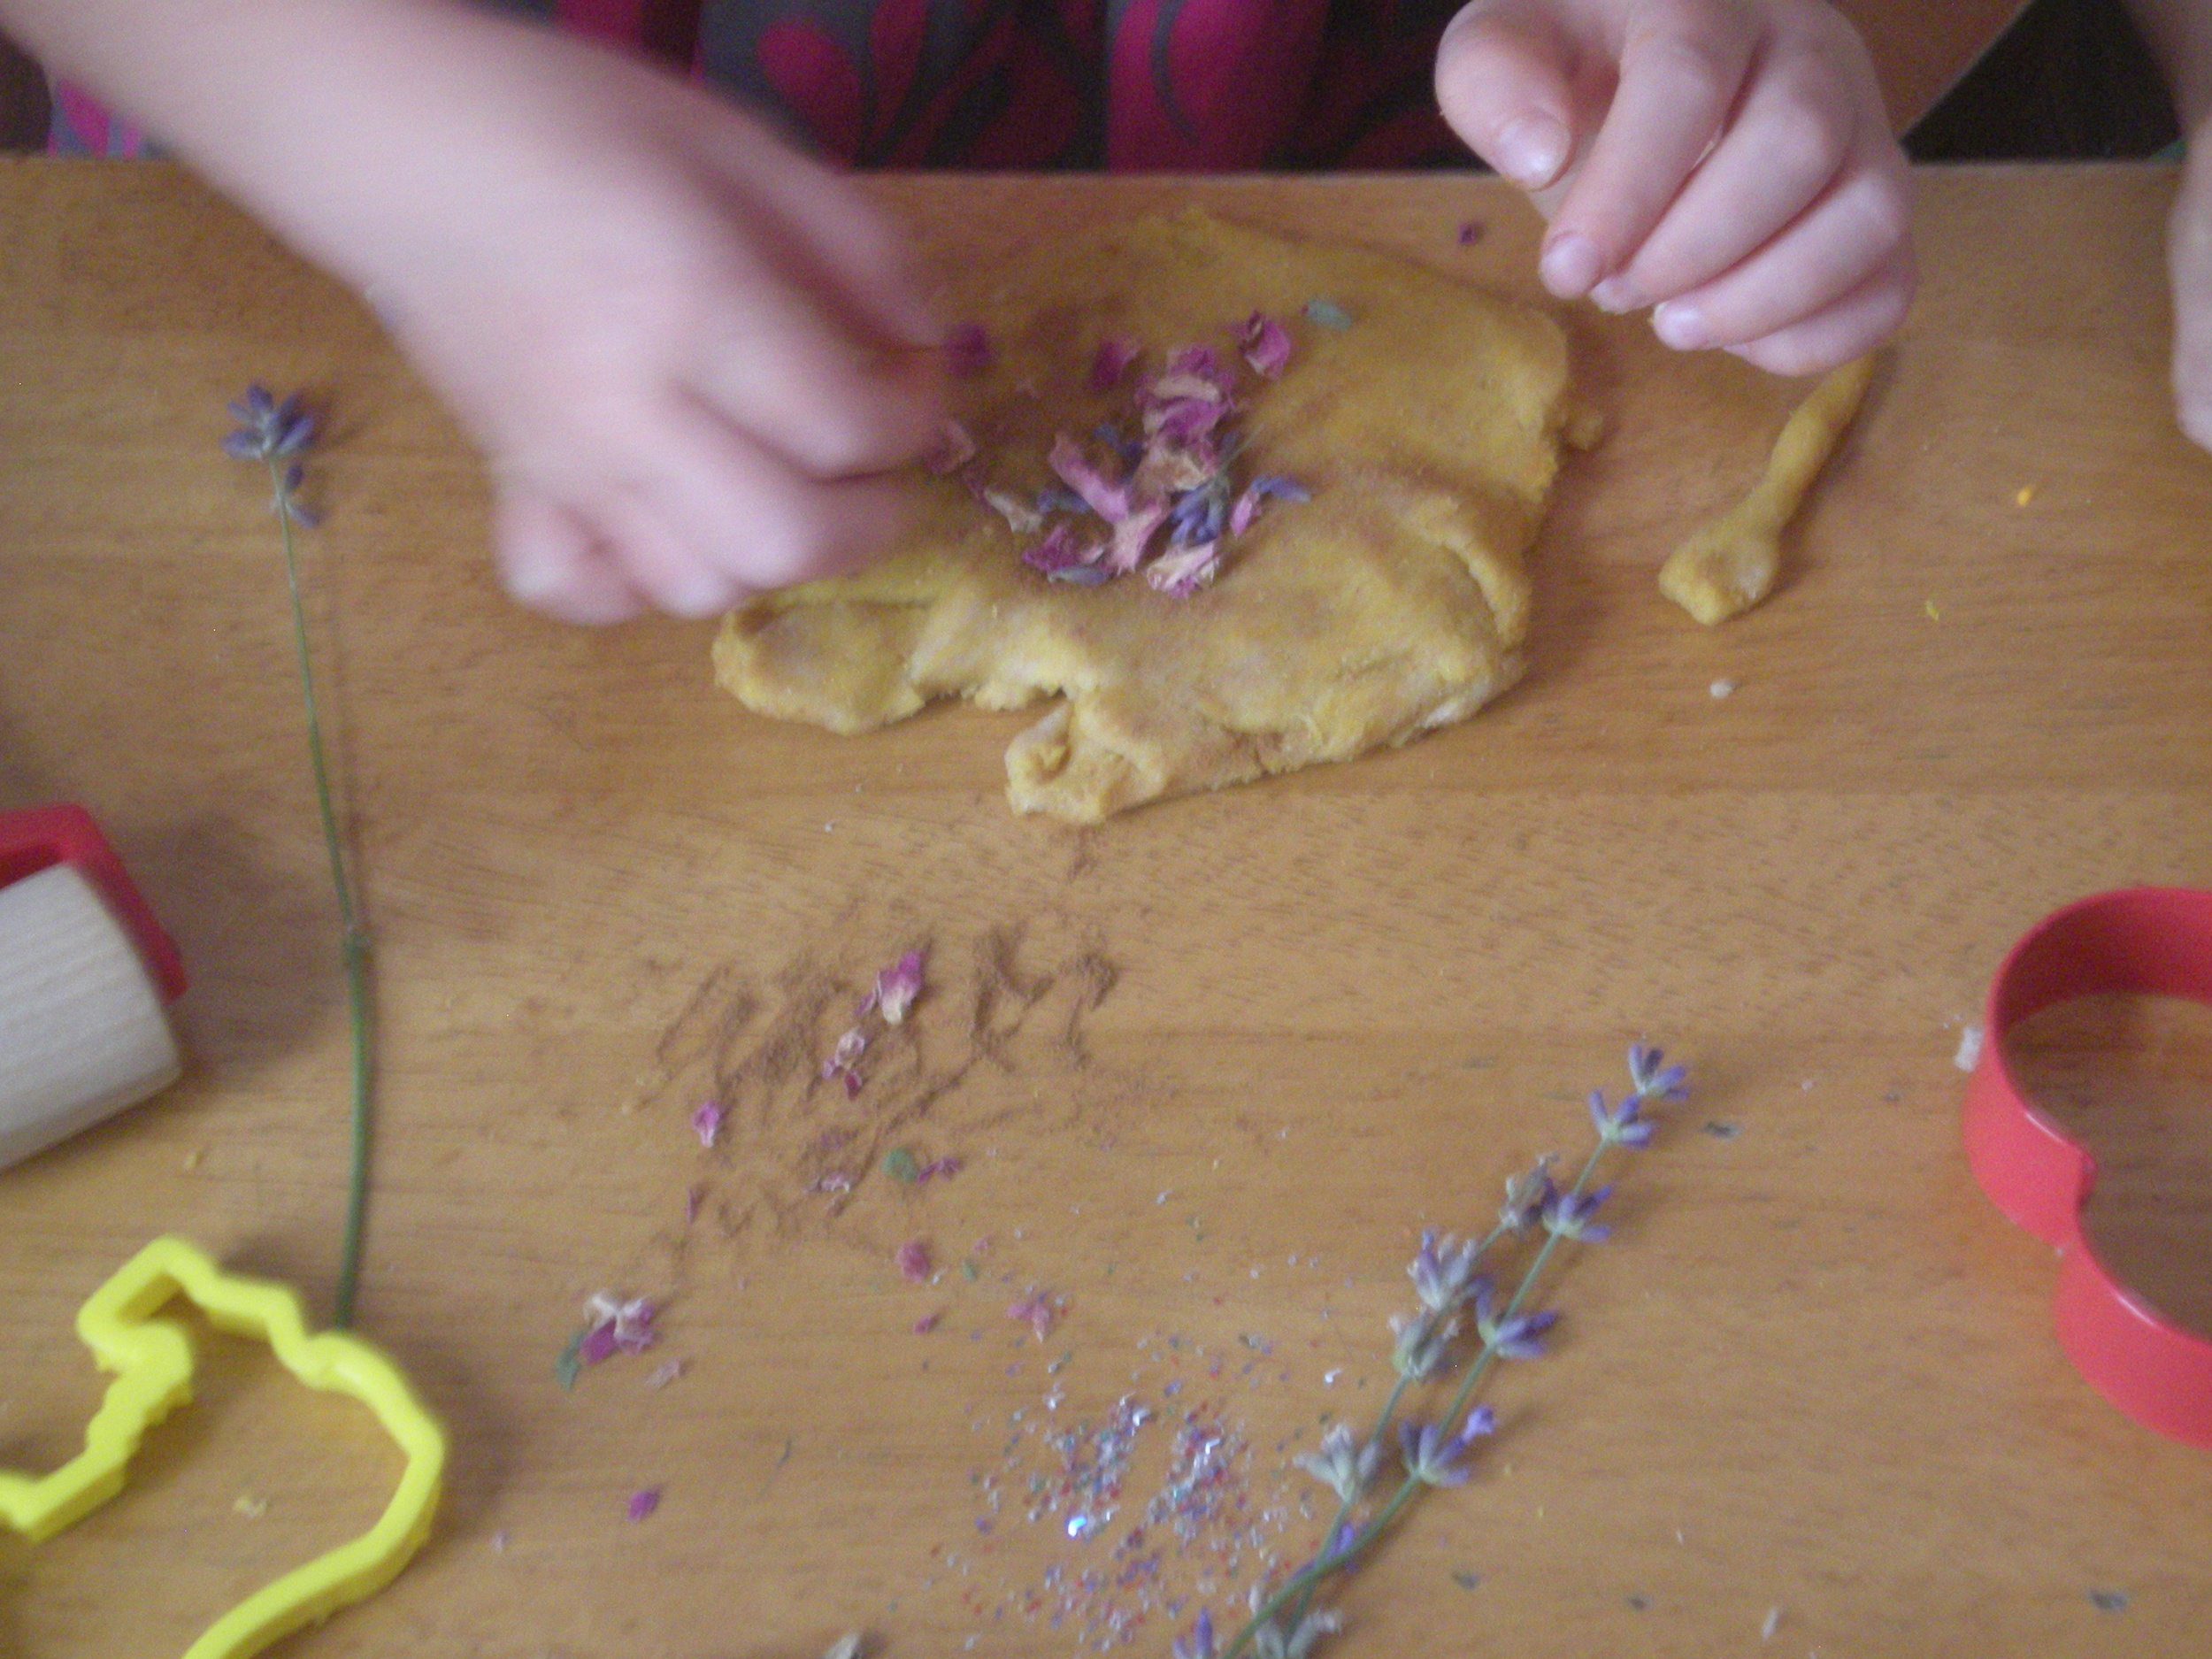
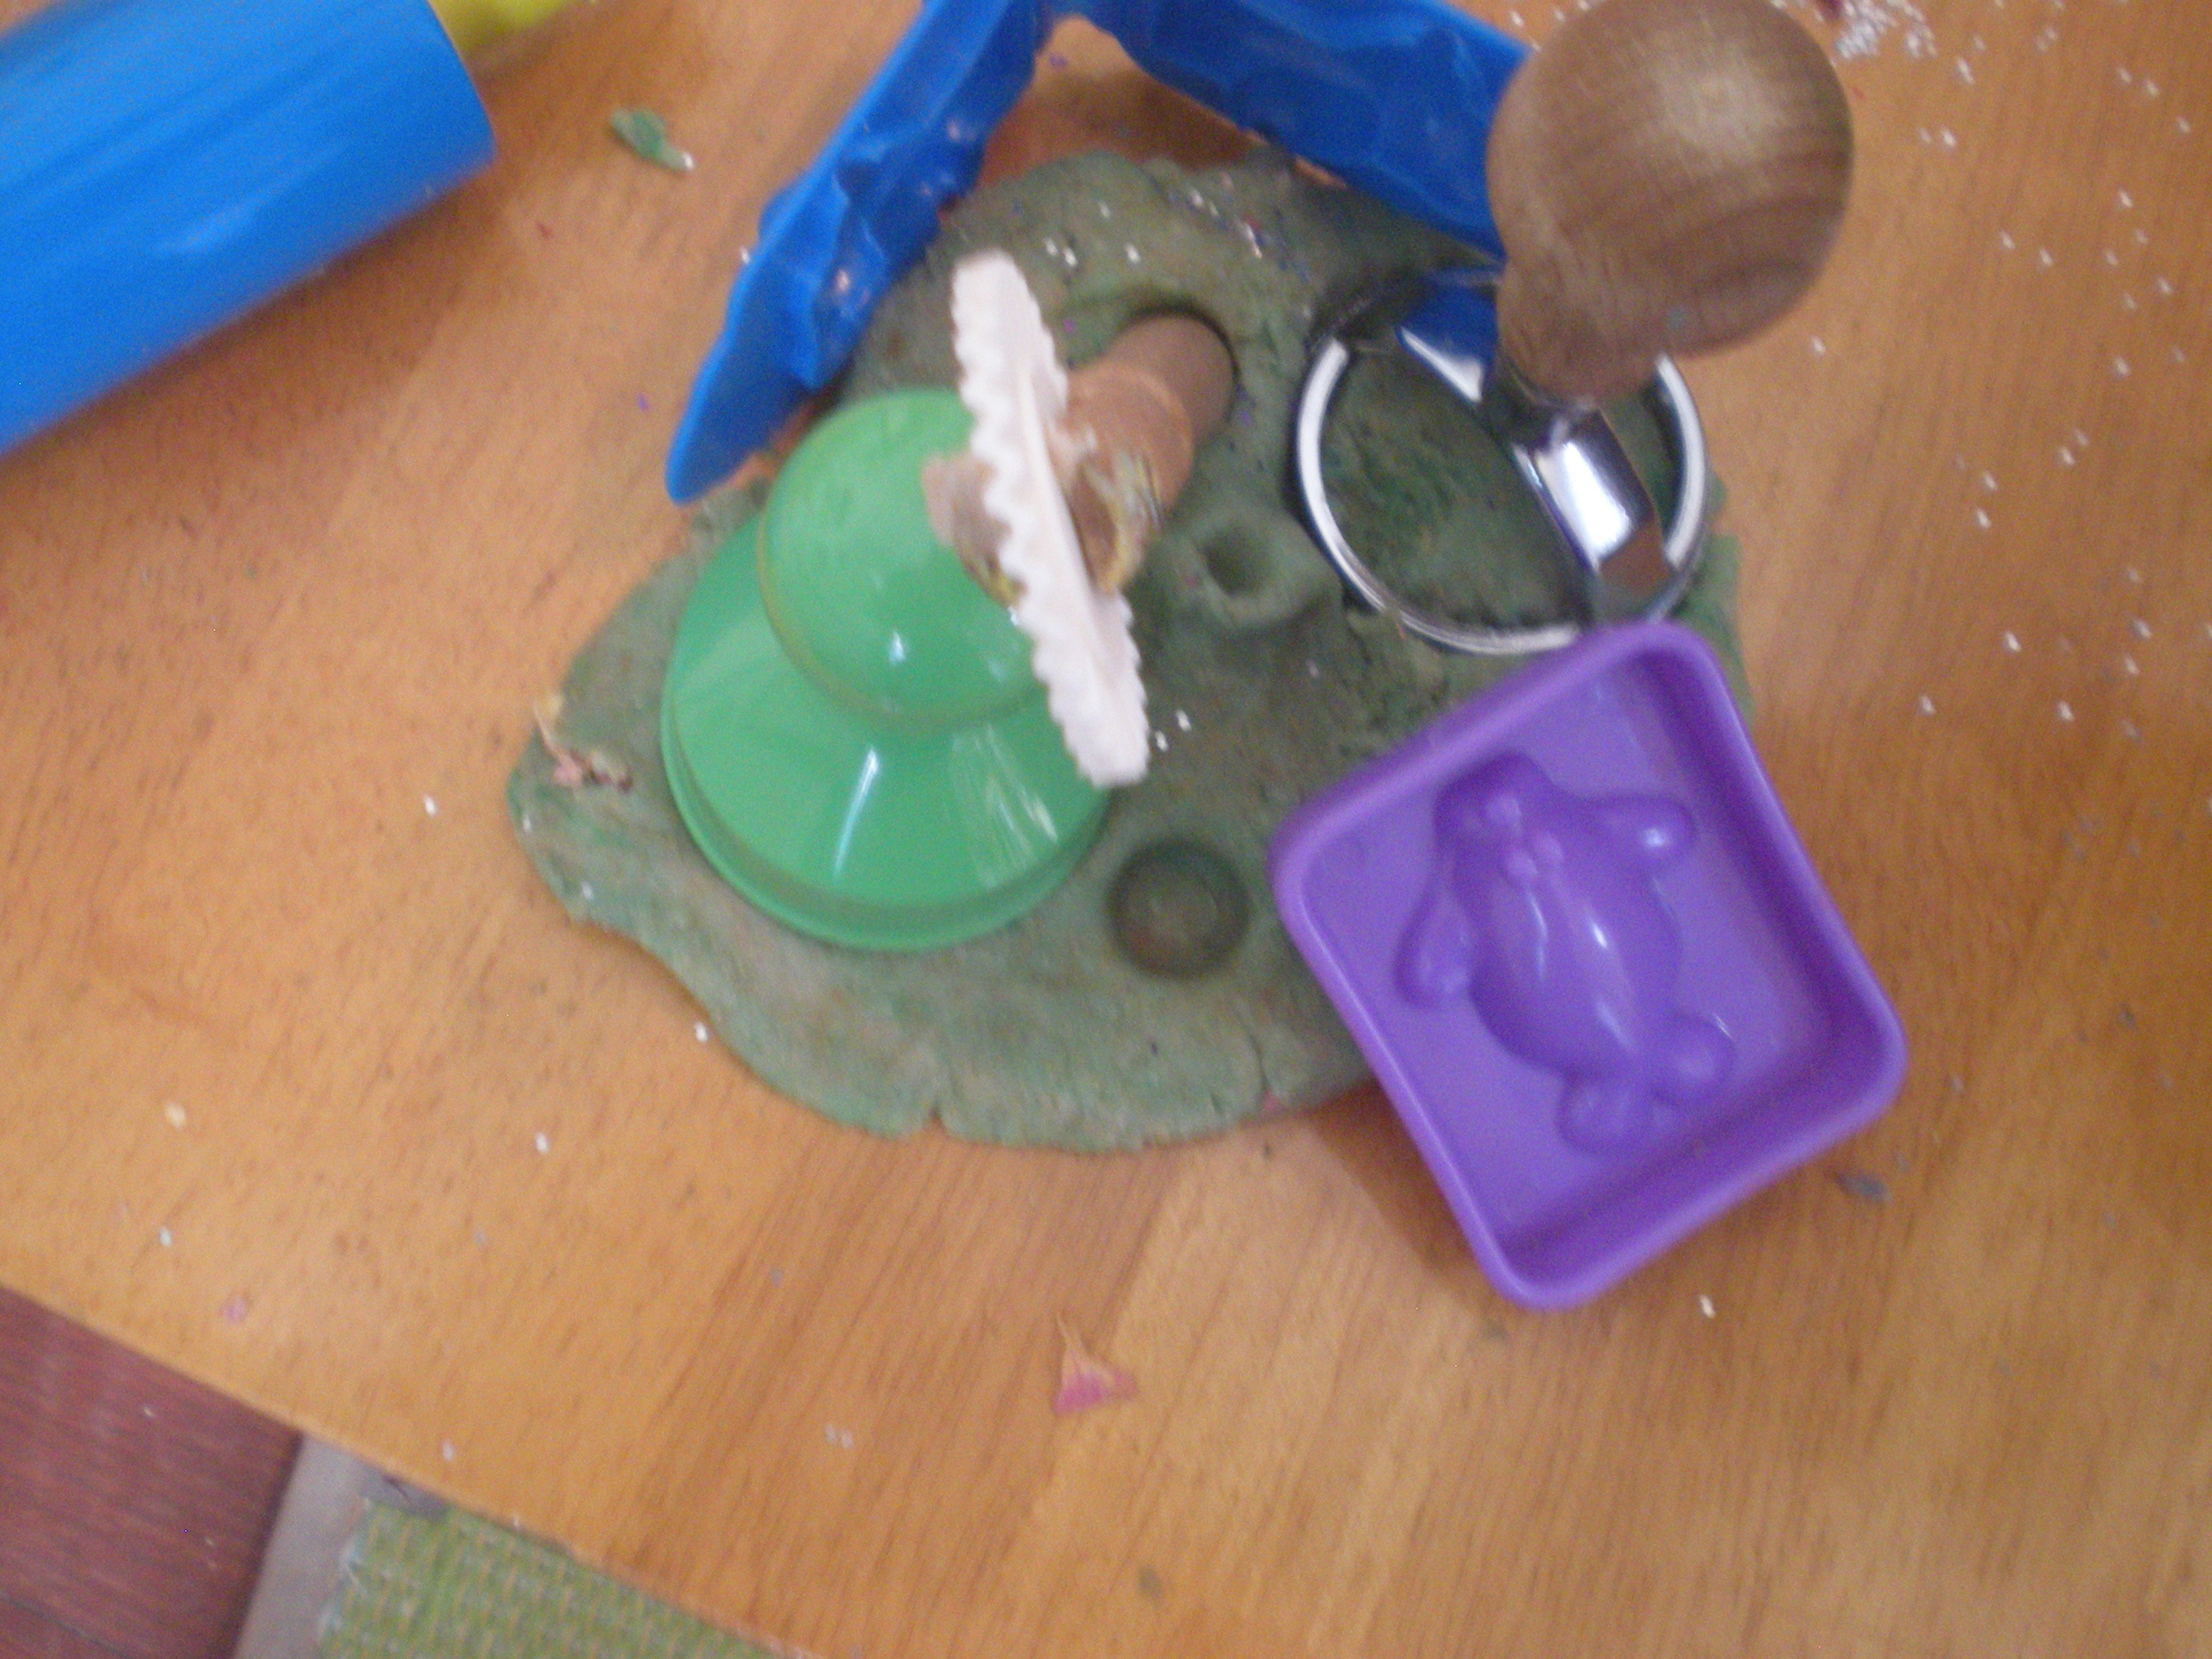
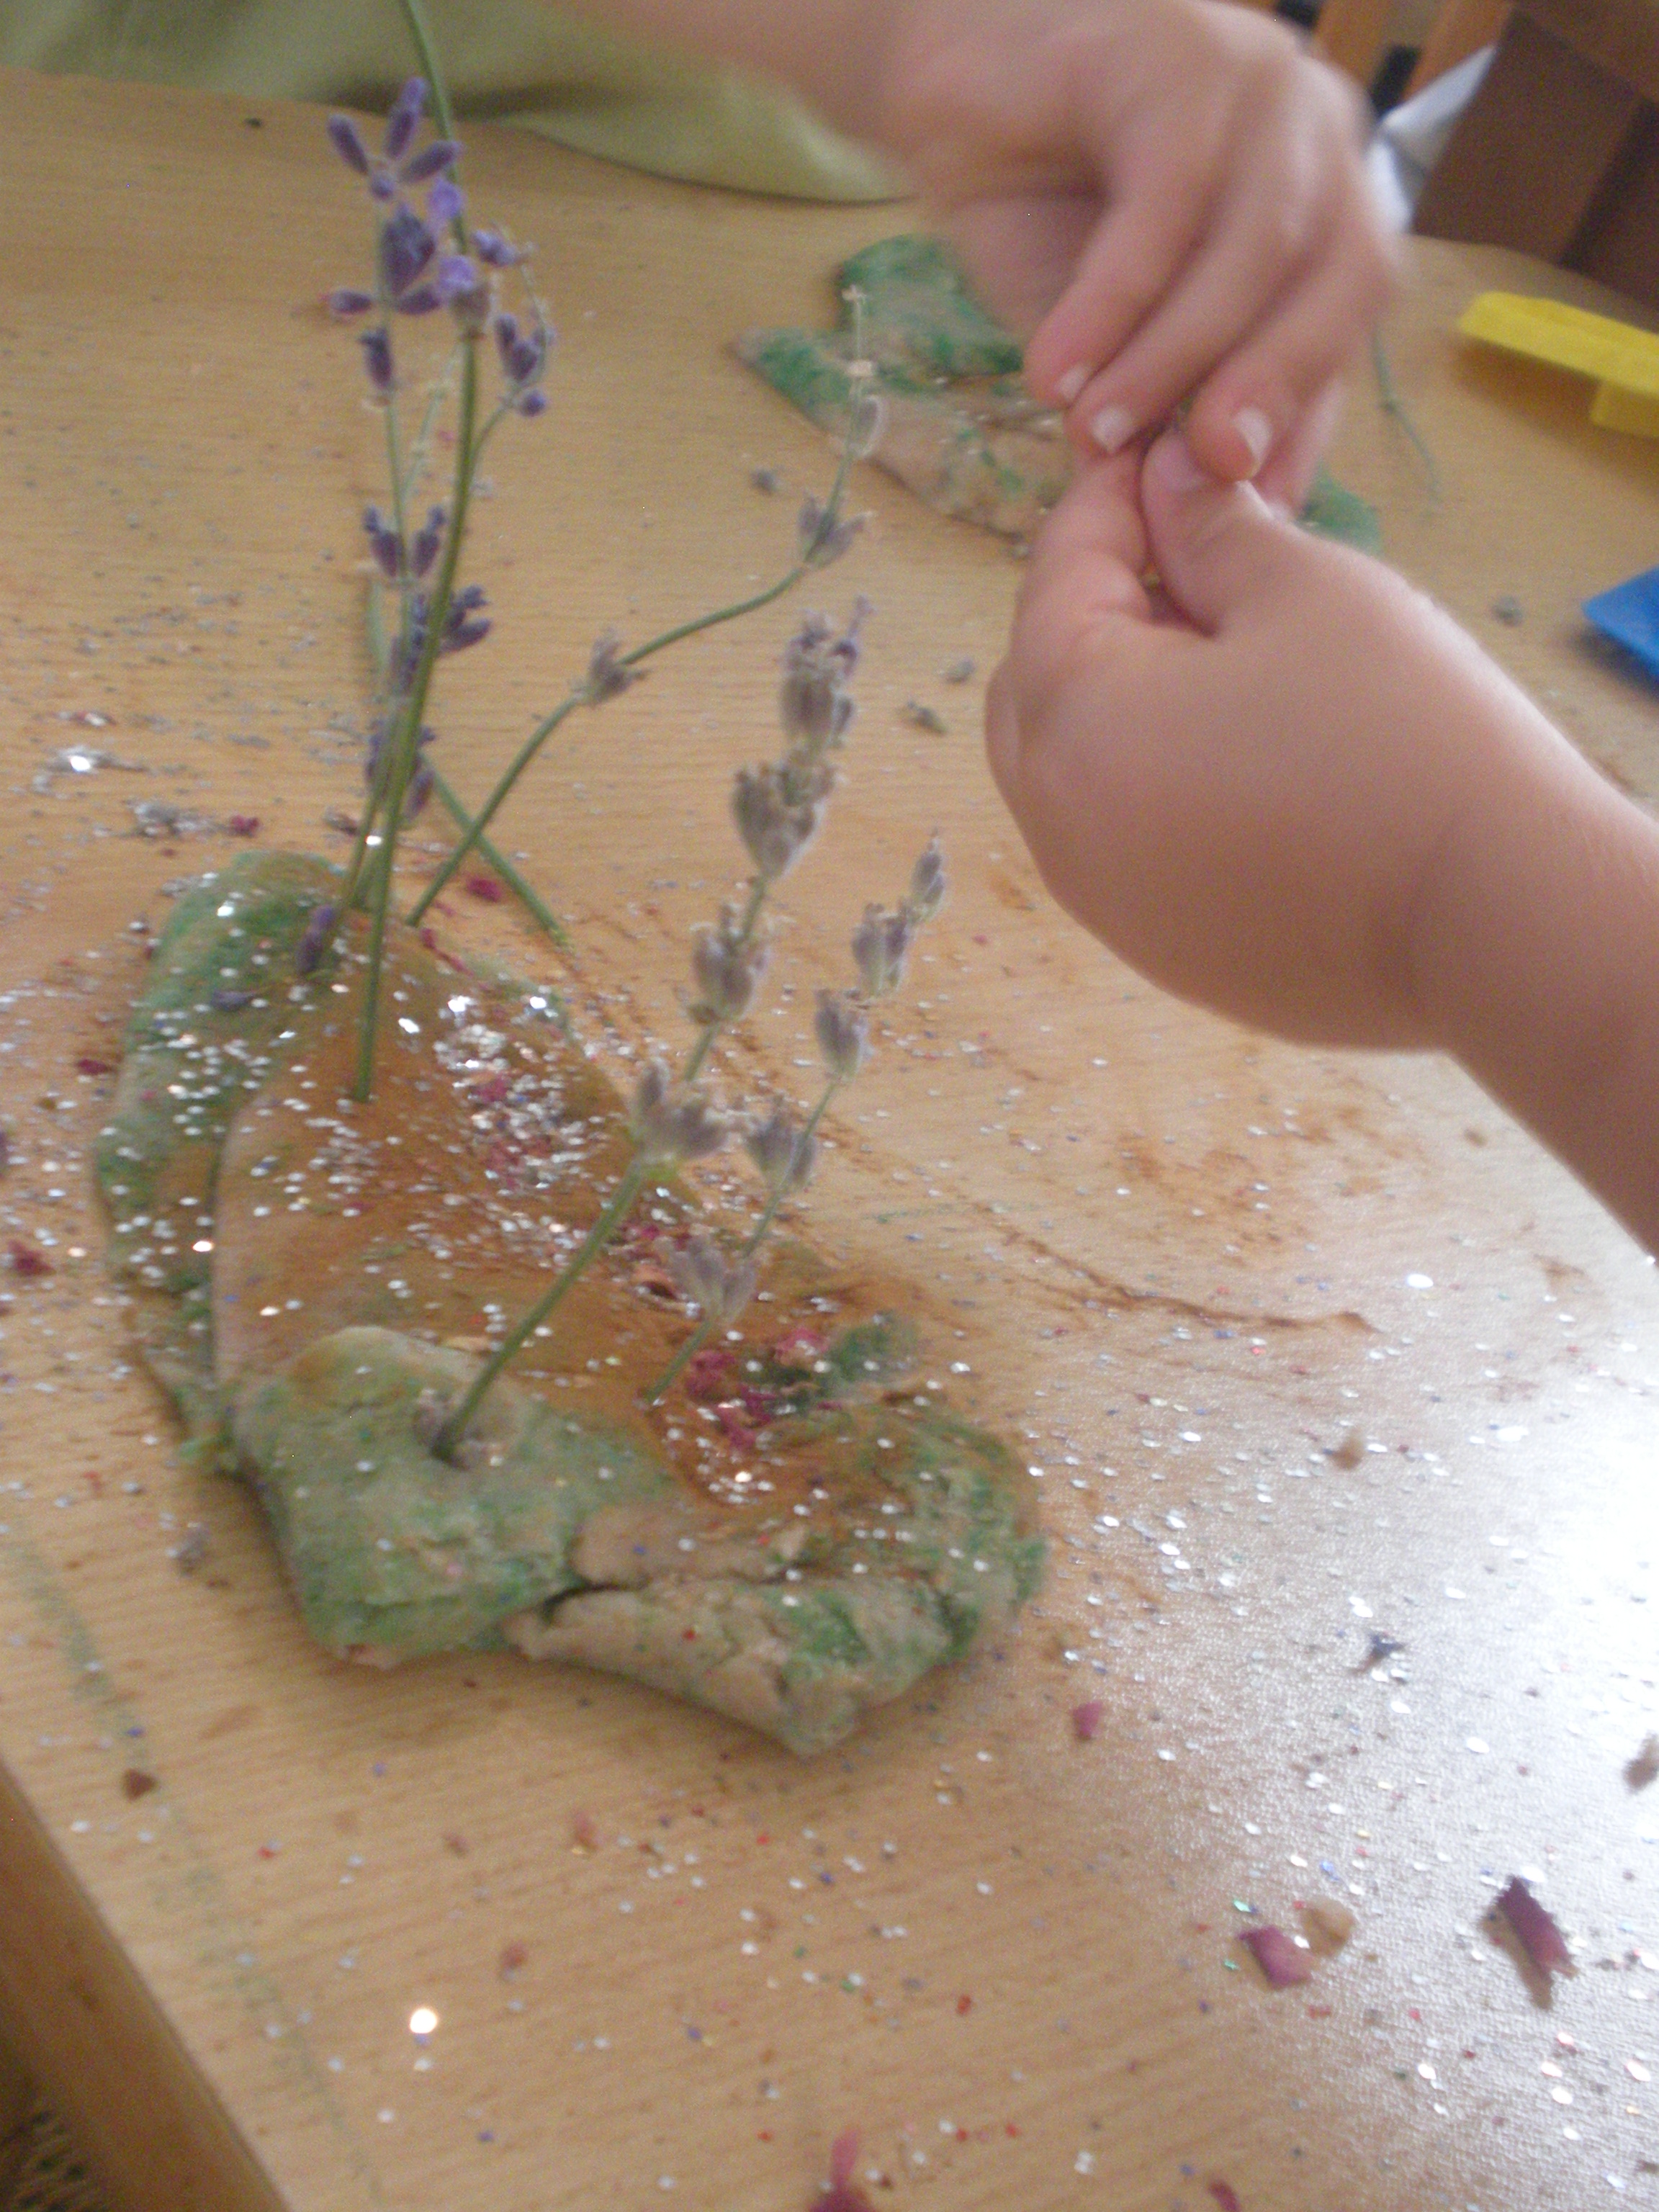
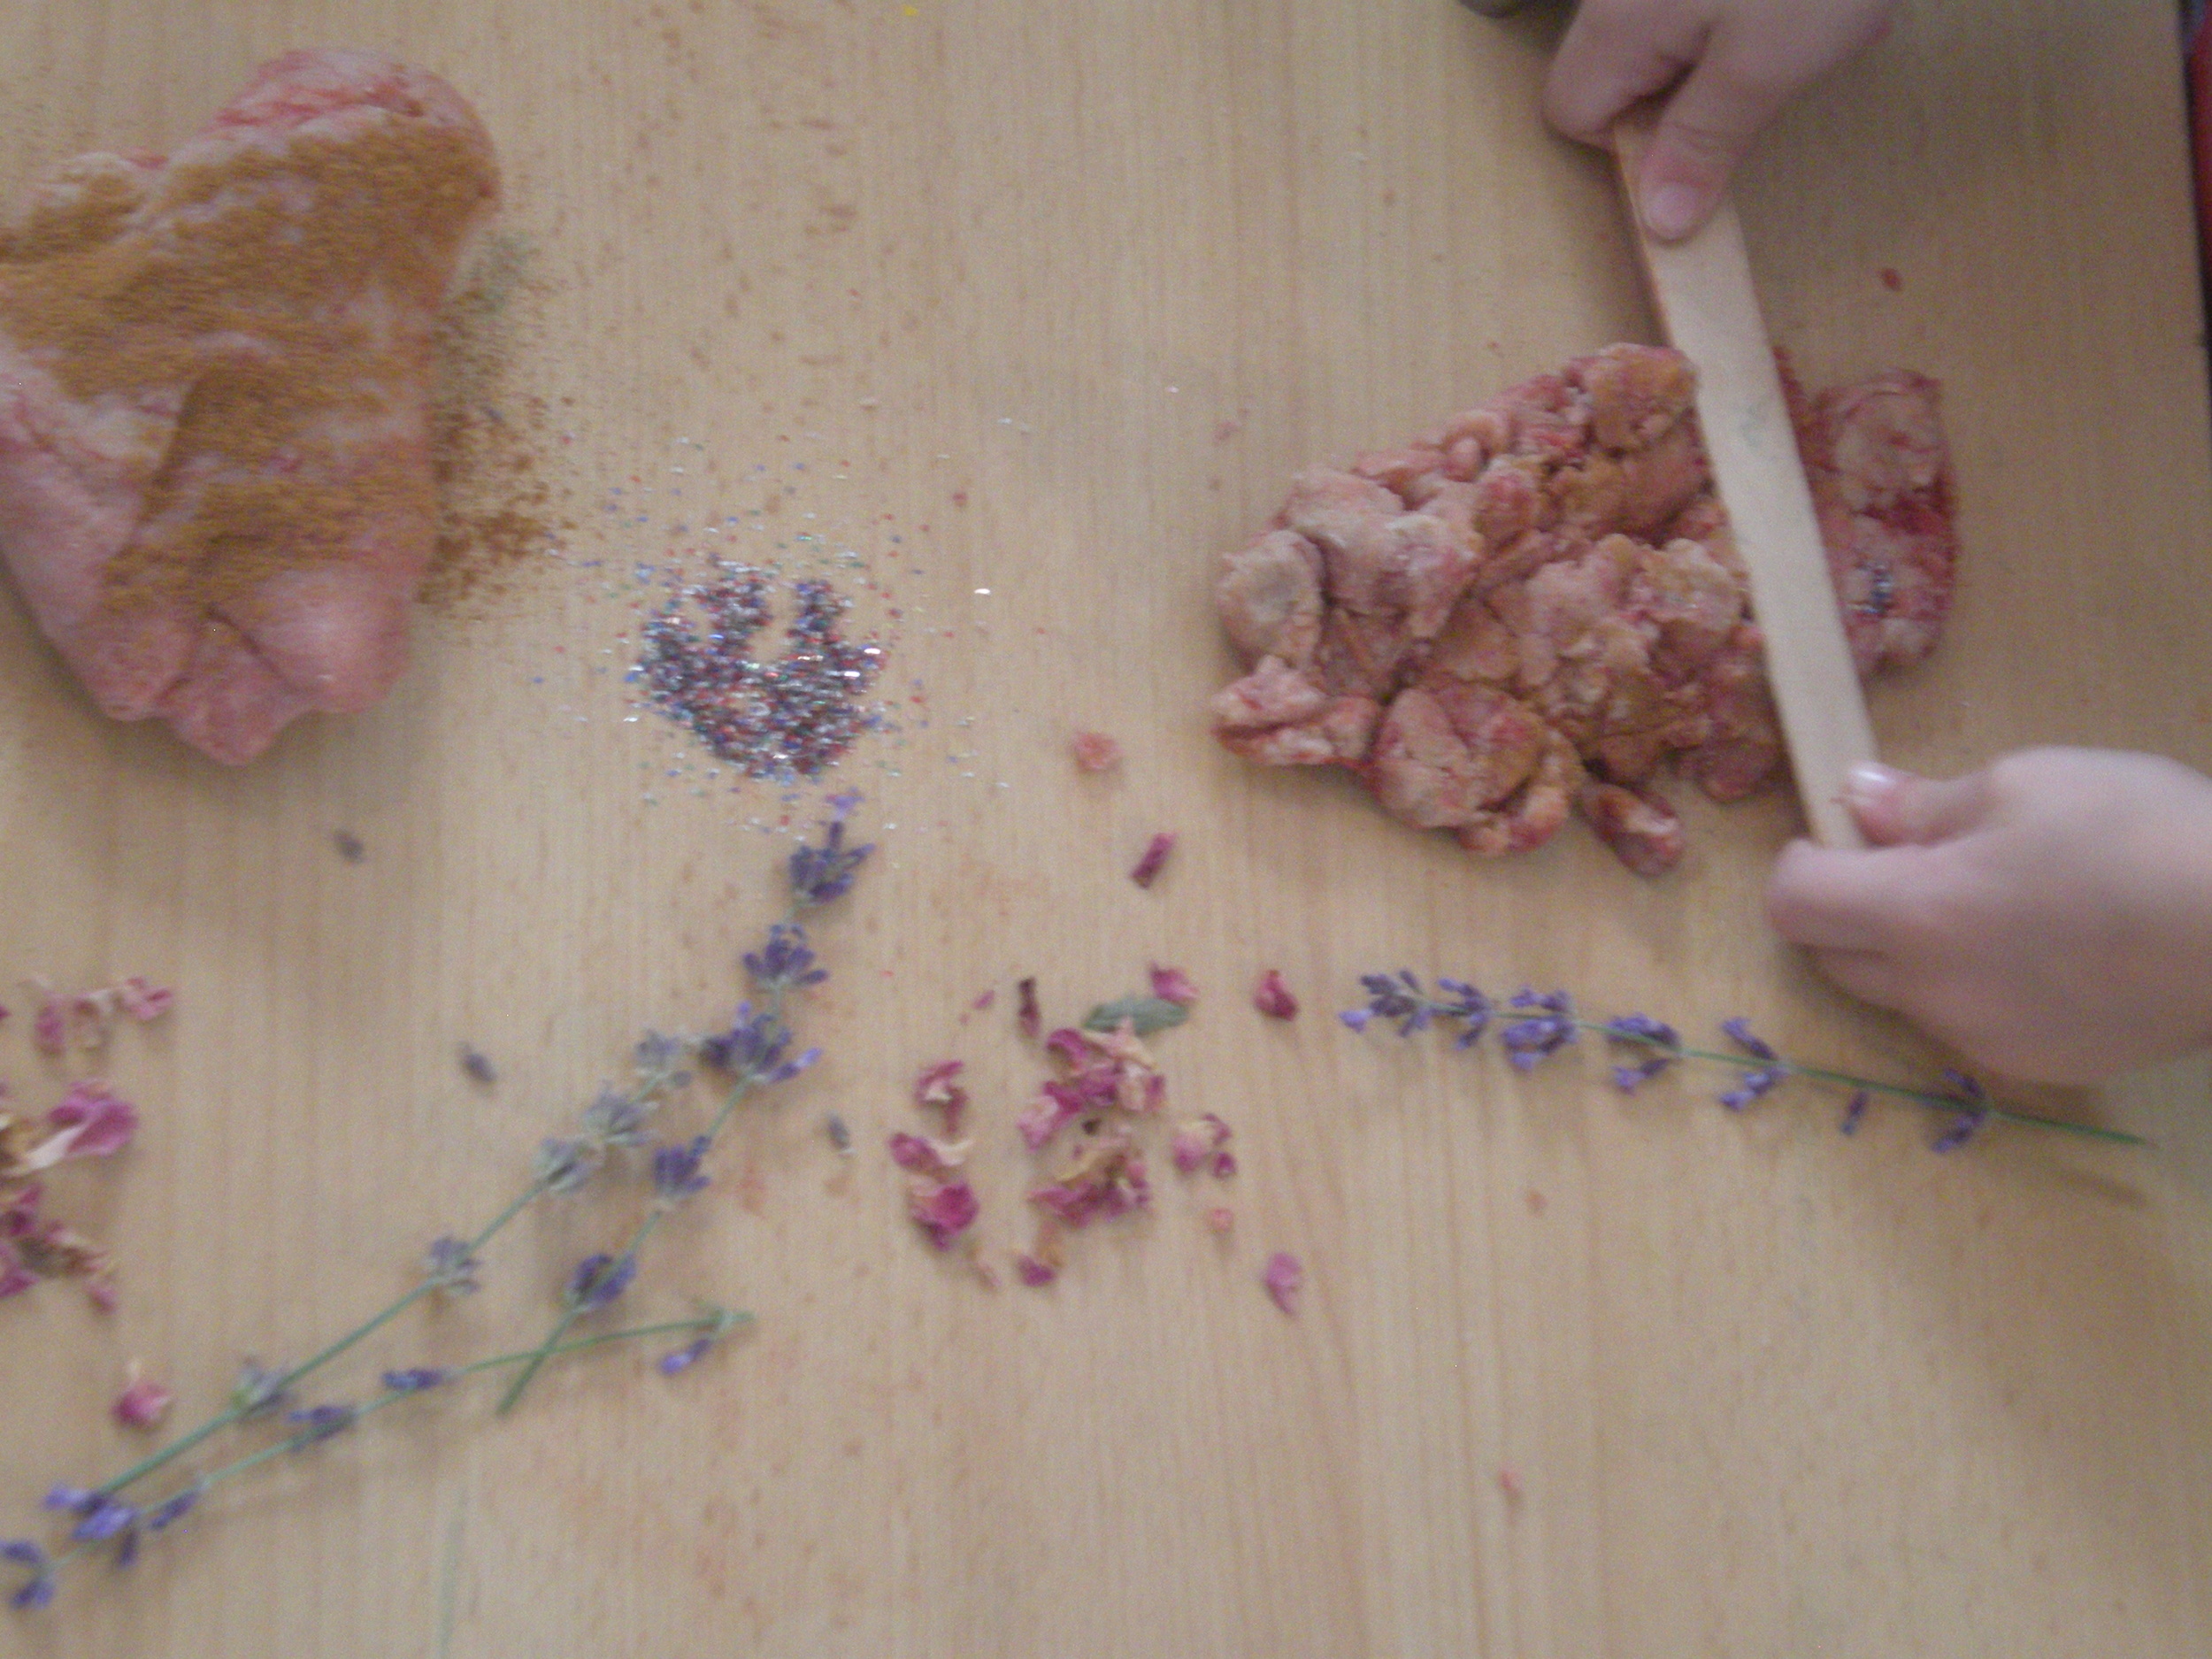
Well, the first day has come and went.  We had a blast making our playdough.  Some of the kids made some really neat pieces of art with their playdough and all the additions we used.  Fresh lavender stalks became trees and dried roses became lava.

Enjoy the pictures!


Please Note about essential oils: Essential oils are concentrated plant substances.  They are dangerous and should not be used unsupervised around children.  Always keep the oils up and out of reach when you aren’t using them and be sure that an adult is the one who holds and uses the bottles.  I tell the kids that the essential oils are for teachers to use.  Some oils smell like really yummy food, so please do be careful.  Use mild oils like the ones listed above.

Shared on: The Weekly Kid's Co-op, DJDaniel4's Mom, Charlotte Mom Favorites

Meditation Friends

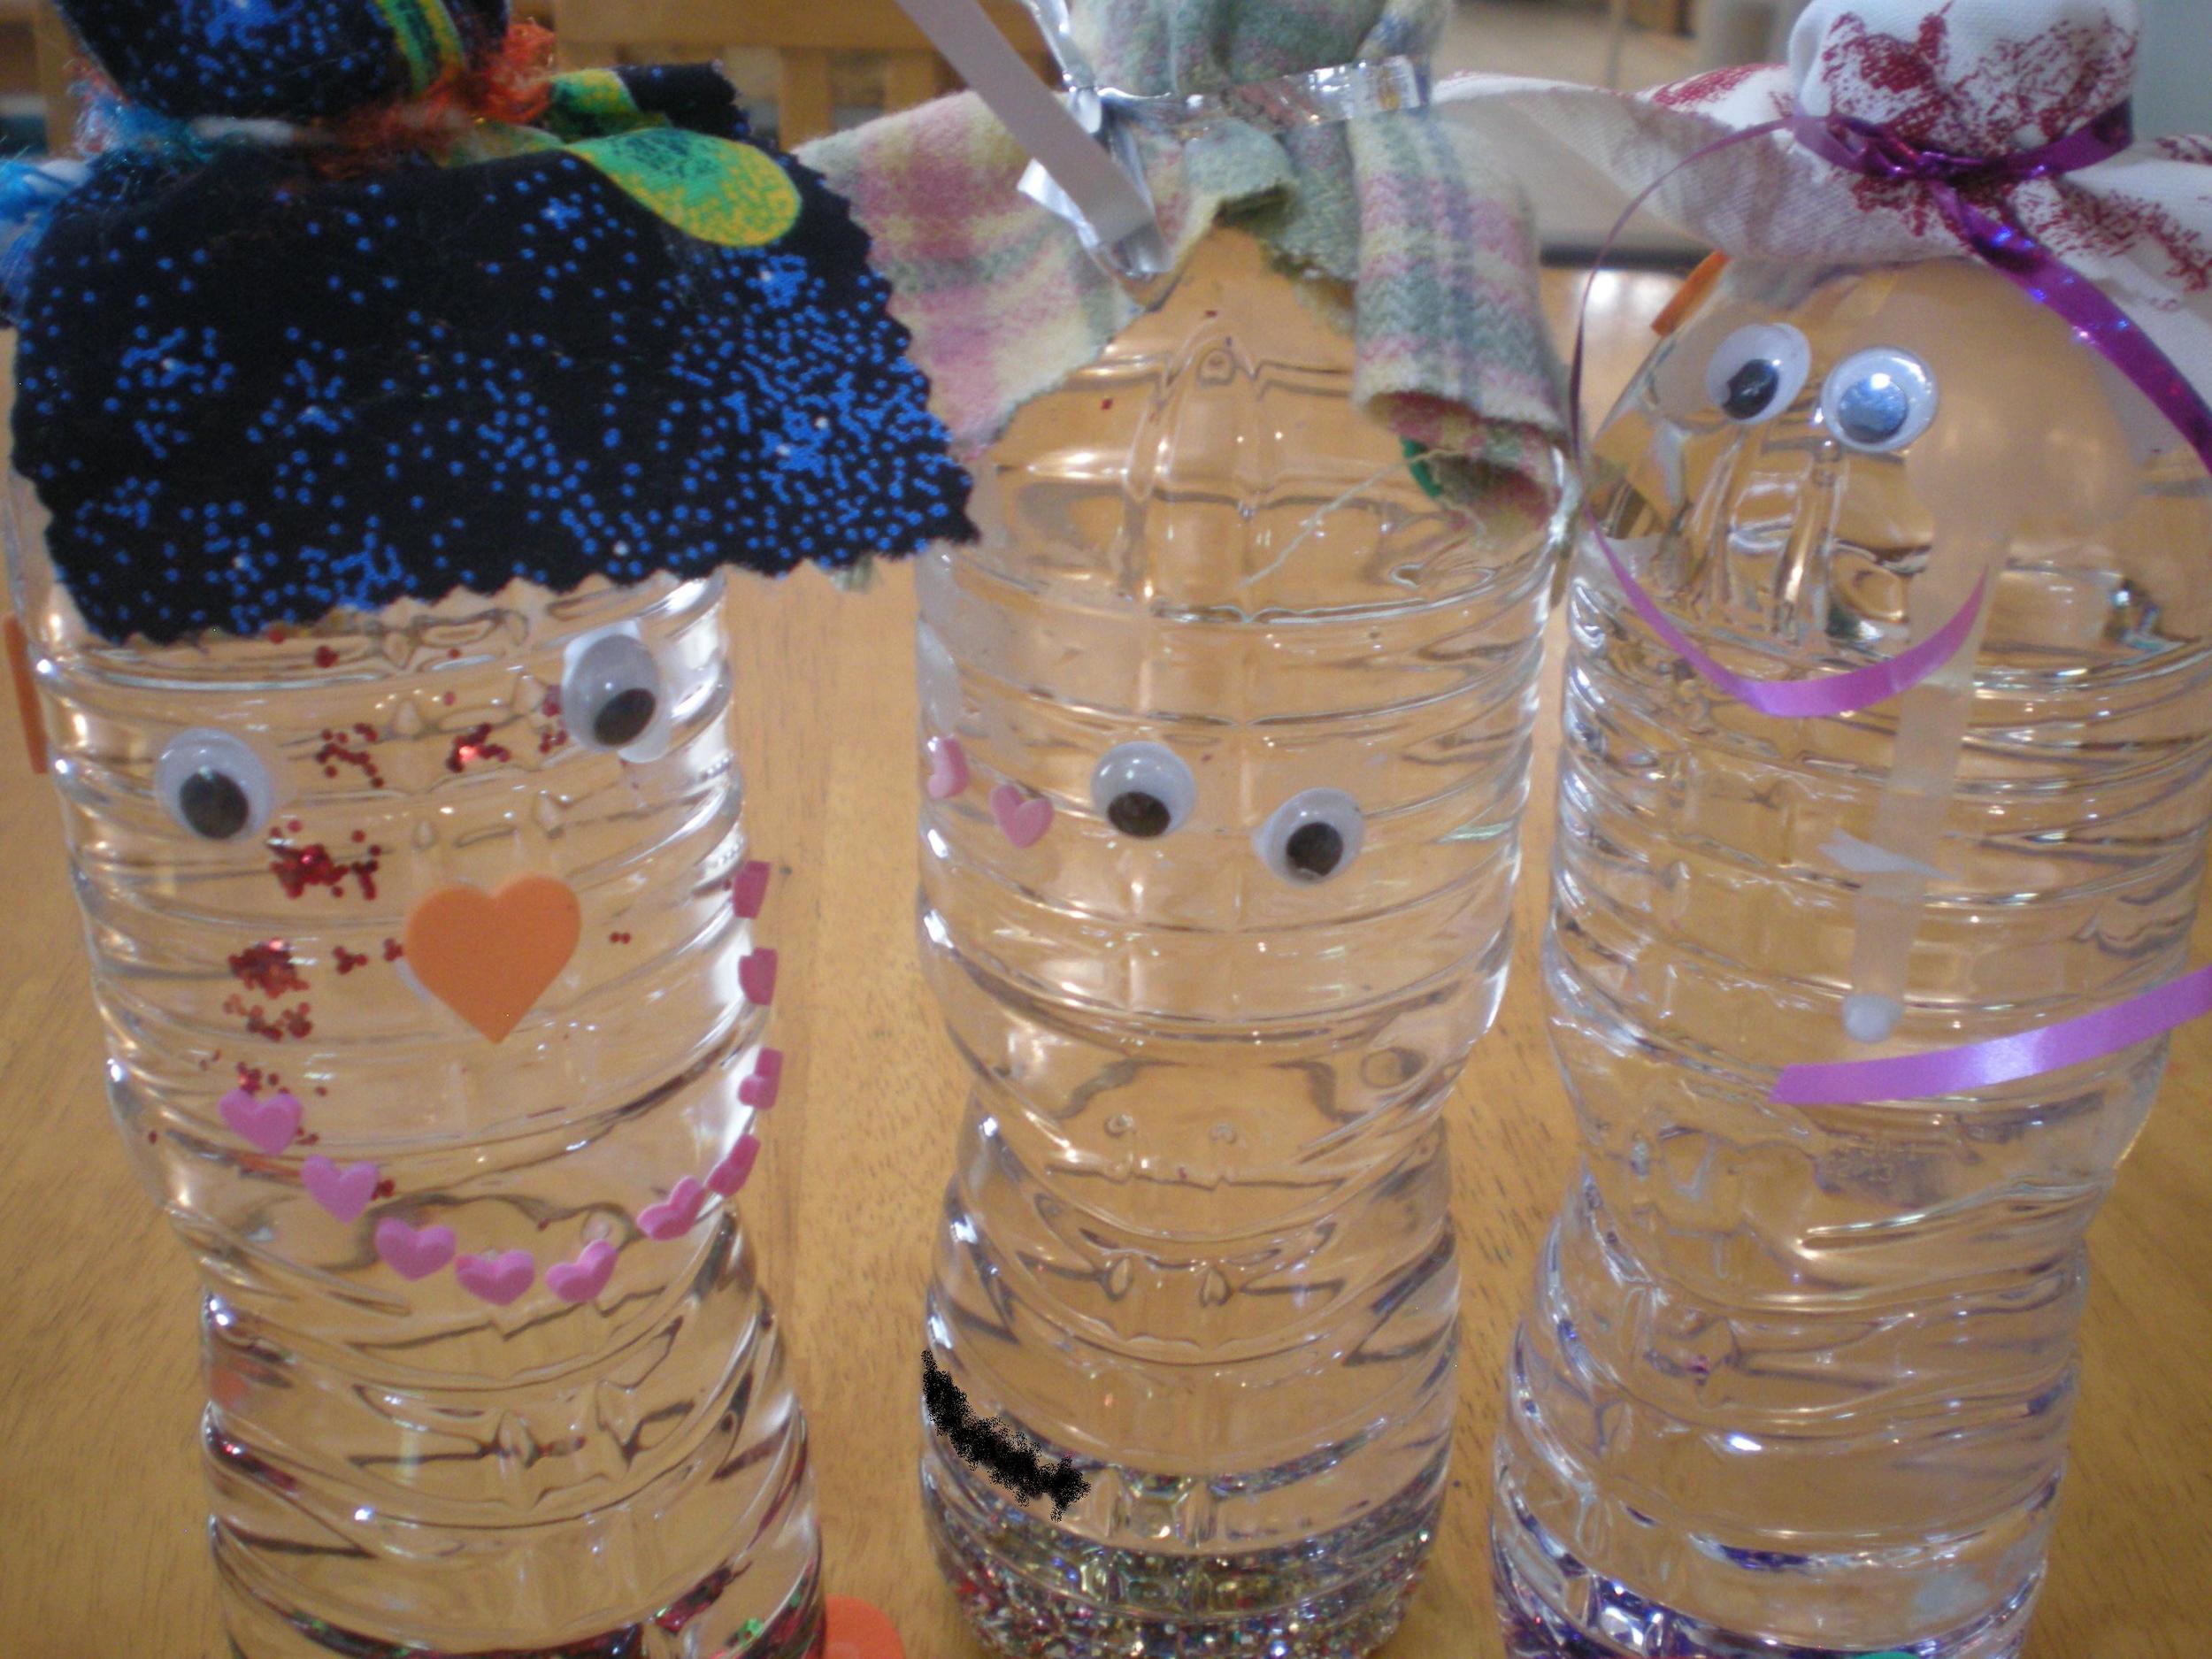
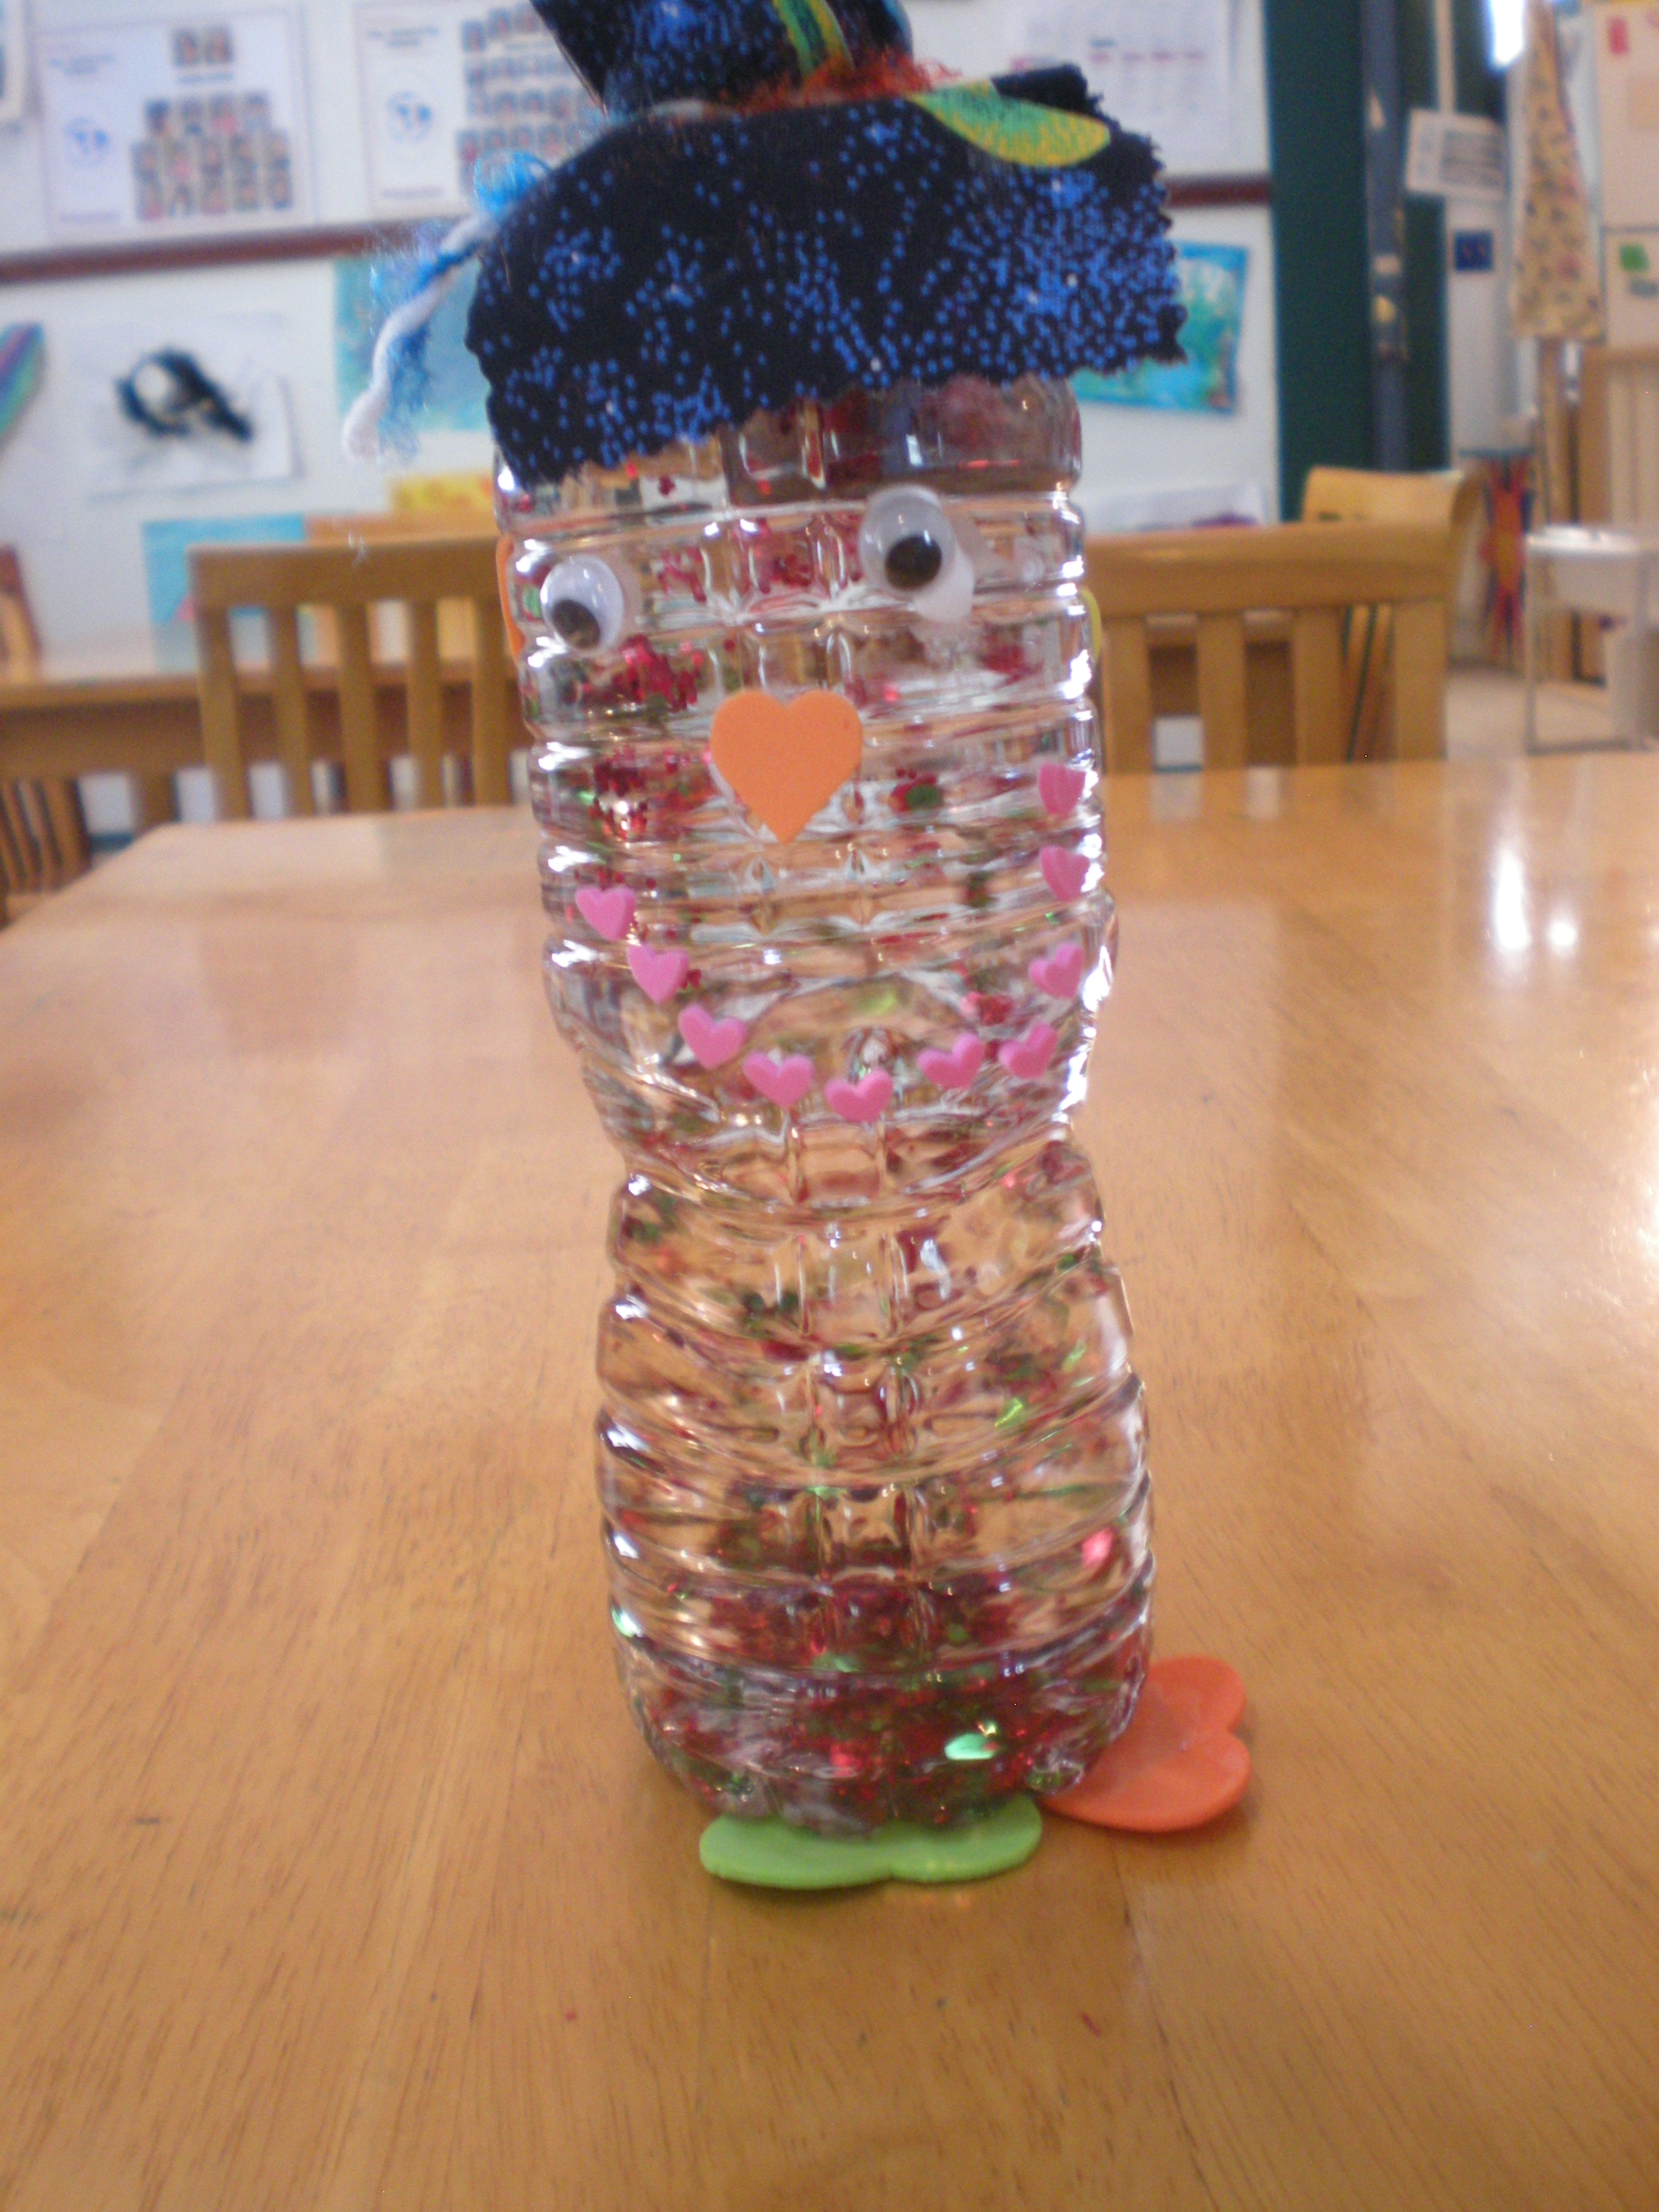
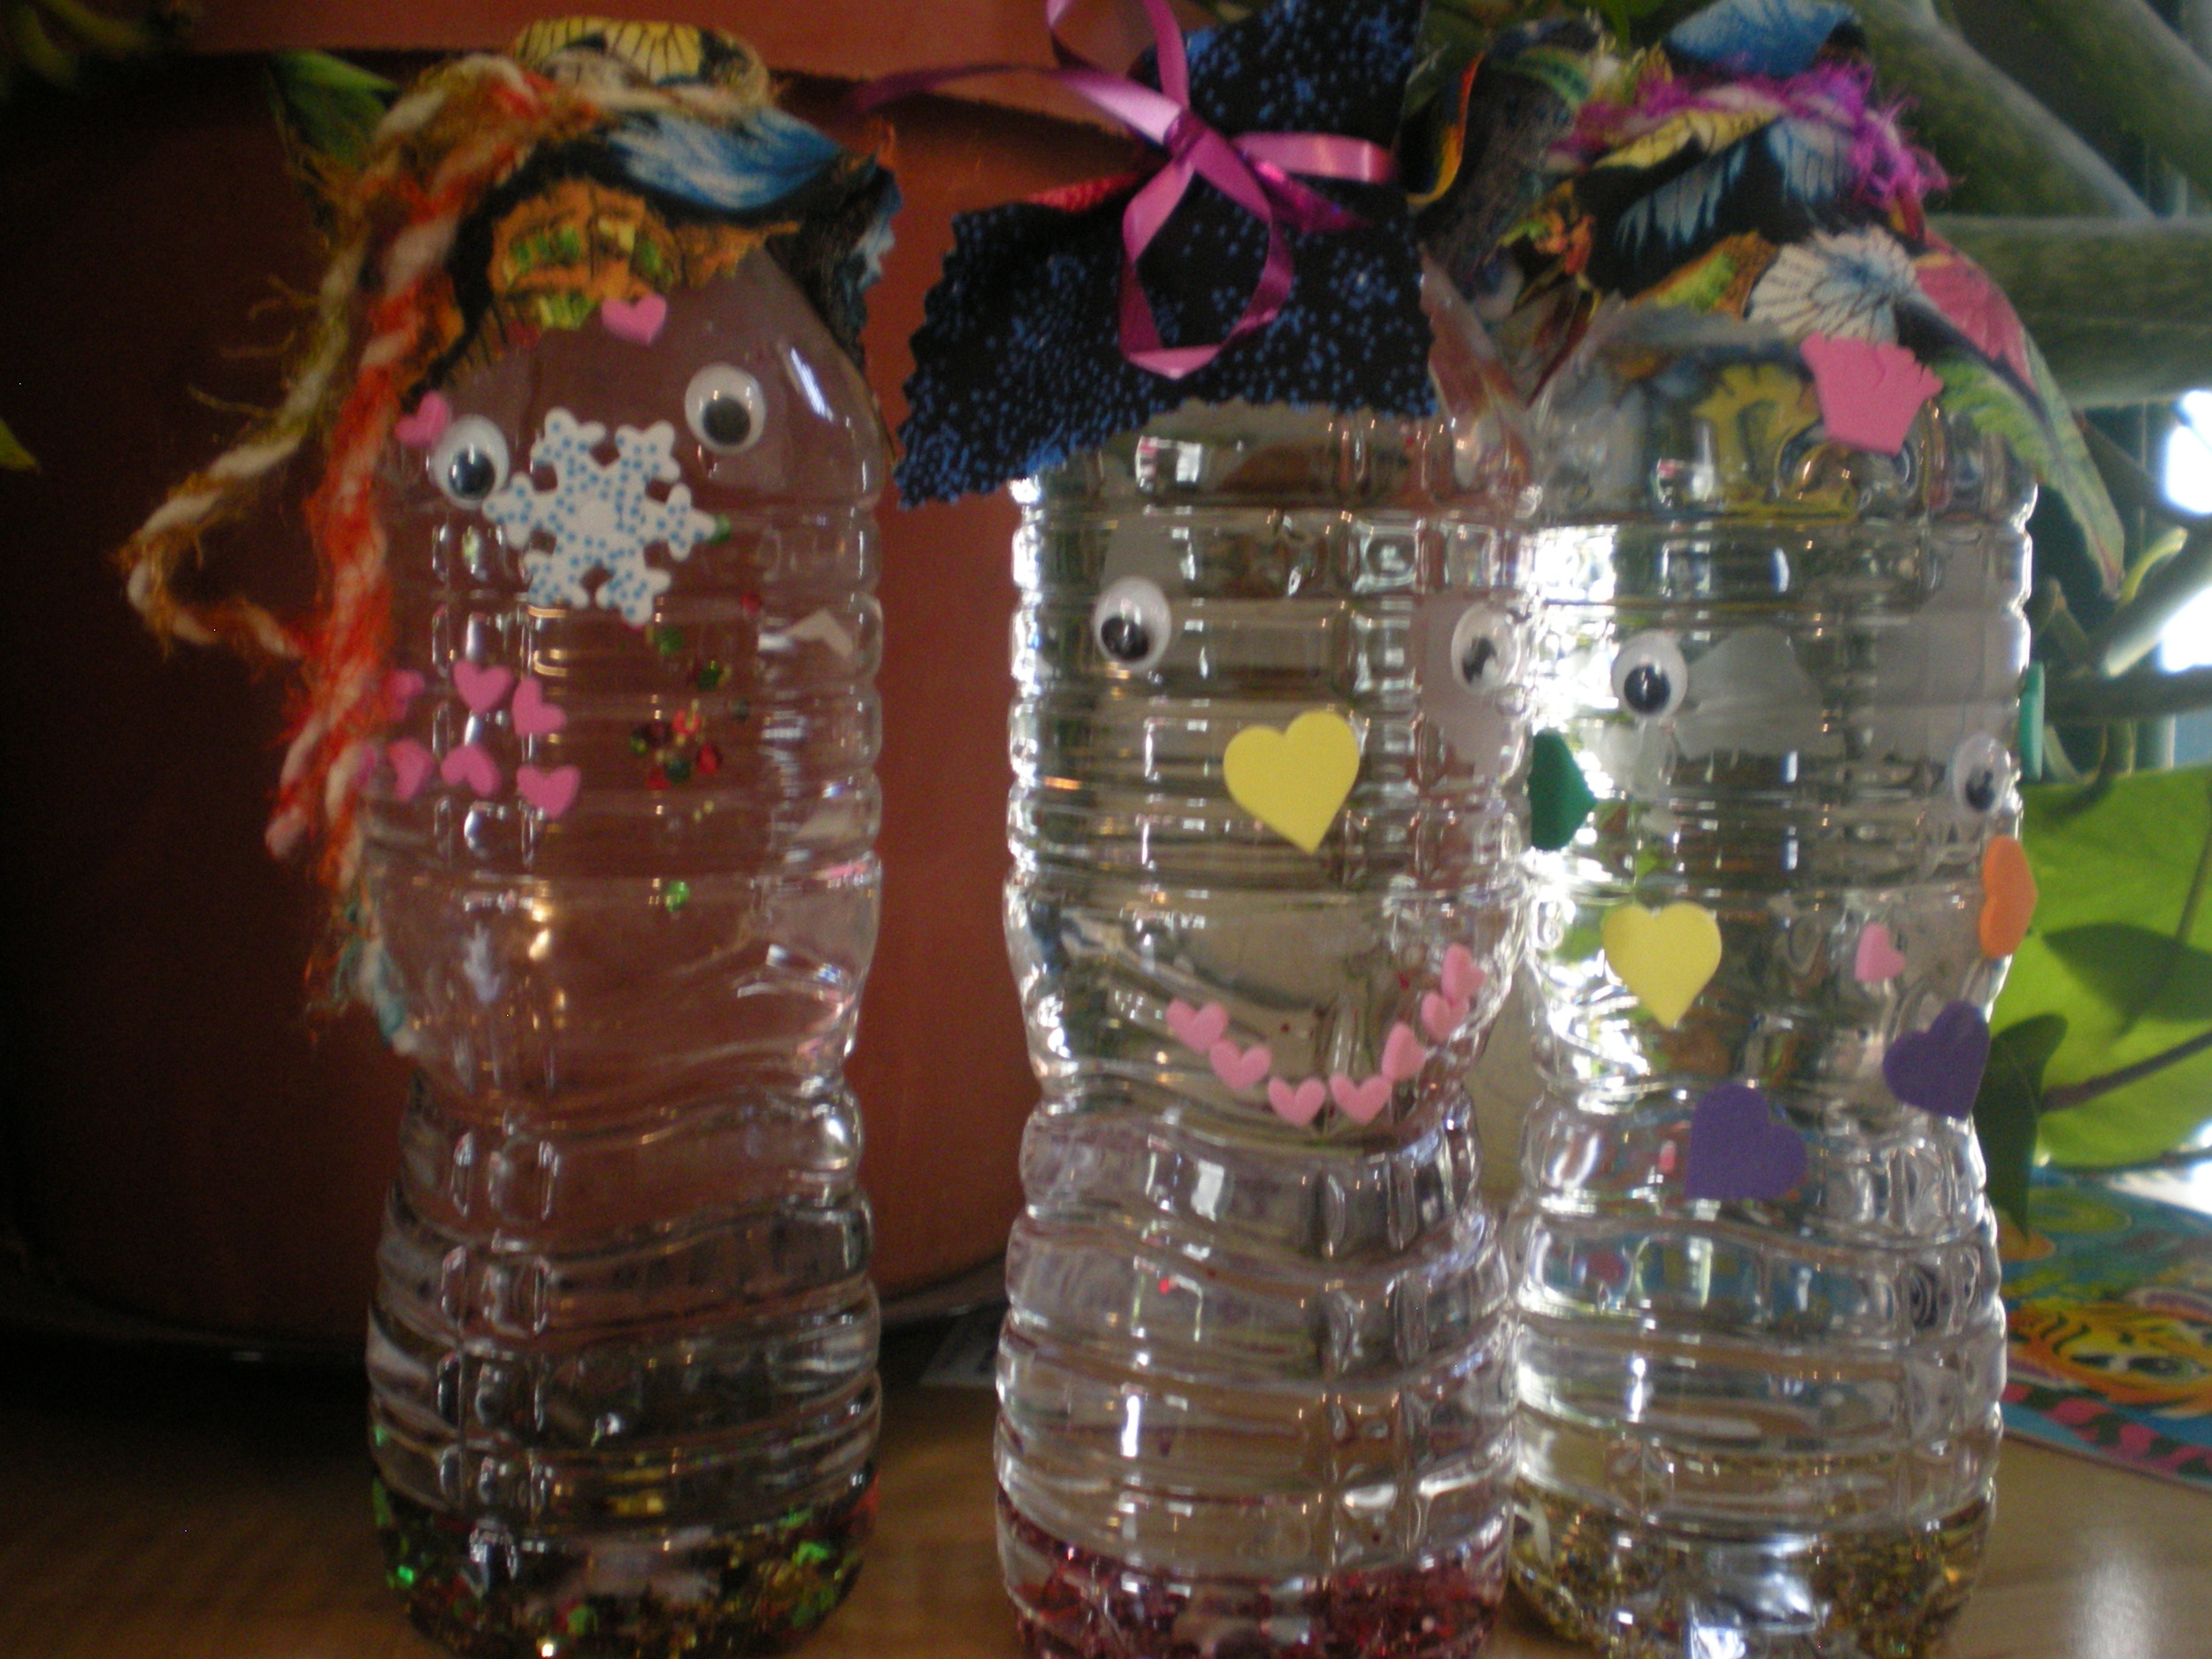
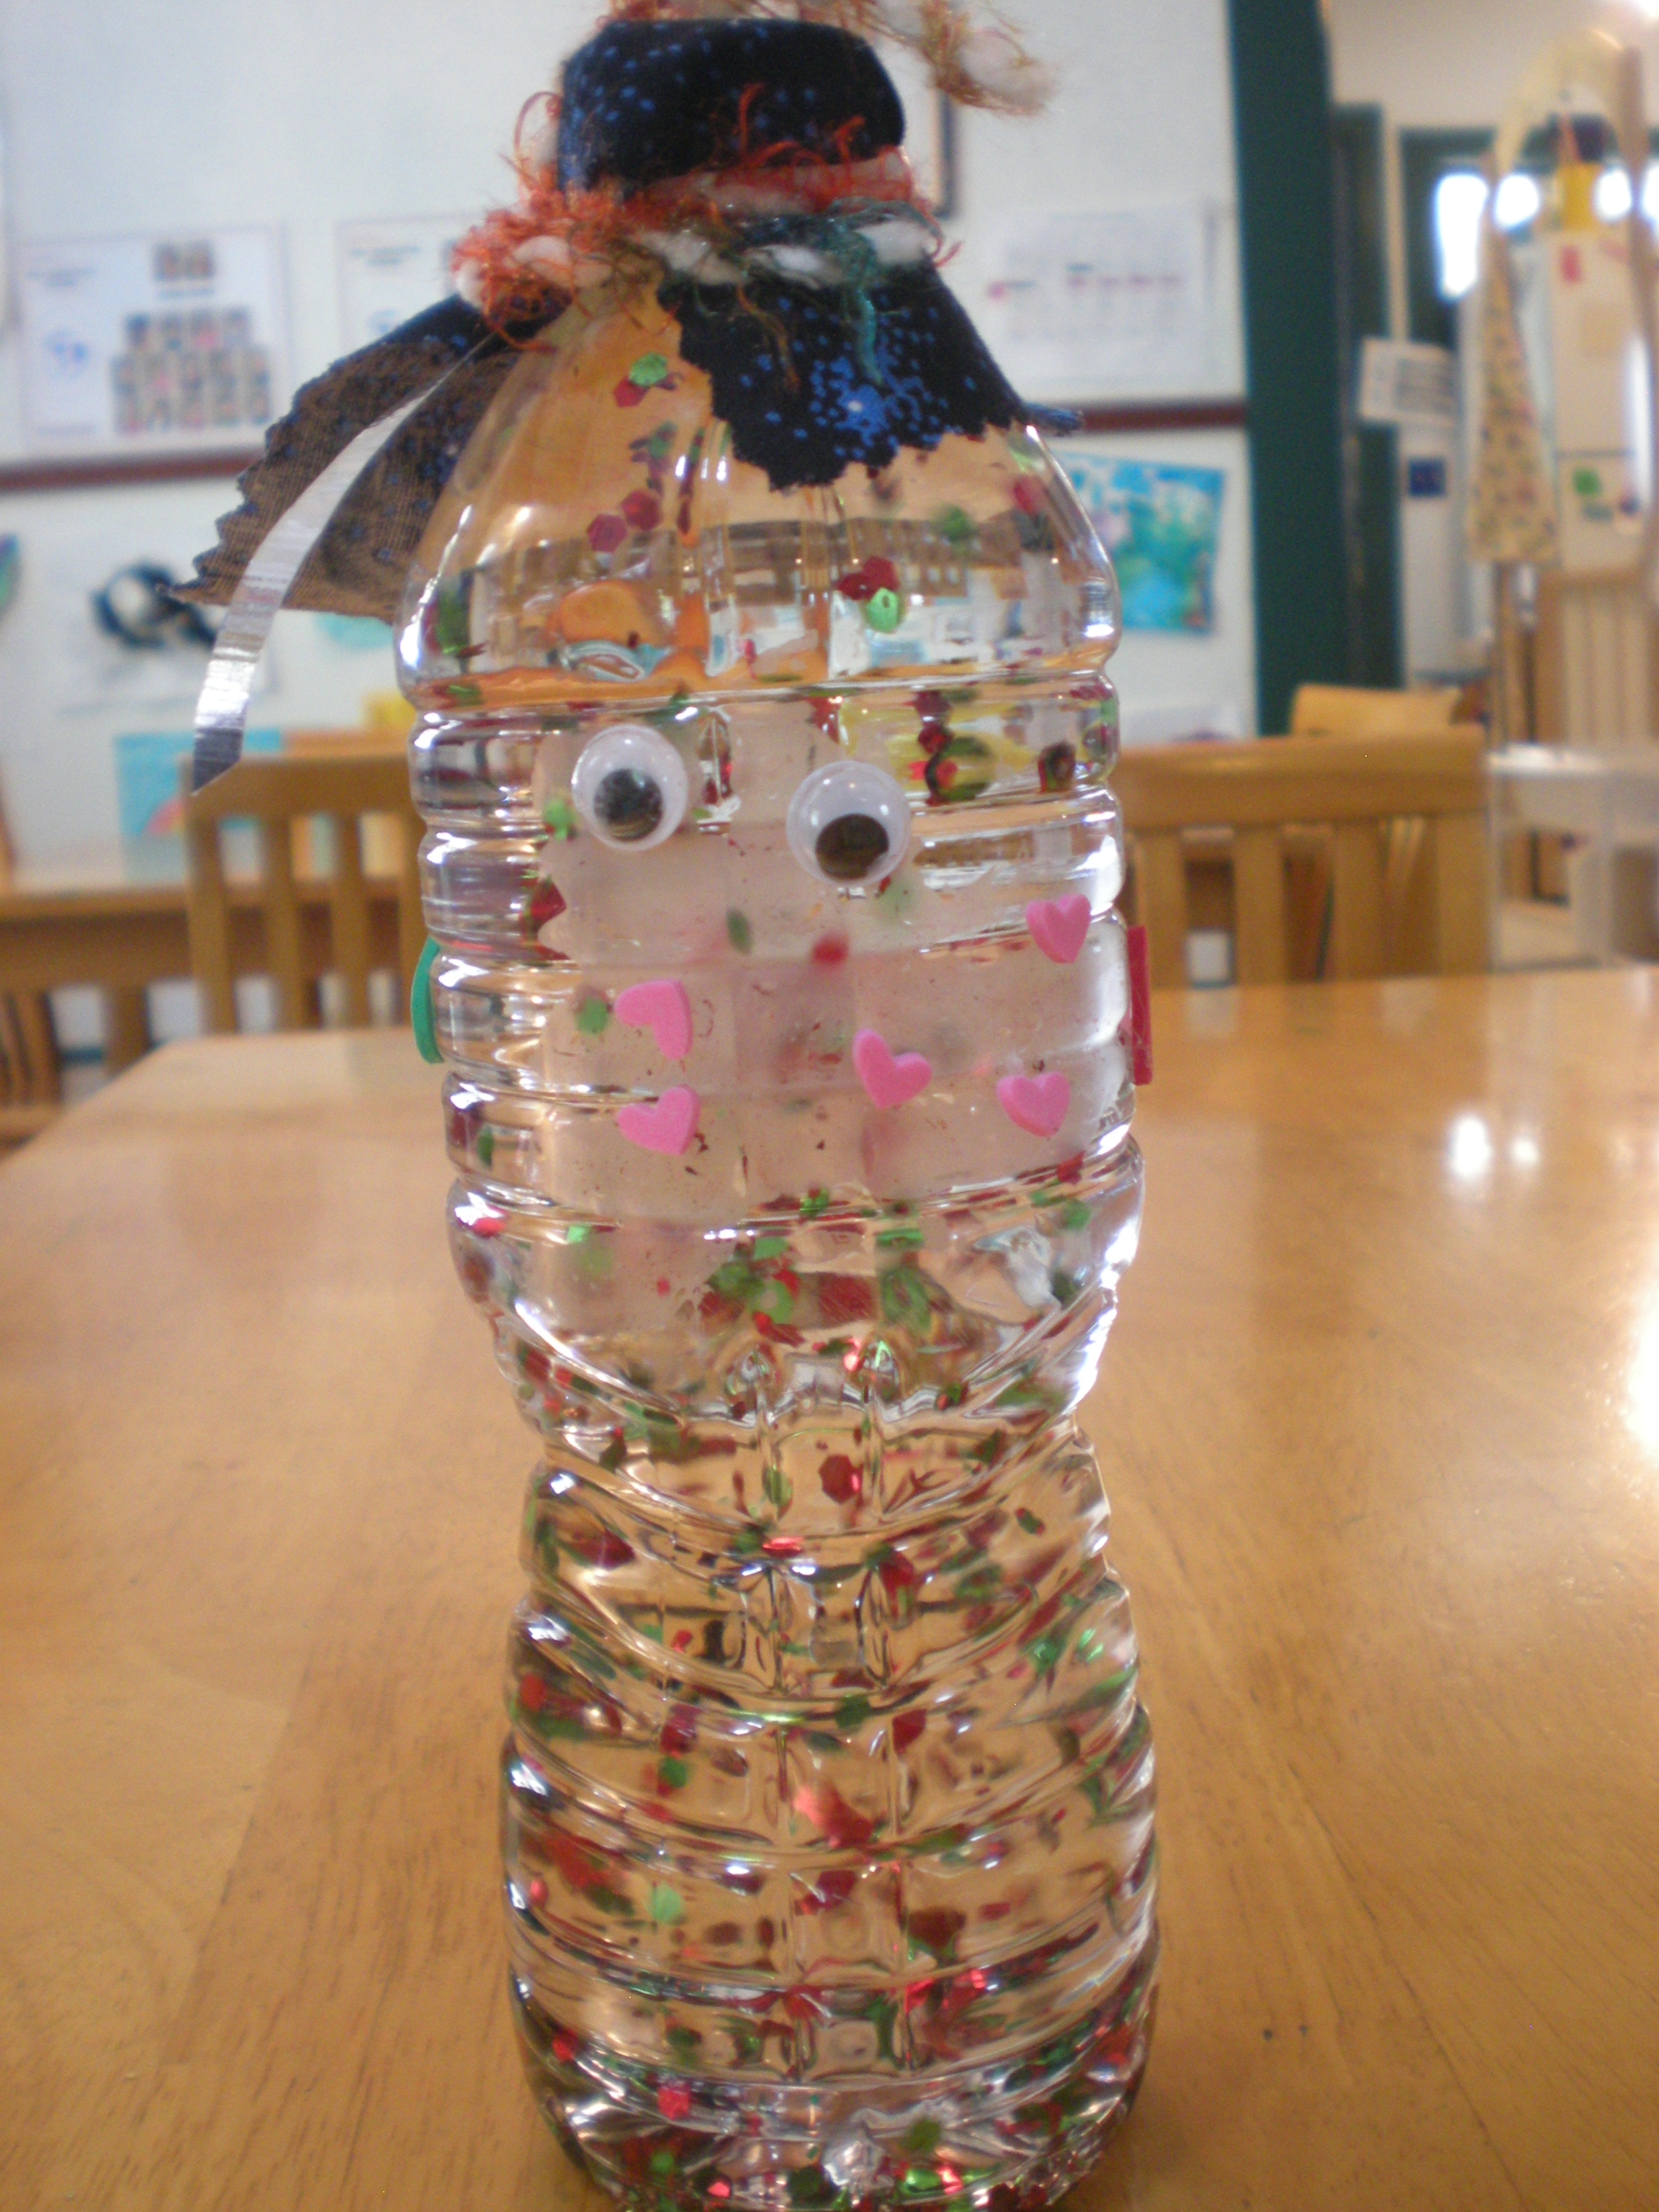
Inspired by the excitement over the snowglobes we made earlier this year, I decided we should try another watery glitter project.  This one has a different purpose than to capture a bit of whimsical winter in a bottle.  Taking a cue from one of my family's favorite books, Peaceful Piggy Meditation, we decided to make special meditation jars with personality!

This was a simple happy project.  First we read our Piggy Meditation book.  We talked about how sometimes our minds just won't stop thinking or maybe we feel really sad or angry.  We talked about how taking a few deep breaths and finding a calm place inside ourselves can help us to feel better.  Then I showed the kids a Meditation Friend that I had made as an example for our project.   I shook it up and explained that the glitter swirling around inside is like our thoughts when they are overwhelming or angry or sad.  Next we took a few deep breaths while watching the glitter settle down in the jar, and while feeling our thoughts settle inside our minds.  We played with the Meditation Friend pretending it was mad or just had too many thoughts by shaking it up and then we helped our friend calm down with some big, deep breaths.

After our discussion each kid made their own Meditation Friend.

What you need to make your own ~

  • Bottle or Jar with water tight lid (I used plastic water bottles to prevent breakage but glass would work fine as well.)
  • Water
  • Glitter or Glitter Glue (Glitter glue will make it take longer for the "thoughts" to settle down.  Use warm water if you choose to use glue)
  • Googly Eyes
  • Decorations (We used peel and stick foamies)
  • Ribbon or Yarn
  • Fabric Scraps

Simply place water and glitter in the bottle and secure shut.  Then have the child decorate their bottle to look like a face with googly eyes and any other materials you have on hand.  I used peel and stick foamies because, well, they are easy!  Then give the new friend a hat by securing a piece of cloth on top of the bottle with ribbon or yarn.  Easy Peasy!

 In the days following this project, I had a number of the students who made these tell me that they used it when they felt sad or lonely or mad and, that it helped!  Yeah!

Please Note:  This activity was based on an activity at the end of this amazing, fun book.  My six-year-old loves this book.  We re-read it often when she is going through a hard time in her life and it seems to really speak to her.

Peaceful Piggy Meditation

Shared On: Kid Lit Blog Hop

Some Sweet Foot Lovin' For Mother's Day

Some Sweet Foot Lovin' For Mother's Day

This time of year we are always busy preparing something for those loveliest of people...  Mommies.

This May we are making foot soaks for pampering hard-working feet and to go with it?  The cutest footprint butterflies!

Read More

Butterfly Circle

The magic of butterflies and caterpillars captivates children. A flitter of colorful wings...
A fuzzy, fat, stripey bug creep crawling up a branch...

Discovering nature's treasures like these instantly engage and enchant children (and me too!).
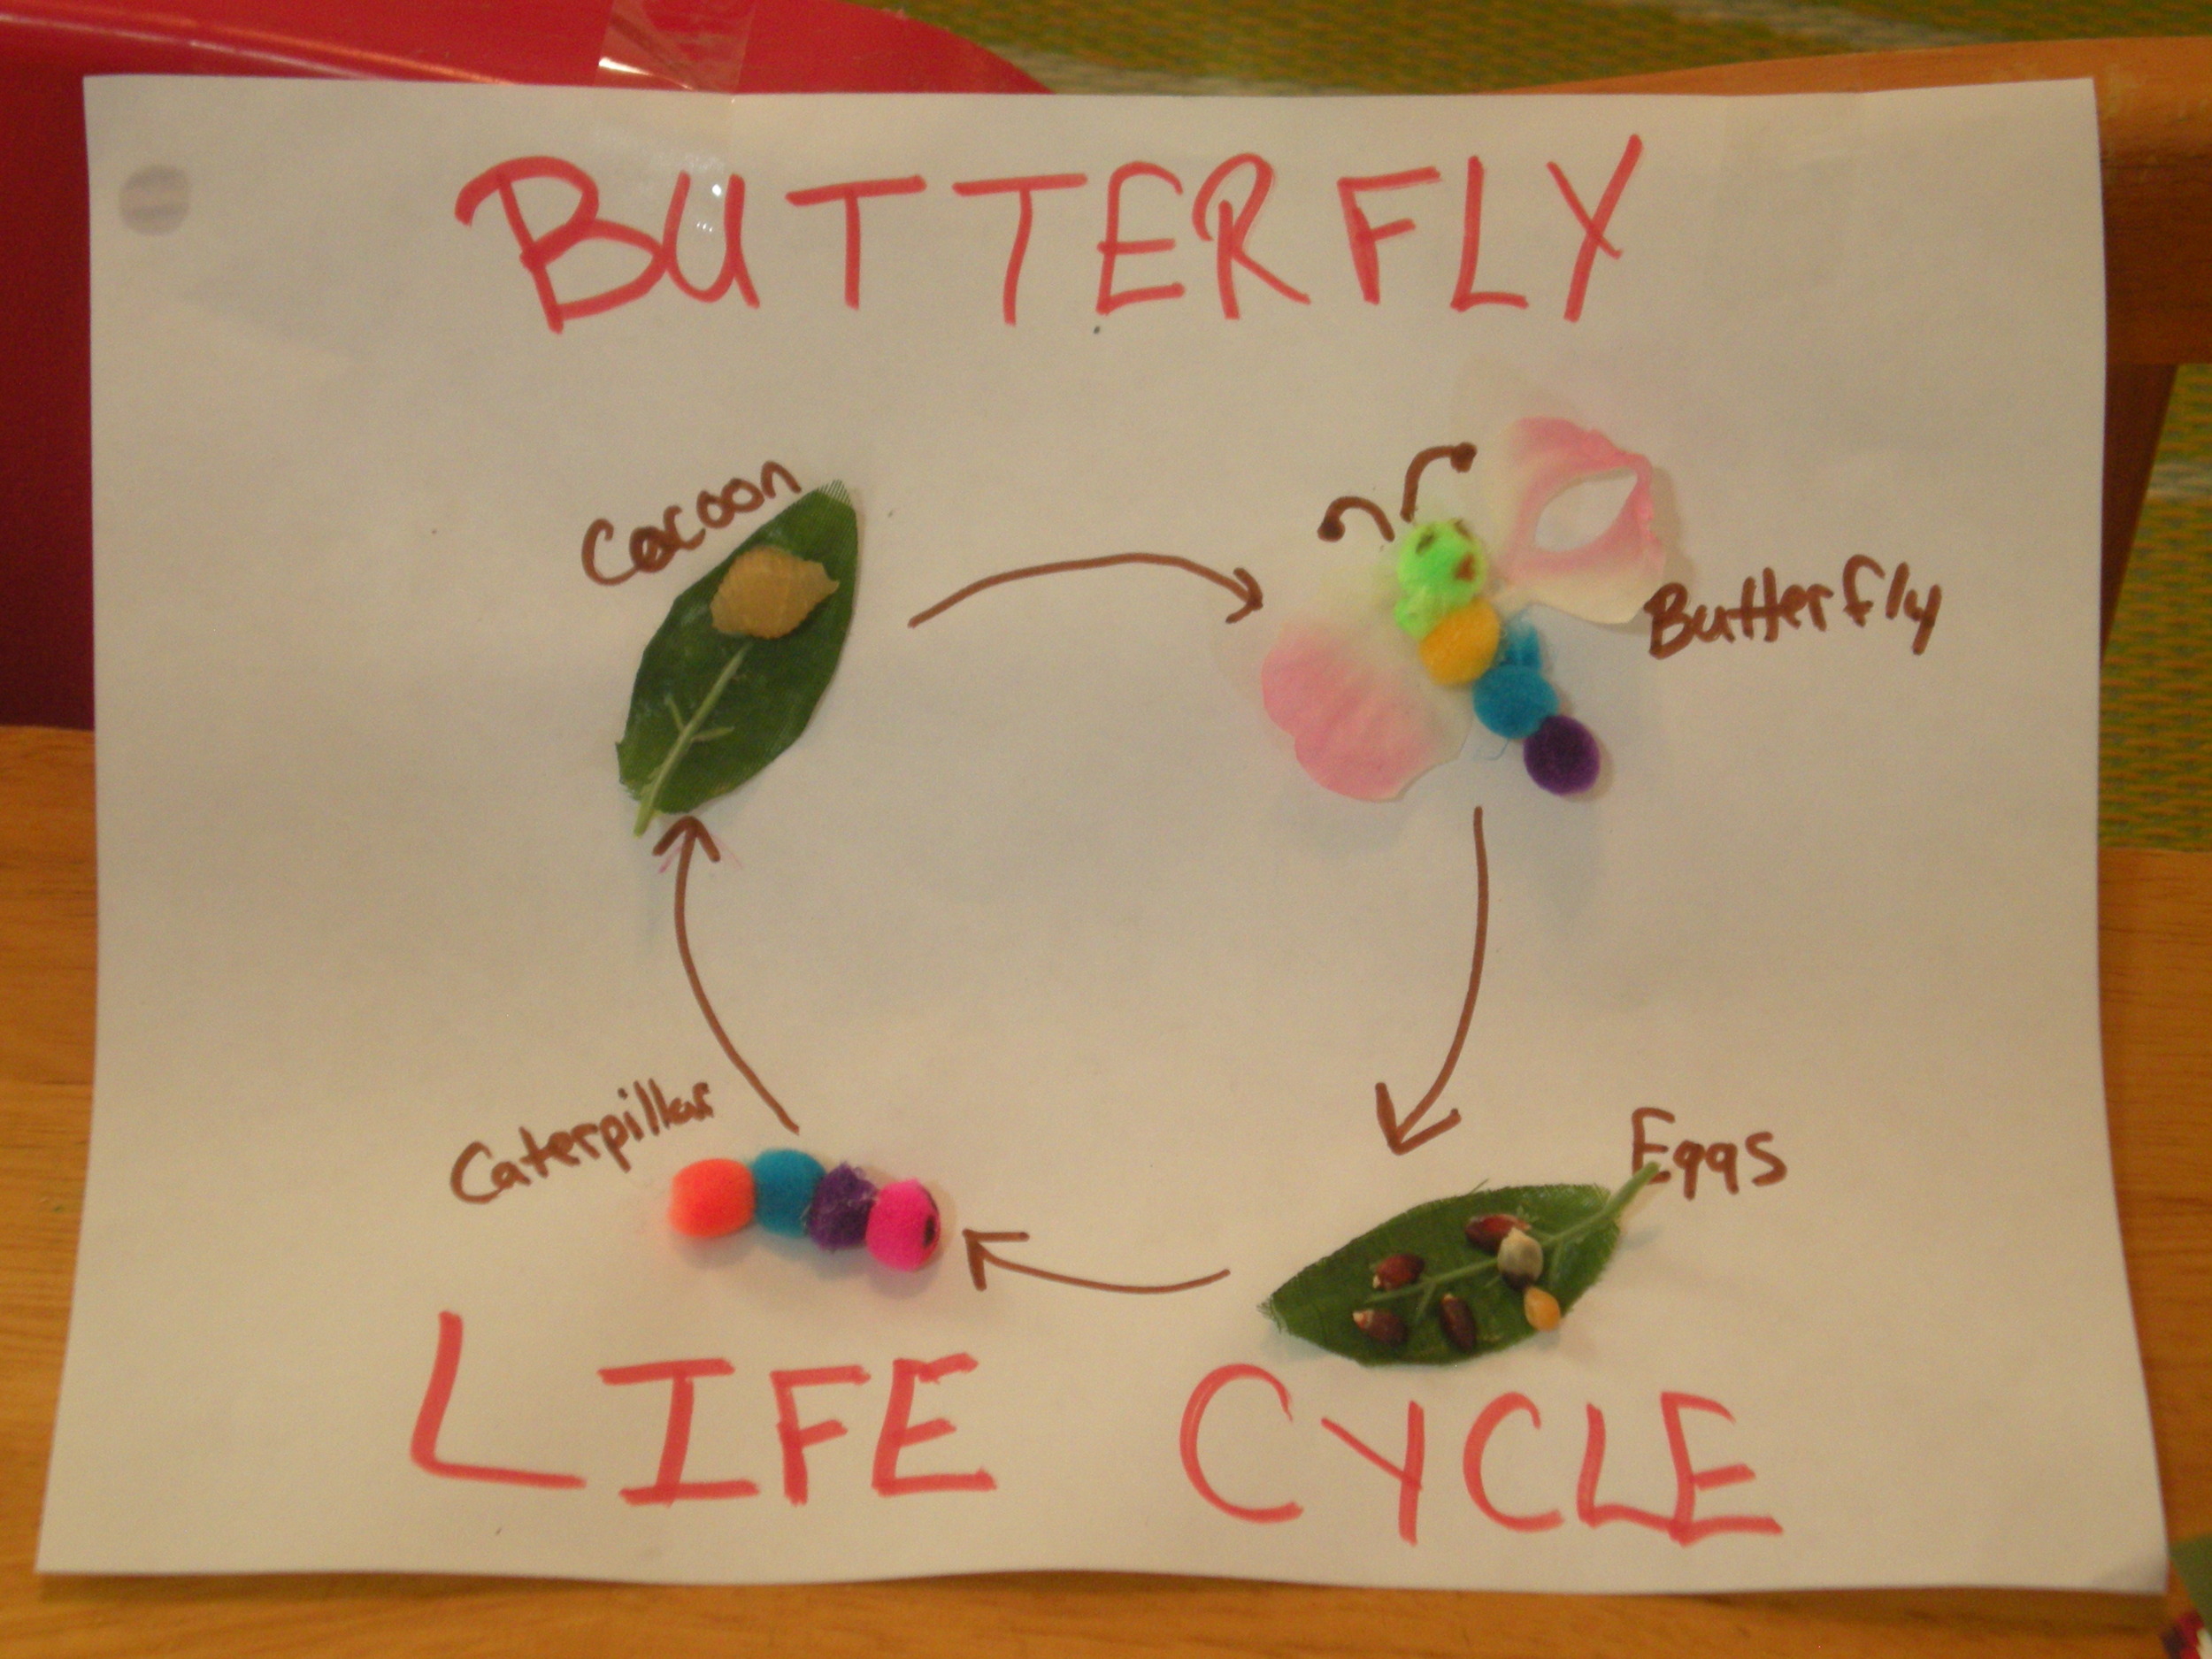
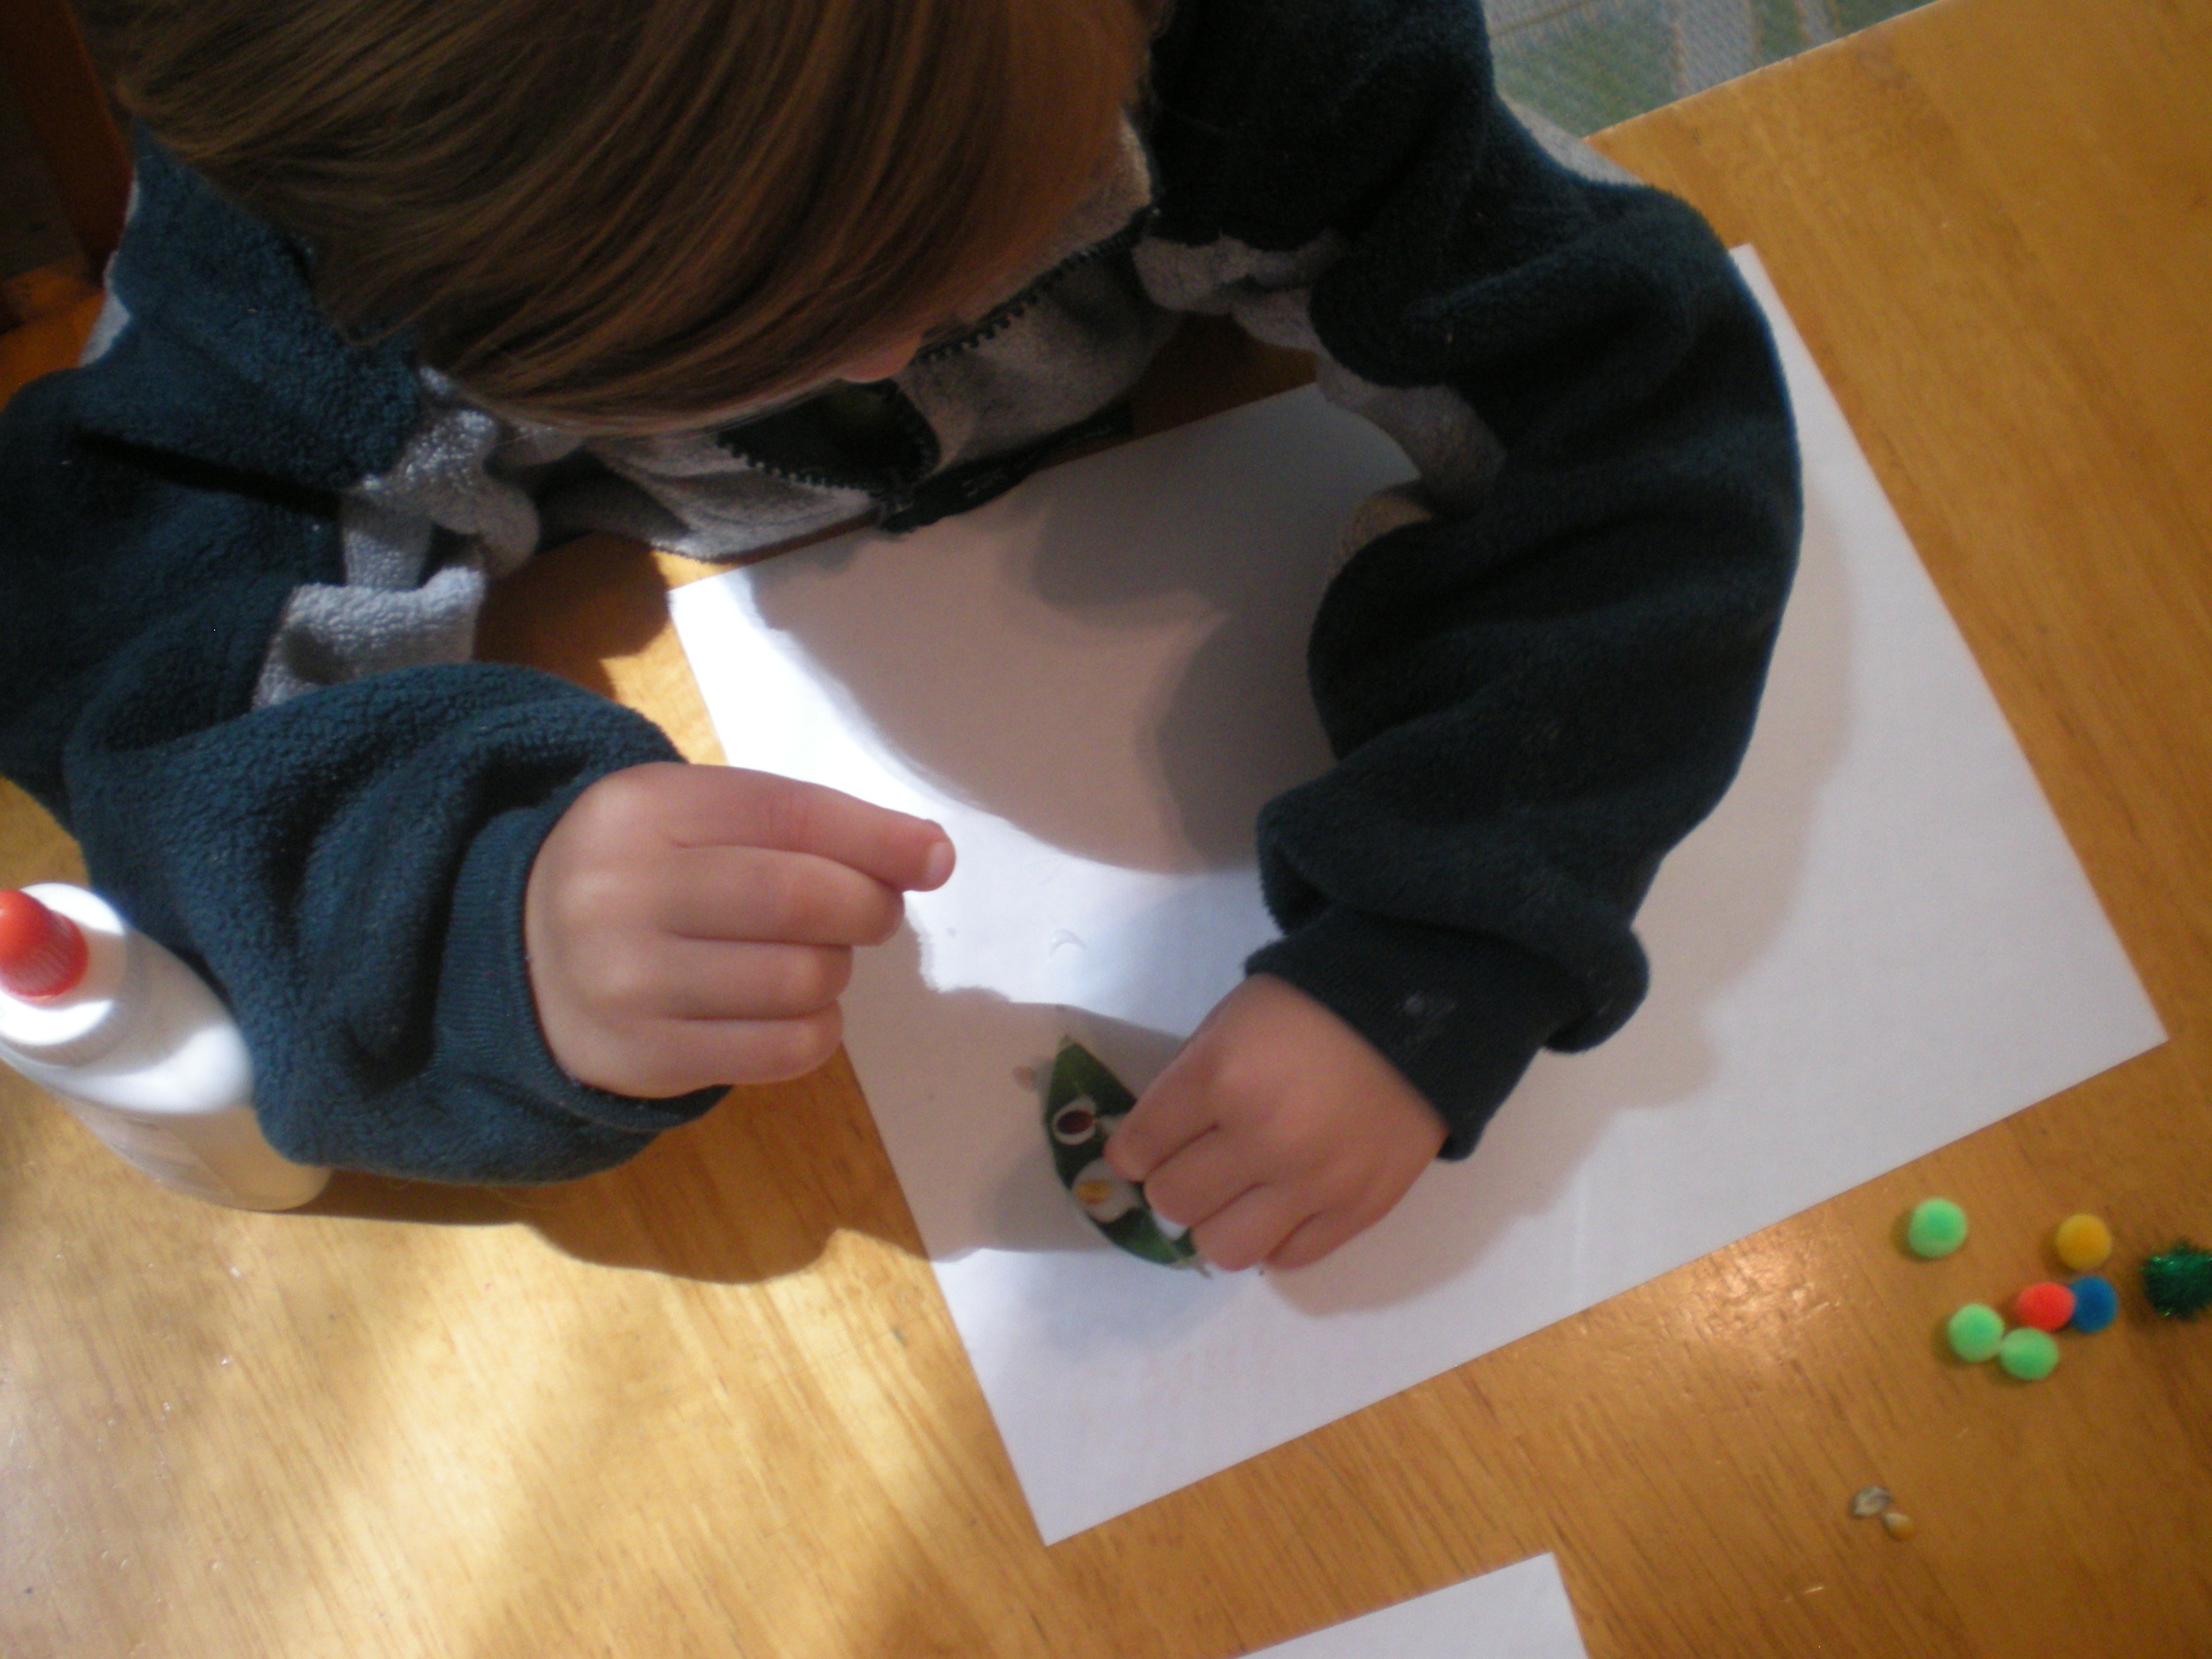
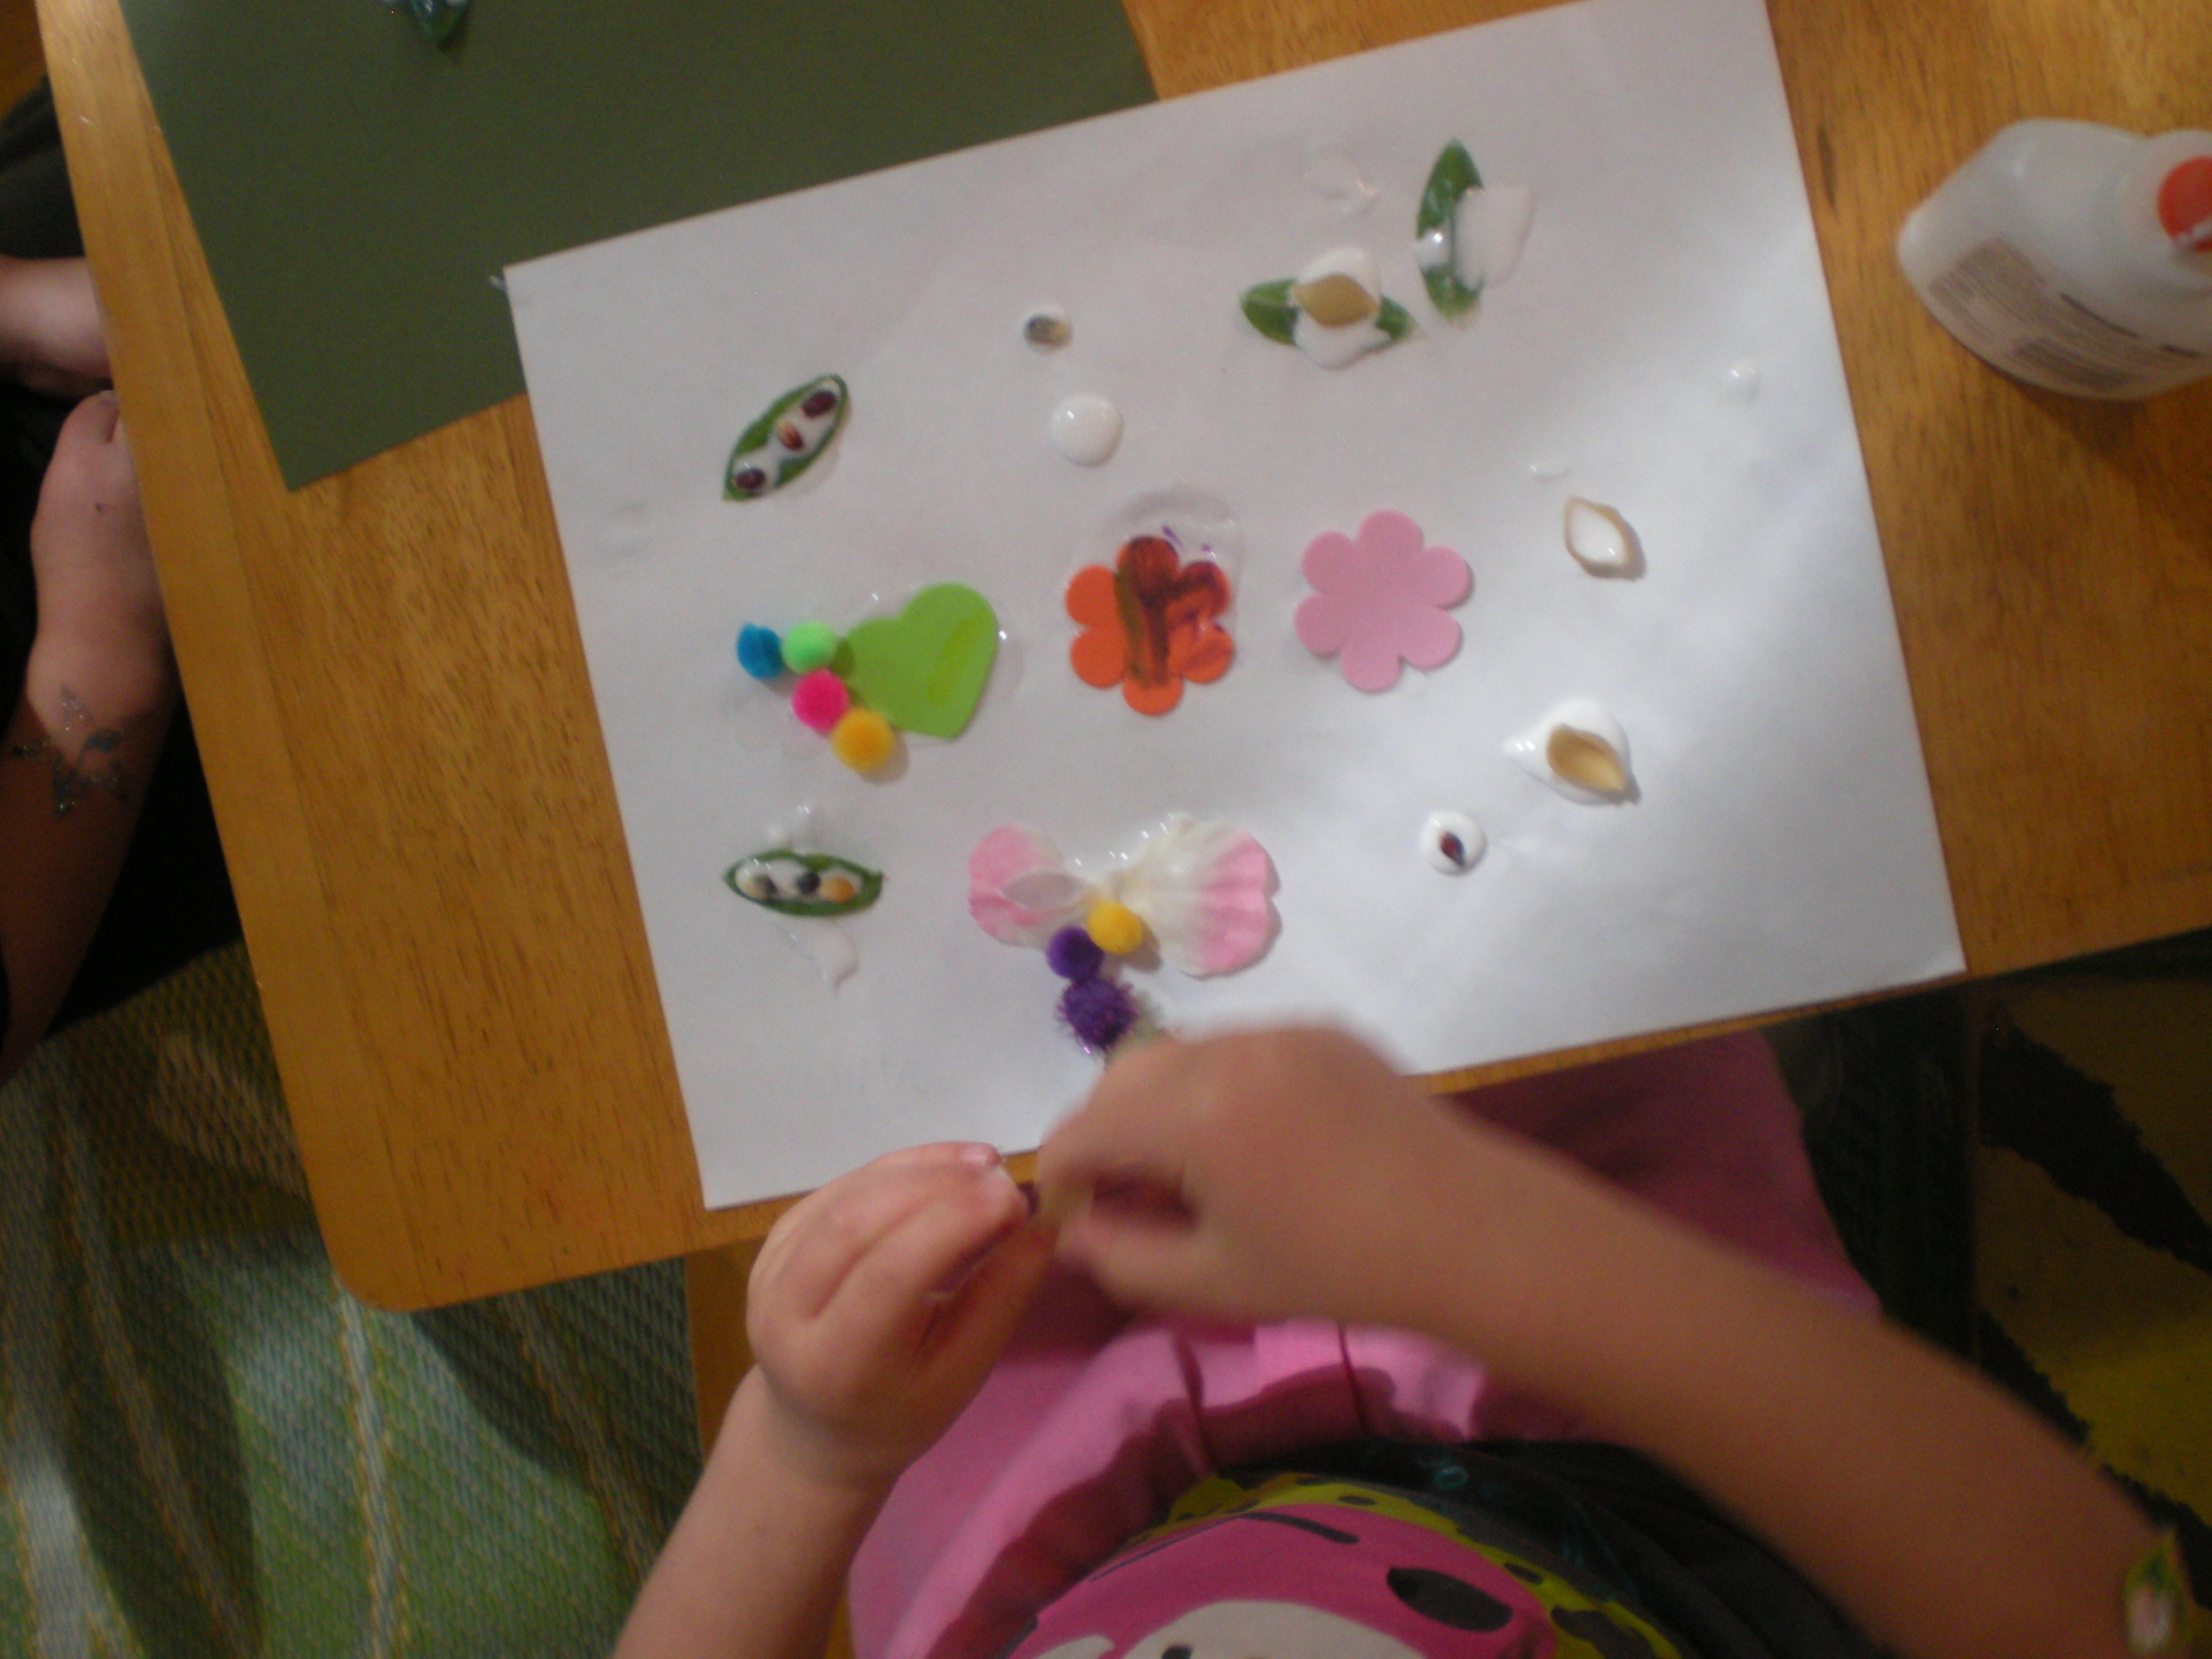
What better insect to choose for a close-up look at life cycles?  Last week we studied plant life cycles at the school so the children were already familiar with the idea.  I brought in an example butterfly life cycle that I had made with art scrapes from my stash: pompoms (perfect for caterpillar bodies), silk flowers and leaves (leaves to lay eggs on and flowers to pull apart and use for wings), pasta shells (cocoon) and multicolored popcorn (eggs).
As we sat in a circle, I shared the butterfly life cycle with the kids we talked about being scientists by looking at the world and observing what we see.  We read The Very Hungry Caterpillar by Eric Carle.  As we read, we looked for parts of the butterfly life cycle.  We found the egg, and the cocoon and the butterfly; the kids really got it and I was impressed!

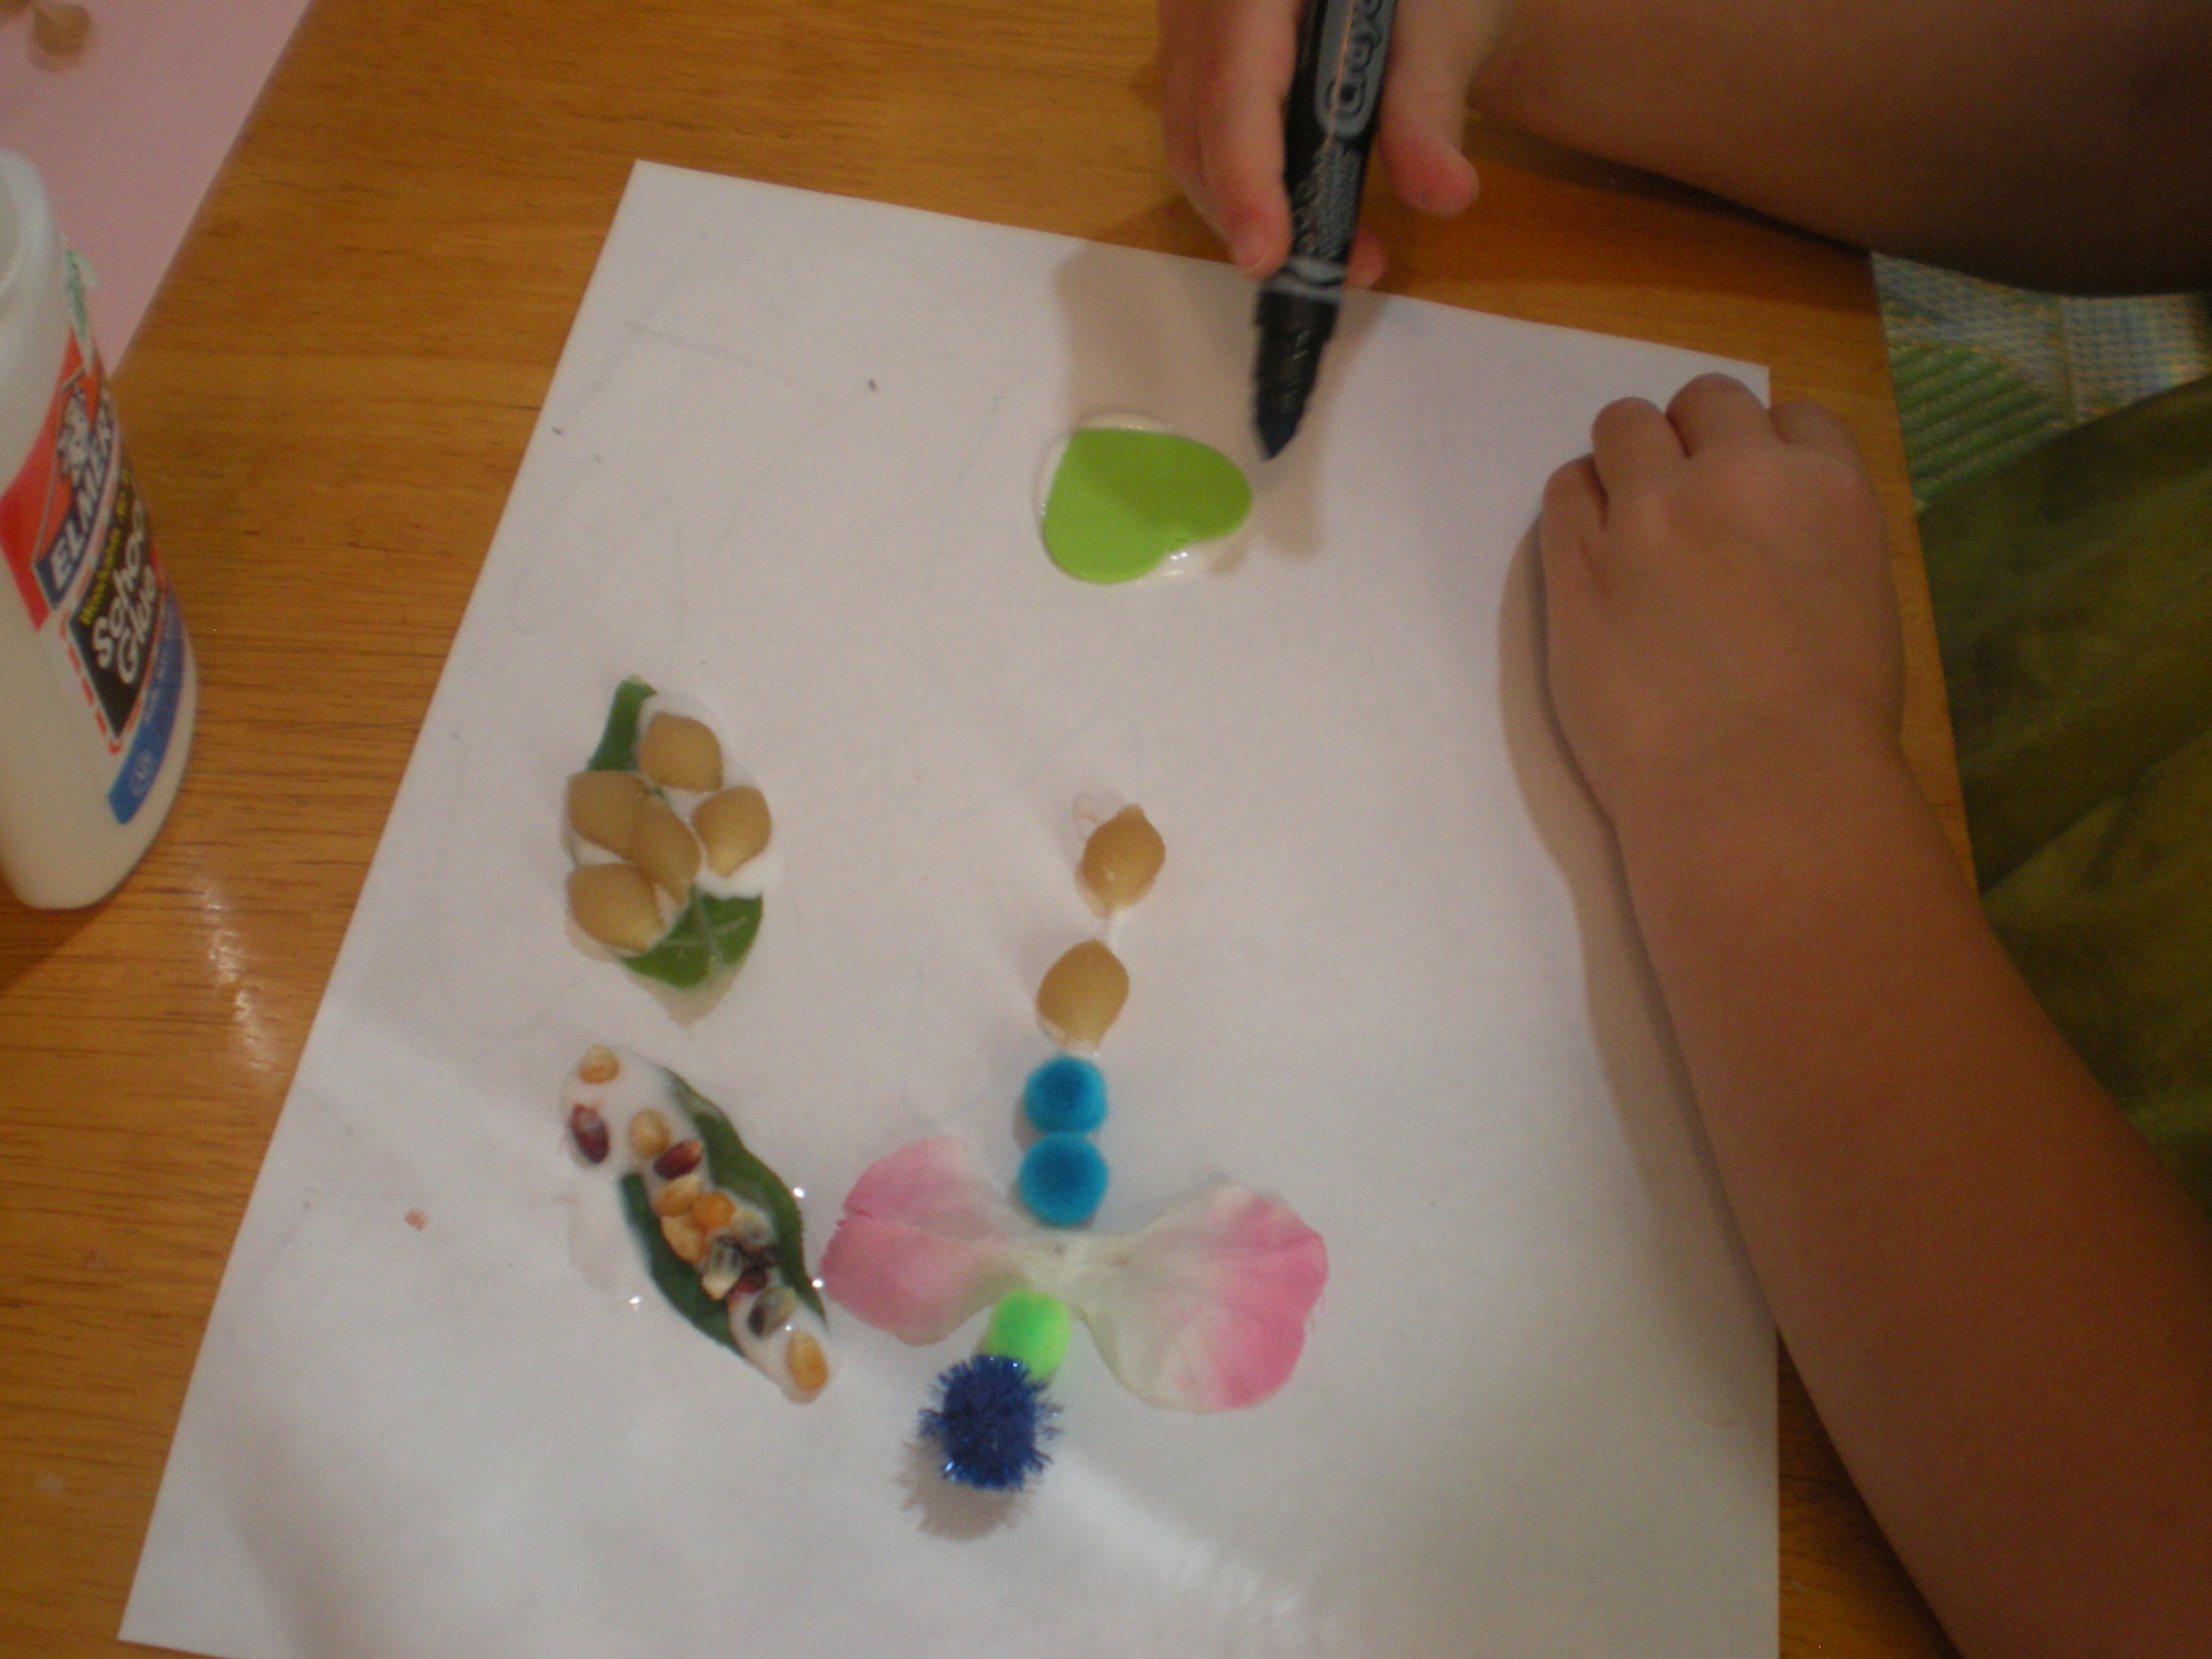
Next the kids made their own butterfly life cycles.

I gave them each a leaf to glue down on a piece of paper and then encouraged them to lay "eggs" on their leaves.

On we went including parts of the cycle.  I always love to present children with an idea and then let them take it from there and we had many creative life cycles when all was said and done!