Pounded Flower Fairy Wings
/What is more fun than making your own set of fairy wings adorned with the whims of your fancy? How about gathering beautiful flowers and using their pigments as a background for your wings? Even better, what if you get to smash and bash with a hammer to extract those lovely pigments? Well, if you are a little kid, this is a recipe for fun!
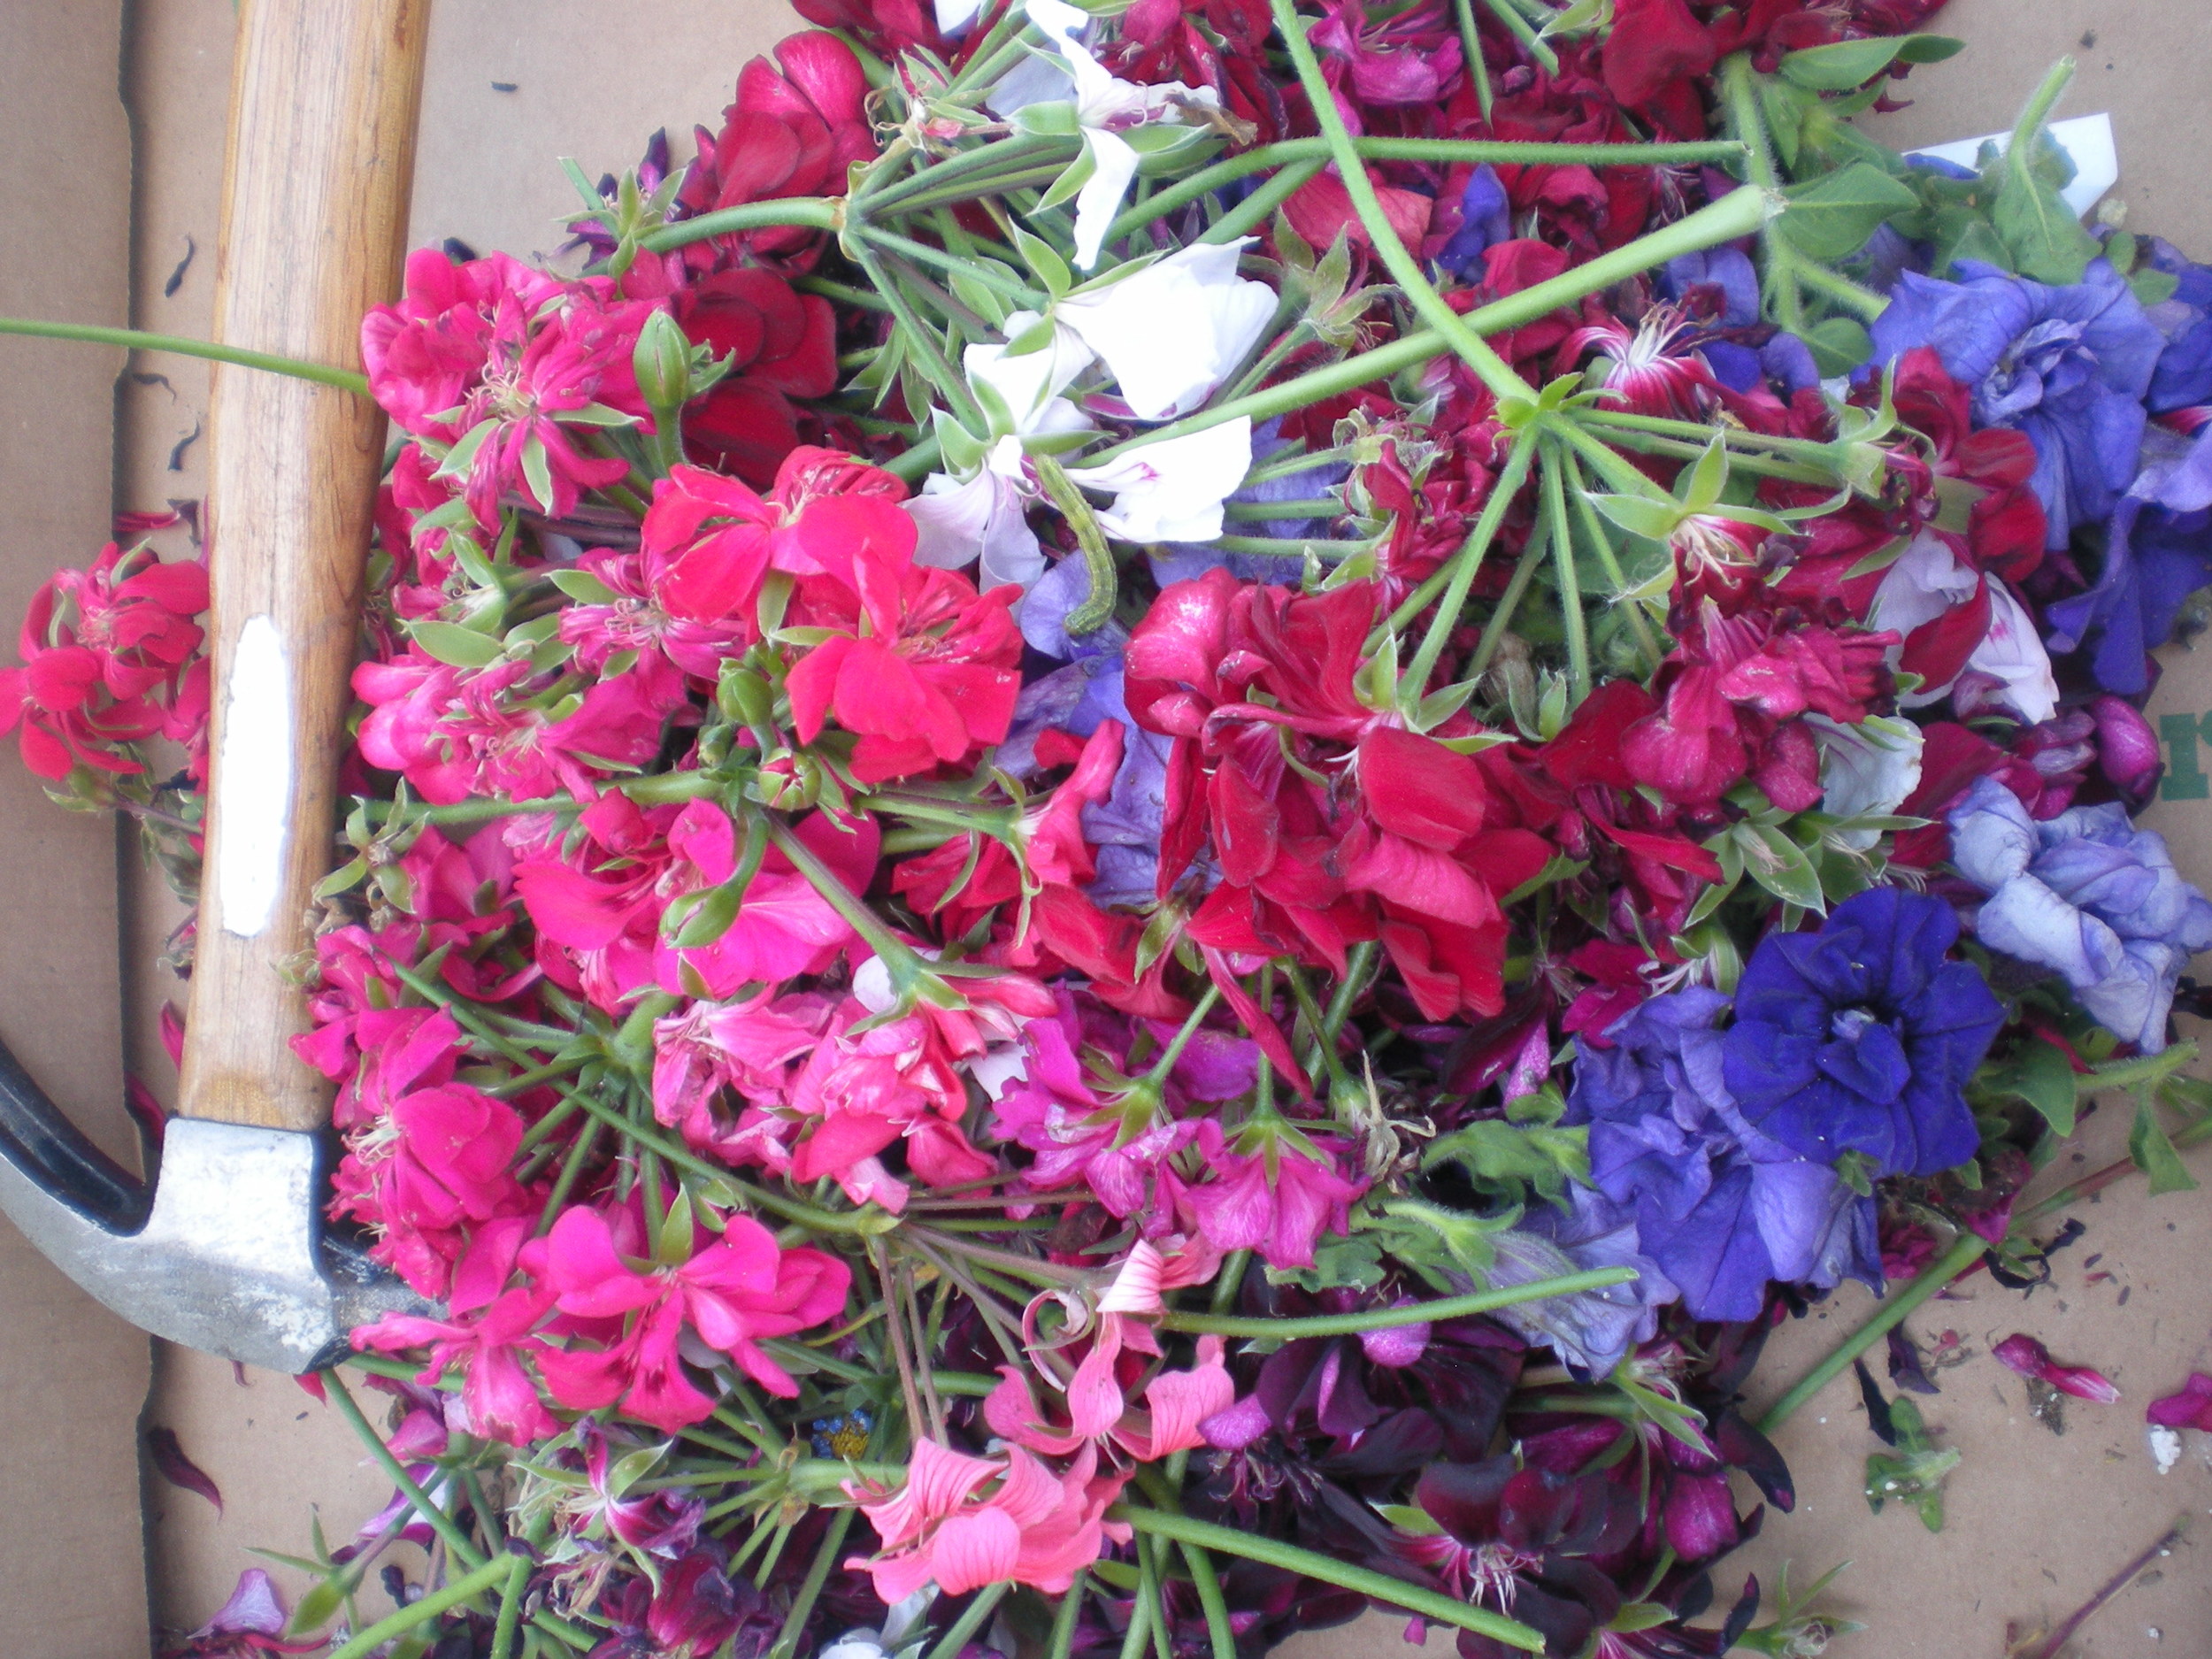
We were so lucky. Violet and I went to our local nursery to see if we could find lots of flowers for pounding and we struck the jackpot. We arrived just as the gardeners were finishing up their morning pruning. They let us take all we wanted from a collection of flowers that were destined for the garbage (or hopefully compost bin). Violet settled on reds, purples and pinks for her fairy wings.
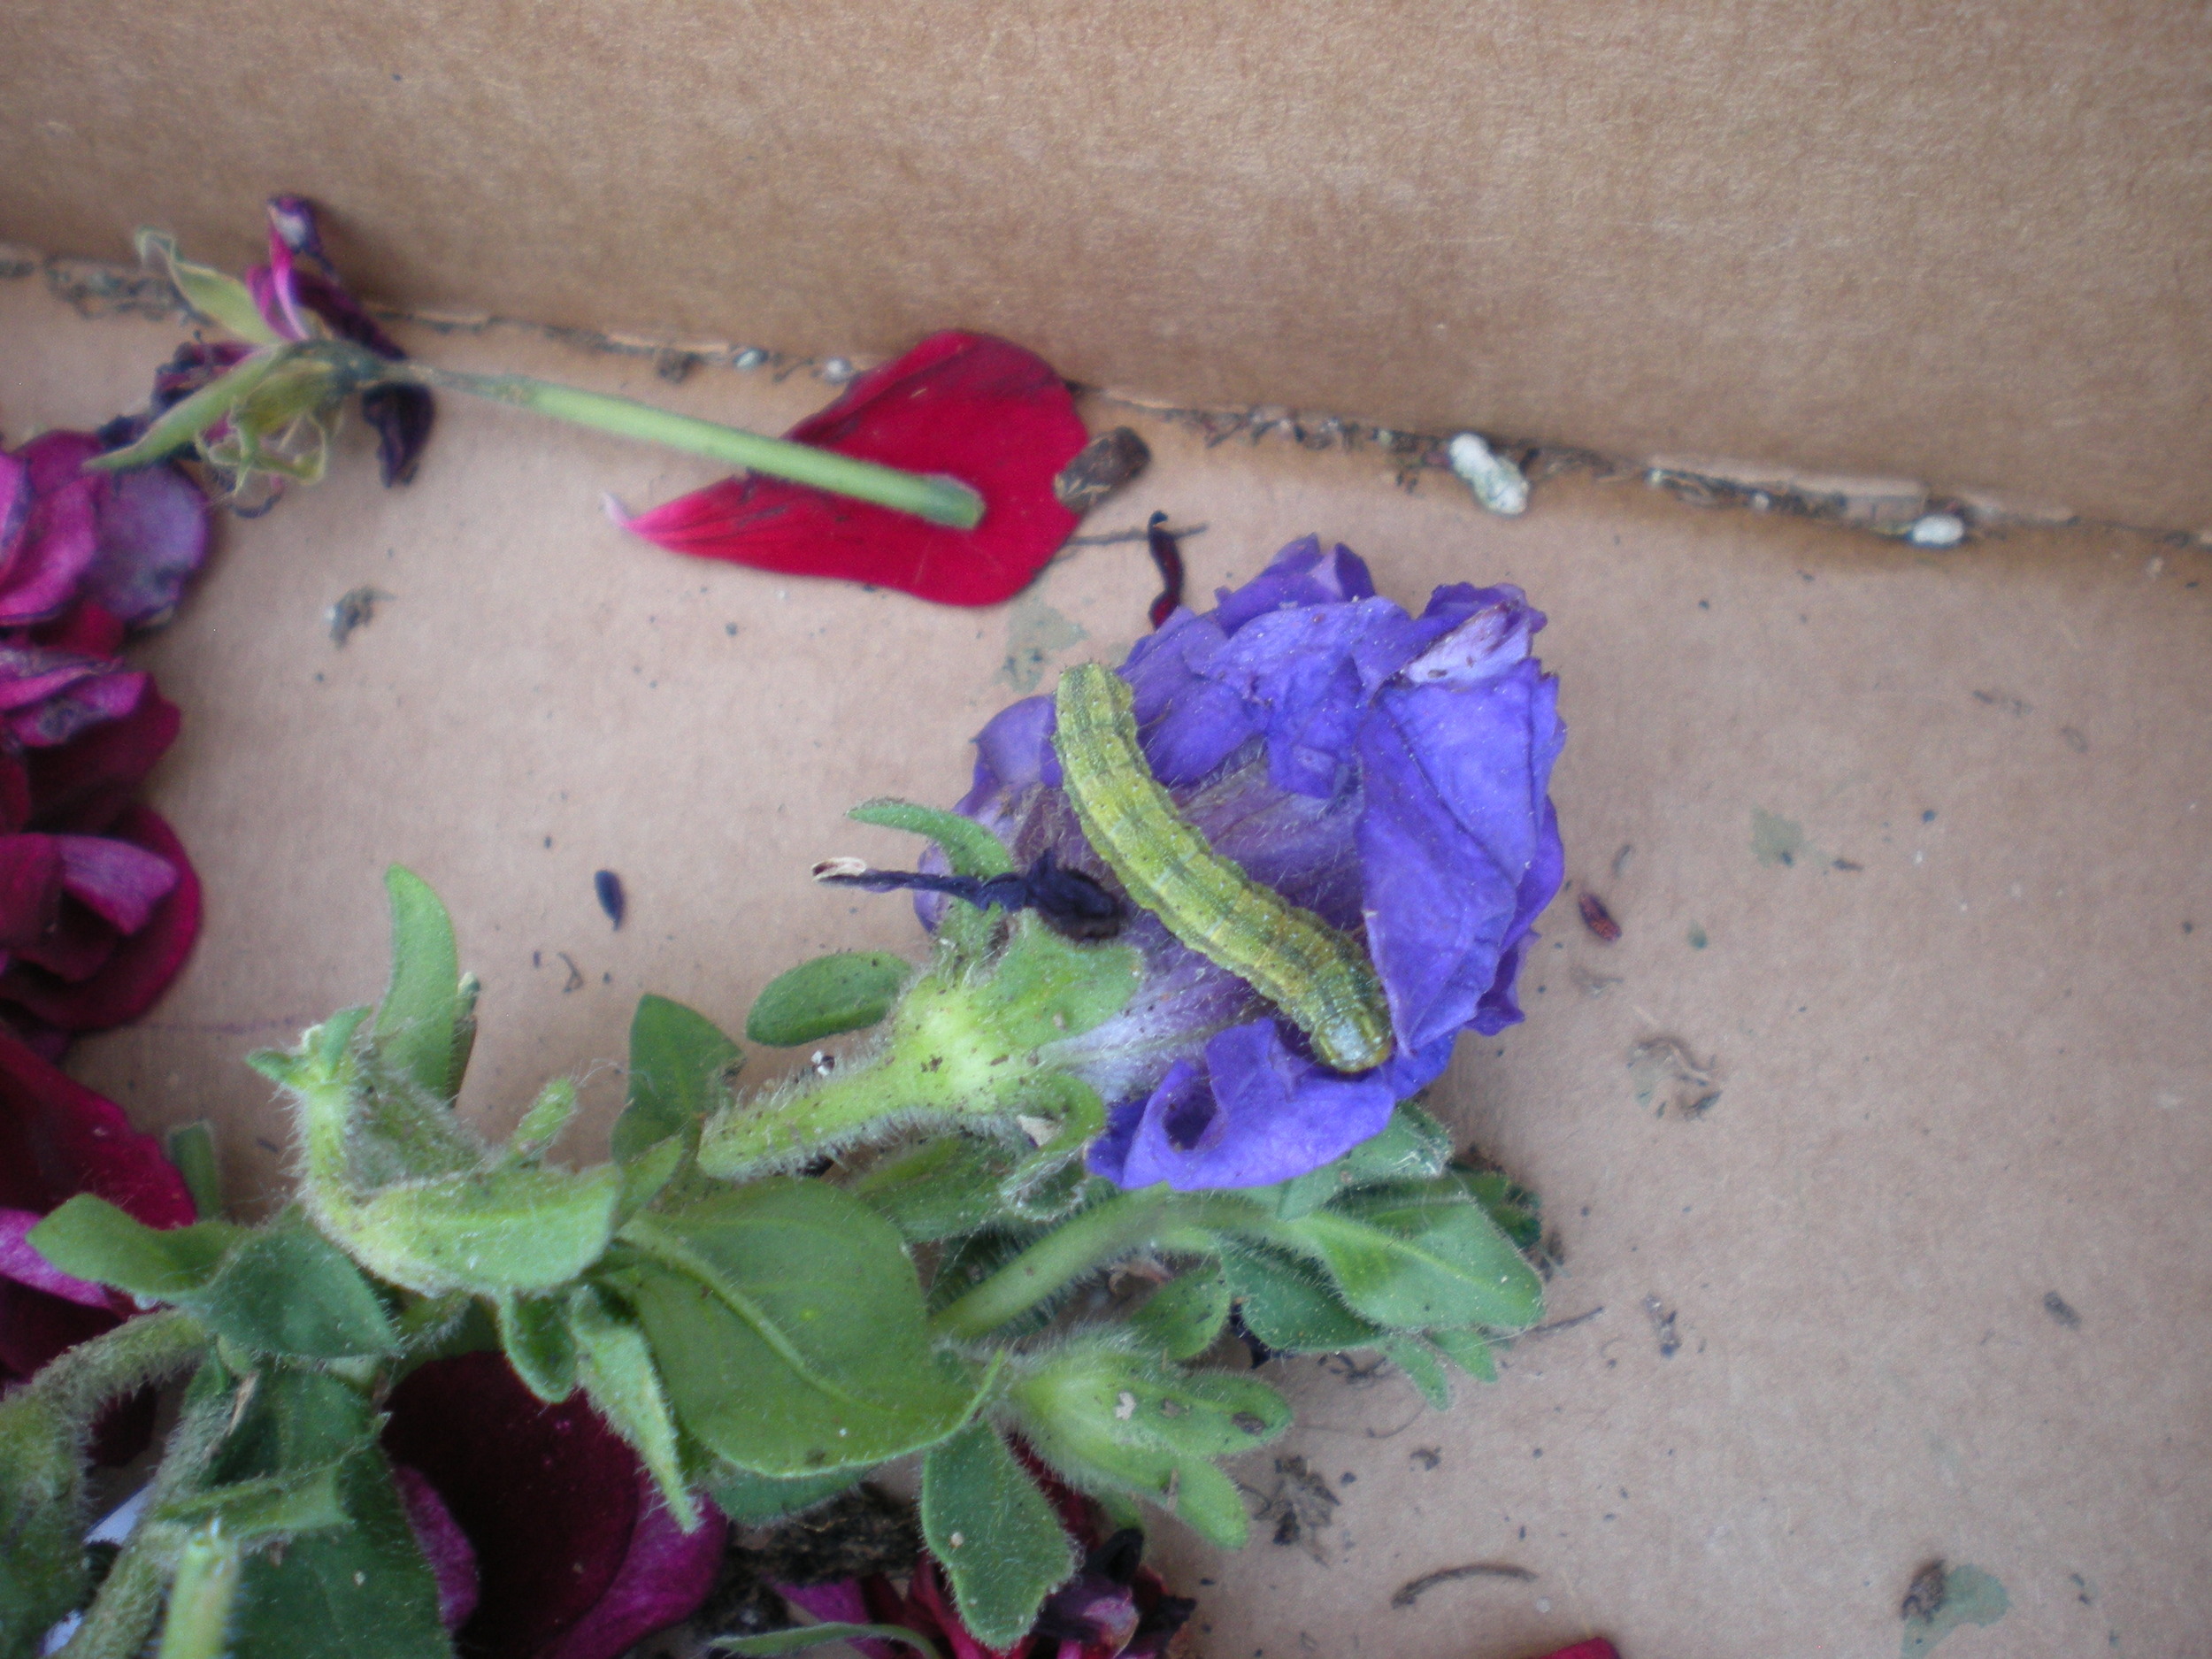
Once home, as we got busy creating Violet’s new wings, we found a stow-away amongst the flowers. After gently playing with our new friend and discovering it’s voracious appetite for petunias, we created a new home for the caterpillar in a netted butterfly habitat that we happened to have on hand from past buggie experiments. Twice I found the caterpillar on the outside of the netting. Then the little fellow disappeared never to be seen again...
You can use this basic method to create any number of different wings: fairy wings, butterfly wings, ladybug wings and on and on. It is a great project to do with a group of kids. Start with the wings pre-cut (one pair for each child), provide art materials and watch them have a blast decorating and creating. If you are going to be pounding flowers with the kids are part of the decorating, be sure to provide proper supervision. A three year old on the loose with a hammer would be a scary thing indeed.
~ Materials ~
For each pair of wings you will need the following
Thick paper, either one sheet big enough for both wings or two pieces, one for each wing.
Fresh flowers and plants
Elastic or Ribbons for making arm holes
Decorations ~ glitter, glitter glue, gems, flowers (silk or fresh), puff balls, confetti, ribbons, streamers and anything else that strikes your fancy!
Paper clasp, optional
Hammer
Stapler
Hole Punch
Scissors
- Glue to adhere decorations
~ Instructions ~
Draw and cut out the shape for the wings.

Arrange the flowers on one side of the wings.

Isn't this so pretty?
Fold or set the other side of the wings on top of the flowers. Then you can start pounding the top piece of paper with a hammer to release pigments from the flowers and color the paper. (Kids usually love this part!) You may need to help a bit though because all that pounding makes little muscles tired.

Brush off the spent flower bits and let the wings dry if they are moist from the flowers.


Aren't the colors amazing?
If you wish, cut the wings in half or simply add elastic or ribbon to create holes for the arms to go through. You can either sew or staple on the elastic/ribbon.
Optional: Punch a hole in each side of the wings and then fasten them together with a paper clasp thread through the holes. This will enable the wings to move with your child moves their arms. You can see the clasp in the picture below towards the center of the wings.

Ribbons sewn on to go around the shoulders and secure the wings on the fairy.
Finally have your child add decorations to the wings and you are done!
Violet chose to use glitter and ribbons for this pair of wings.