Roses At Preschool For Valentine's Day ~ Rose Hearts
/
This simple hands-on project makes fragrant unique gifts for parents, friends and teachers. Plus it fun! How often do you get to mix lots of glue with something in a big bowl? It is a blast to squirt and drizzle glue making patterns and bubbles of white glee! And here is your chance to join in the fun.
What You Need
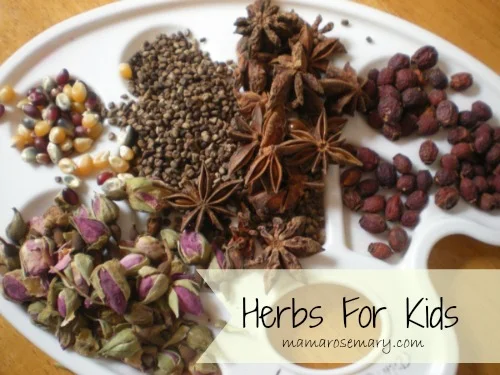
- Dried Roses (or other fragrant plant material like lavender or even potpourri)
- Glue
- Ribbons
- Bowl
- Spoons
- Wax Paper
- Heart Shaped Cookie Cutters (or any other shape you want)
How To
Making the mixture
I did this with a group of kids. We sat around the bowl together on the floor. (Of course this would be easy to do with a child at home too! And I am planning to make some of these with my own two precious girls before the big day next week.) First put roses in a big bowl.
This is a great time to talk about roses. Roses are considered to be heart opening and are traditionally associated with love and beauty.
We also looked at and read the Song of the Rose Fairy by Cicely Mary Barker. Having collected many books and even a great little CD of songs about Ms. Barker's fairies, I am always delighted to share this whimsical artistic world.
I let the kids play with the roses for a bit. To smell and feel them.

Then it was time to add the glue. Passing the glue and bowl around the group, I had each child squirt glue on to the roses. They really enjoyed this!

You want to put in enough glue to coat the roses well. Next stir the roses and glue up together.

Making the Shape
Take a cookie cutter and place it on a piece of wax paper. Have the child press in enough rose mixture to fill in the cookie cutter. If you want to hang you finished shape you can either make a hole in the mixture so you can add a ribbon for hanging later. Or you can put a ribbon in when you are making the shape by threading it through the cookie cutter and pressing the rose mixture around the ribbon so that it comes out nicely on both sides of your shape.

While I had many heart cookies cutters with me, I also brought a bunch of other shapes for the kids to choose from. We had everything from hearts, to a bunny to a rectangle!

The Final Product
Let the shapes dry for about 24 hours. Then carefully remove them from the cookie cutter and wax paper. Now you can add beads to the ribbon if you want!

Happy Valentine's Day!
Shared On: The Kid's Co-op, It's Playtime!, Kid's Get Crafty, Share It Saturday, Kid's Activity Blog