♥ Summer Herb Camp: Week Four Squeaky Clean Bath Time Fun! ♥

♥ Summer Herb Camp: Week Four Squeaky Clean Bath Time Fun! ♥

Let's get squeaky clean 

with herbs and aromatherapy!

Our fourth week of summer camp is all about using herbs, essential oils and other natural materials to care for our bodies all while having a blast!  First is a fully description about how to host a spa day for kids.  Then there are some great bath recipes that kids can make.  Finally, please find a little section for parents!   


Read More

There's A Volcano In My Bathtub!

There's A Volcano In My Bathtub!

Experiments In Acid-Base Chemistry

What do you get when you mix an acid with a base?

A party!

"It is like the acid and the base like each other so much

that they make the best of bubbly friends."

This is one way that I explain the fun, interesting chemical reaction of acid/base mixing to little kids. I also make sure we talk a bit about the ph scale; where an acid and a base are on that scale; and how when mixed together, they meet in the middle becoming neutralized.

Read More

Rose 'n' Salt Dough Finger Prints For Mother's Day

Precious little hands stay tiny for such a short while.  I am so in love with making a keepsake of this very special time, of those amazingly beautiful little fingers and palms.

Pink rose petals in this dough are to symbolize love and motherhood, plus they give the dough a very delicate fragrance.

pink rose petals

pink rose petals

I did this simple little project both at home with my girls and at the preschool, making two different versions.  At home we made a big plaque with both my big girls hands pressed into the dough, their thumbs overlapping.  The kids at the preschool cut out hearts from the rosy salt dough and pressed their fingers into the dough.  Both versions are totally cute and precious!

~ Materials ~

This makes enough dough for 15 hearts about 2" by 3" and one 8" by 6" plaque.  You can cut the recipe it in half if you want!

  • 4 cups of flour
  • 2 cups of salt
  • 1 1/2 to 2 cups of water, rose tea or rose-water for fragrance
  • 2 tsp. cream of tartar
  • 1/2 to 3/4 cup of fluffy pink rose petals
  • straw
  • heart-shaped cookie cutter, optional
  • ribbons
  • sharpie marker, optional

~ Instructions ~

  • Blend together the flour, salt,  cream of tartar and rose petals.  
  • Next add the water a little bit at a time until you get a nice doughy consistency that holds together but is not sticky.  I did this all in my Kitchen Aid the night before going into the preschool and it was easy!  You could certainly mix this up with the kids too, which I am sure they would enjoy.  
  • At this point you are ready to make your shapes and prints, or you can refrigerate the dough in an air tight bag if, like me, you won't be using it until the next day.  
  • Roll or press the dough out.
dough all pressed out

dough all pressed out

  • Either shape the dough to desired shape or cut out heart shapes with your cookie cutter.
  • Press the child's hand into the dough.  You may need to talk with them about spreading their fingers apart.  Most of the kids I worked with instinctively placed their hand on the dough with their fingers all held together.  Also you may need to help them press their fingers into the dough.
imprinting

imprinting

  • Use the straw to poke a little hole for hanging.
  • Dry these in the oven at a low temp for a couple of hours.  Be sure to keep a close eye on them and flip them half way through the drying process.  Or you can let them air dry for a couple of days.
  • Use the sharpie to write the child's name and their age or the date on the back of the heart/plaque and add a pretty ribbon for hanging.
fingers

fingers

You could also paint these with modge podge to preserve them.  Or you could let the kiddos paint them to add a nice little personal touch.  Because we used the roses we aren't going to paint ours so we can see and smell the roses!

A little poem to go with this sweet gift would be a lovely addition.  I found all a wonderful collection of poems on Can Teach.  Most of them make me tear up thinking about my own little ones growing up so very fast!

More Ideas for Mother's Day Gifts ~

Some Sweet Foot Lovin' For Mother's Day

When I was researching this project I found a lot of wonderful salt dough recipes to choose from.  Here are two that I used the most for inspiration:

Create, Craft, Love and eHow Mom

Are you making gifts for Mother's Day this year?

Happy Mother's Day!

Shared On:  Eco-Kid's TuesdayKid's Get Crafty, Friday's Nature TableKid's Activity BlogThe Weekly Kid's Co-op

Chamomile Potatoes On Chamomile Day ~ Herbs For Kids ~

Chamomile is a super friendly herb for kids.  Chamomile is gentle while being powerful at the same time for helping kids with tummy upset especially when related to nervousness, general nervous tension, headaches and colds.
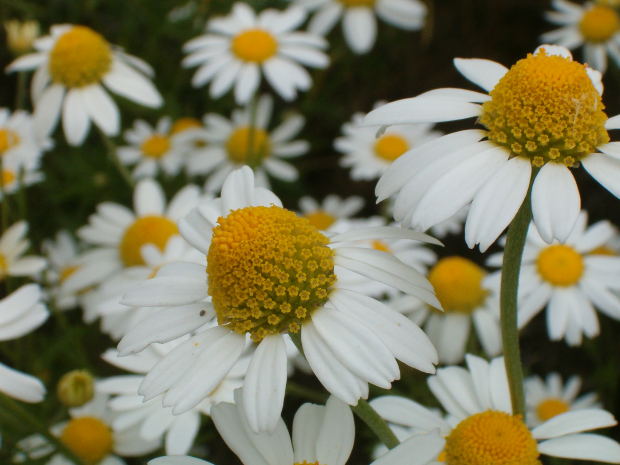
chamomile

What Does It Taste Like?

We started our day at preschool with a tea tasting which is a great way to introduce kids to a new plant.  Most children love the apple like taste of the tea made from happy sunshiny little flowers.  The kids at the school really enjoyed the tea and it seemed to help calm them down a bit... we were having another late Spring snow storm and the kids were all kinda crazy with the sudden change in the weather.

To make your own tea simple steep up to 1 tablespoon of flowers per cup in hot water for 2 to 5 minutes max.  If you steep for any longer than that chamomile tea becomes very bitter.  Of course children are very sensitive to any bitter taste.  You can add a bit of honey or agave to taste if you wish.

The Tale Of Peter Rabbit
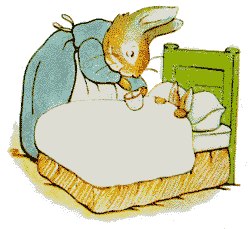
Old Mrs. Rabbit Brings Peter Chamomile

After indulging in our tea we sat down for a cozy reading of this classic tale by Beatrix Potter.  The kids were still a bit antsy and yet were really involved with the book.  Many of them having read Peter Rabbit before, knew what was to come on each and every page.  Except when we got to this little bit on the last page where they noticed one little detail which was overlooked before ~

“Peter was not very well during the evening. His mother put him to bed, and made some chamomile tea: "One table-spoonful to be taken at bedtime.” ― Beatrix PotterThe Tale of Peter Rabbit

Smiles and giggles came when the kids heard that Peter had chamomile tea, just like they did!  We talked about how scared and tired and sick Peter must have felt after has intense adventure in Mr. McGregor's garden.  It was a perfect little example from a familiar story about using herbs.

Chamomile Potatoes

I bet you are wondering what about chamomile potatoes, and so we come to the part of our day when we made these together...

These are not something yummy to eat, though I think creating some kind of recipe with these two ingredients might be interesting.  Nope, chamomile potatoes are for growing!  Potatoes make great little pots for sprouting plants, just like sprouting plants inside egg shells.
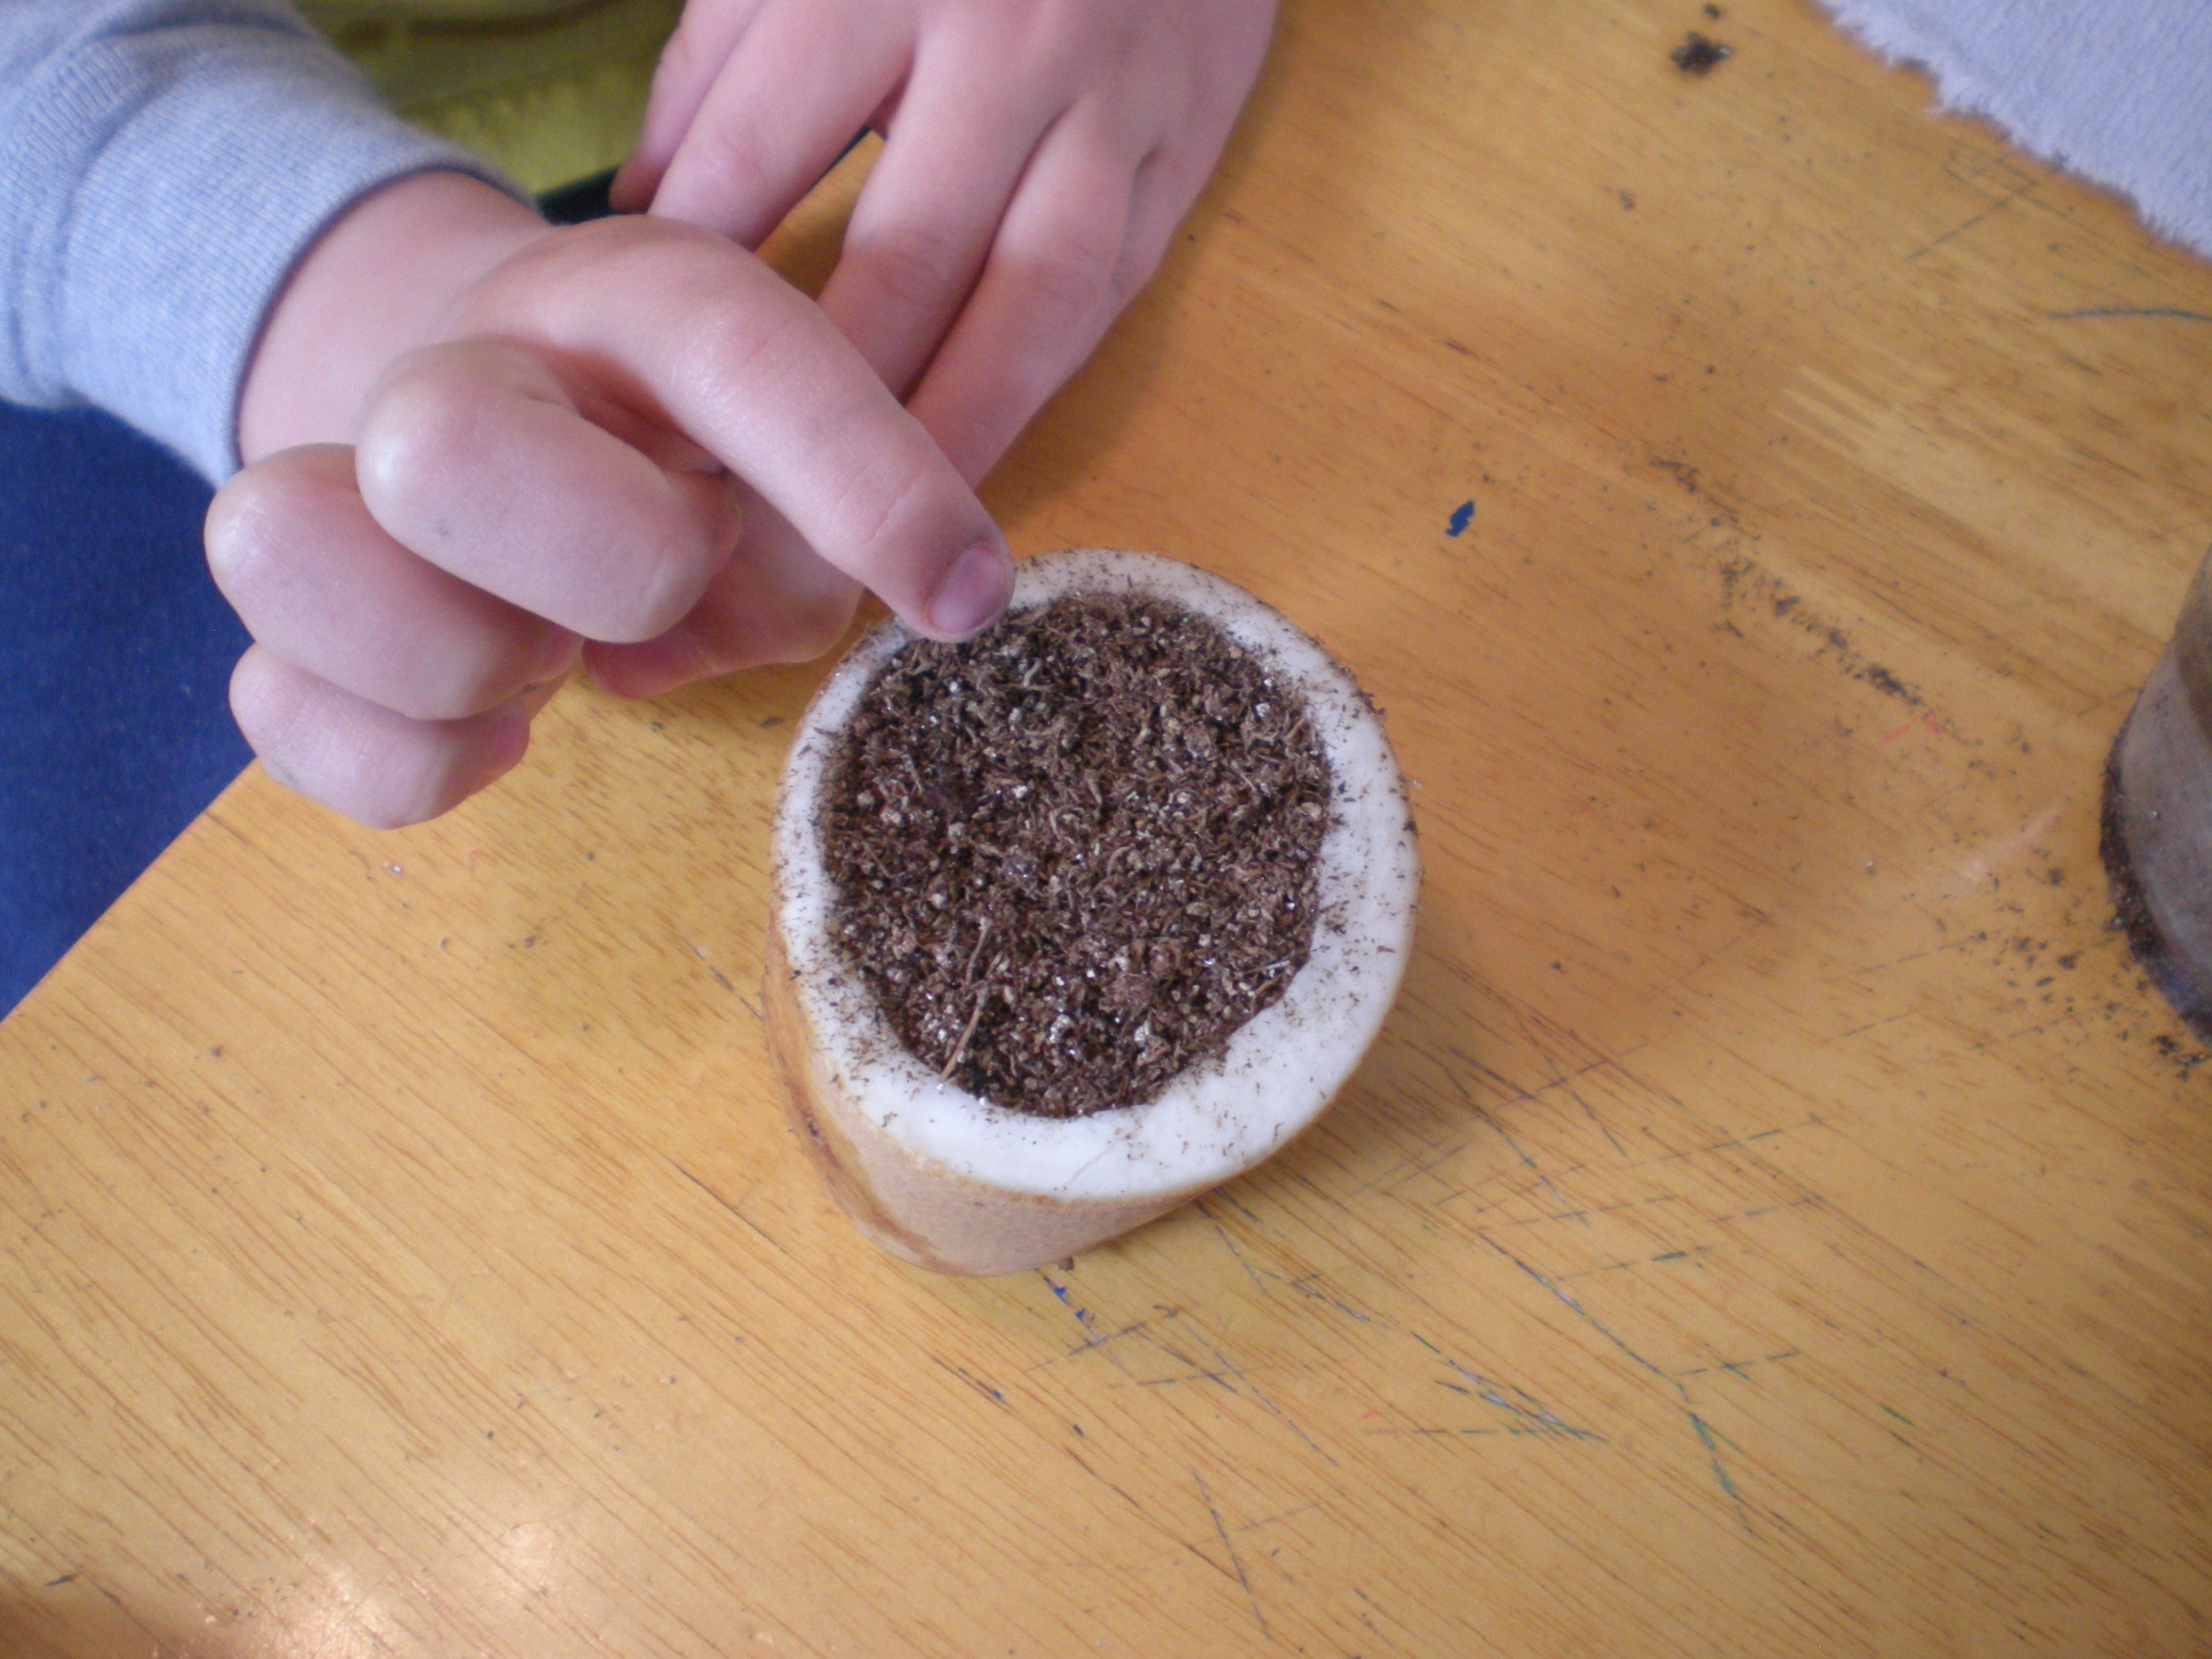
planting tiny chamomile seeds

When the seeds have sprouted and are ready to be planted outside you can simply plant the whole potato in the ground.  In the past we have given created Potato Heads by using markers and googly eyes to create faces.   Then we planted grass inside the potatoes which grew into hair!  It is lots of fun to for kids to cut their Potato Head's hair with scissors.  Today we simply planted chamomile seeds into our potatoes, gave them a little drink and are eagerly waiting for them to sprout!

Materials ~

  • Potatoes, 1 for each child
  • A Melon Baller
  • Chamomile Seeds
  • Dirt

If prepping the potatoes ahead of time you will need: 

  • Citric Acid or Lemon Juice
  • Water
  • A Big Bowl 

Instructions ~

Prep the potatoes by cutting the a thin slice off of the top of the potato or the side if the potato is long and skinny.  Then using the melon baller remove the center of the potato to make a place for the dirt to go.  Test to see if the potato will stand straight by setting it down on a flat surface.  If it wobbles or rolls around cut a flat surface on the bottom of the potato so it will stand sturdy and straight.  I did this the day before class and I wanted to keep the potatoes fresh.  So, I place the potatoes in a big bowl filled with water and a generous sprinkle of citric acid.  The potatoes came through the night beautifully!
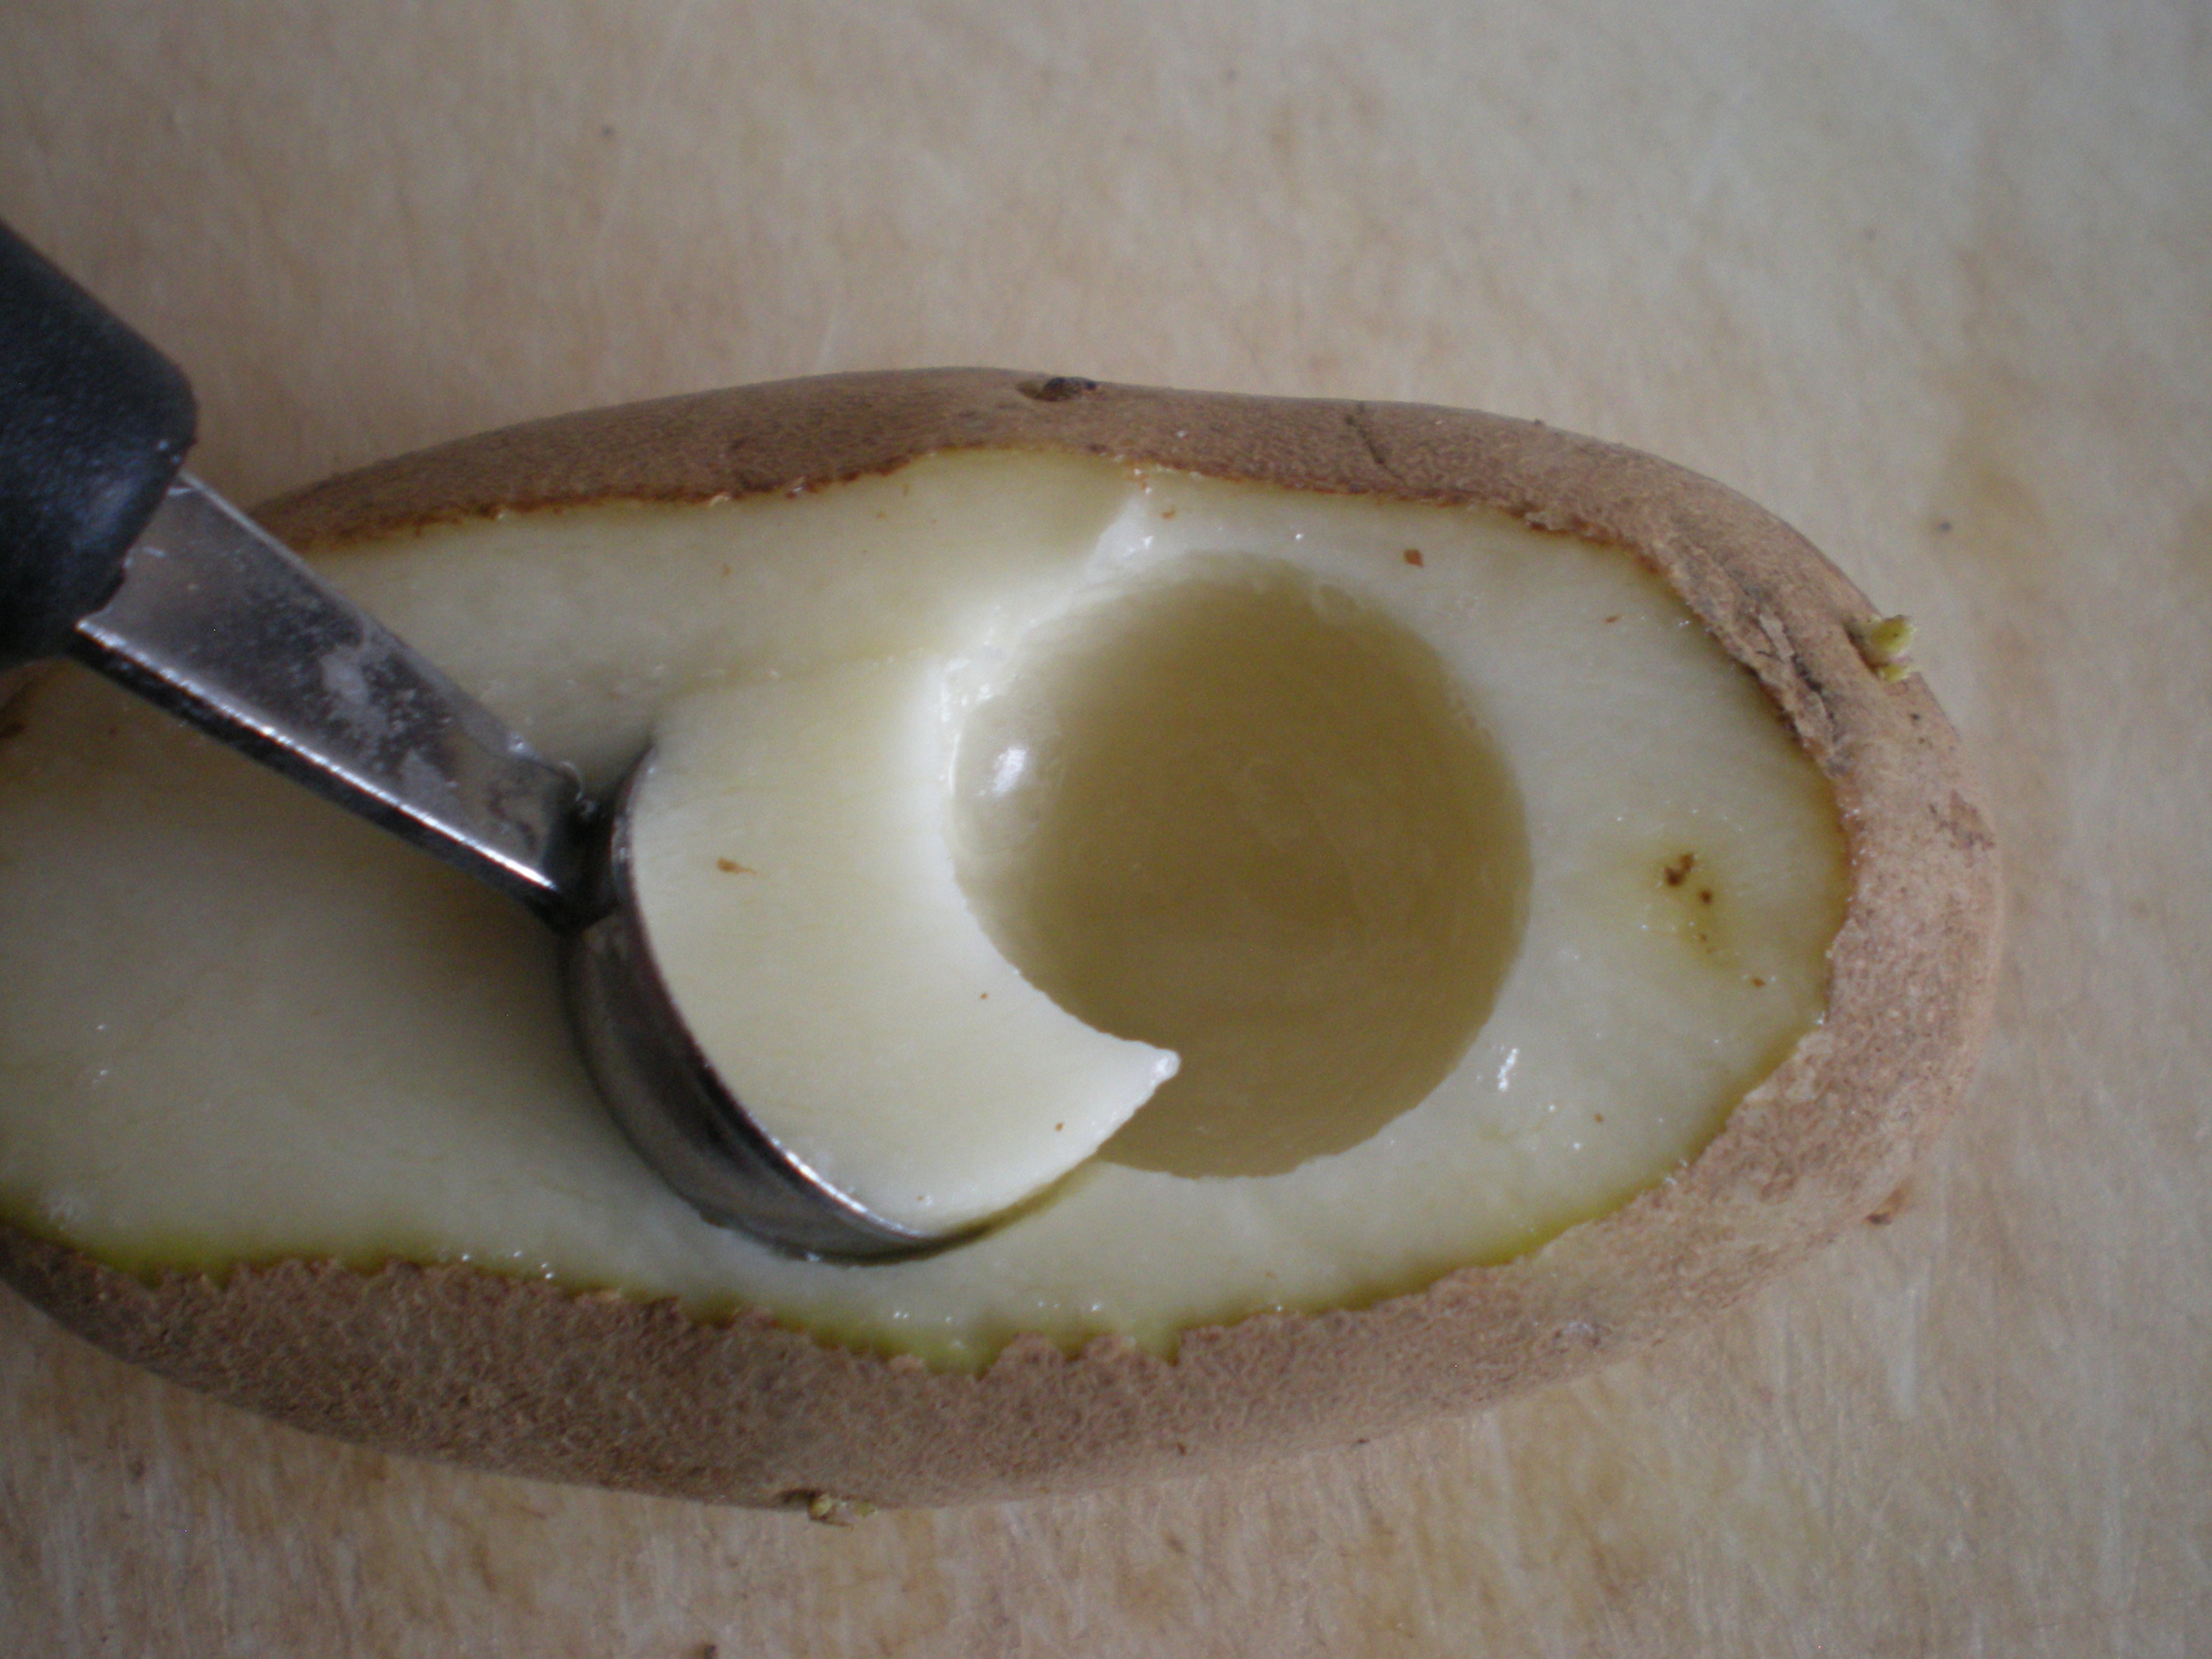
potato prep

Have the children fill their potato with dirt and then gently press the tiny chamomile seeds into the top.  Help the children give their chamomile potato a small amount of water to help the seeds sprout.  

Keep the soil moist and place the potato in a sunny spot.  You should have tiny sprouts within about three days, almost instant gratification!  When my girls saw these wee little sprouts they instantly exclaimed, "Aw, how cute!"
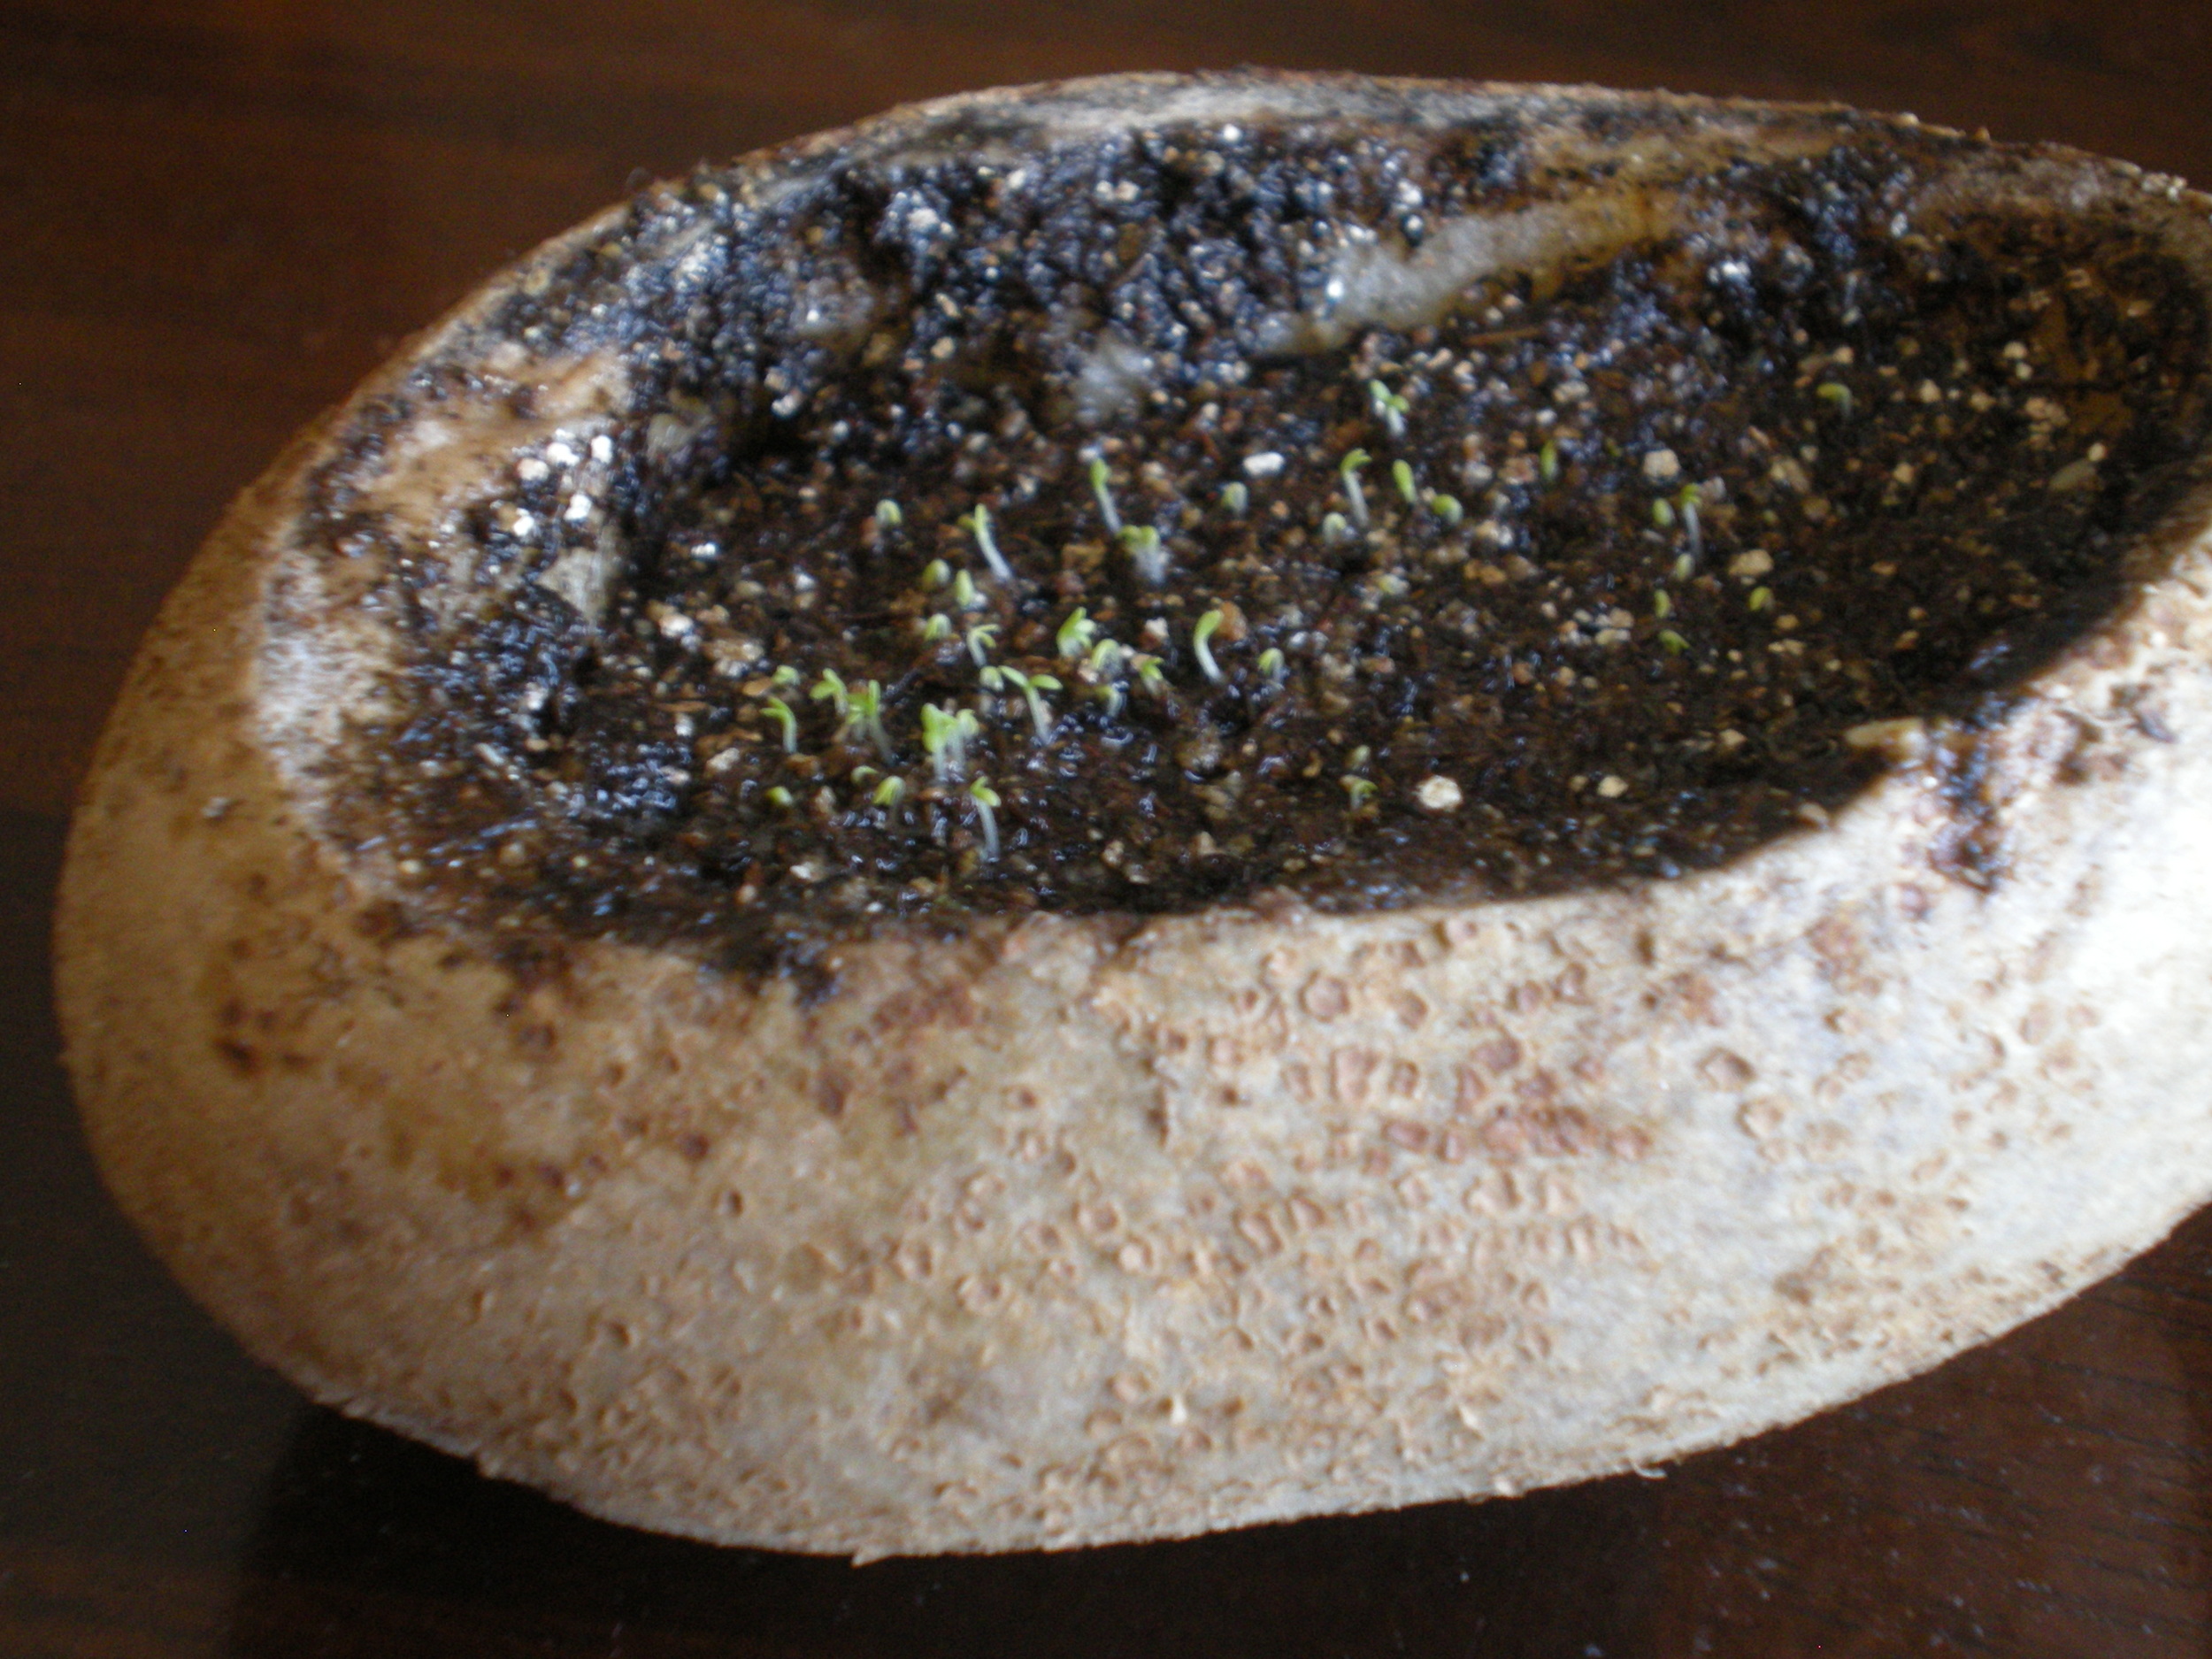
day  three

Within one week the sprouts are much bigger and follow the sun during the day, turning their leaves to soak up nourishing sunlight.
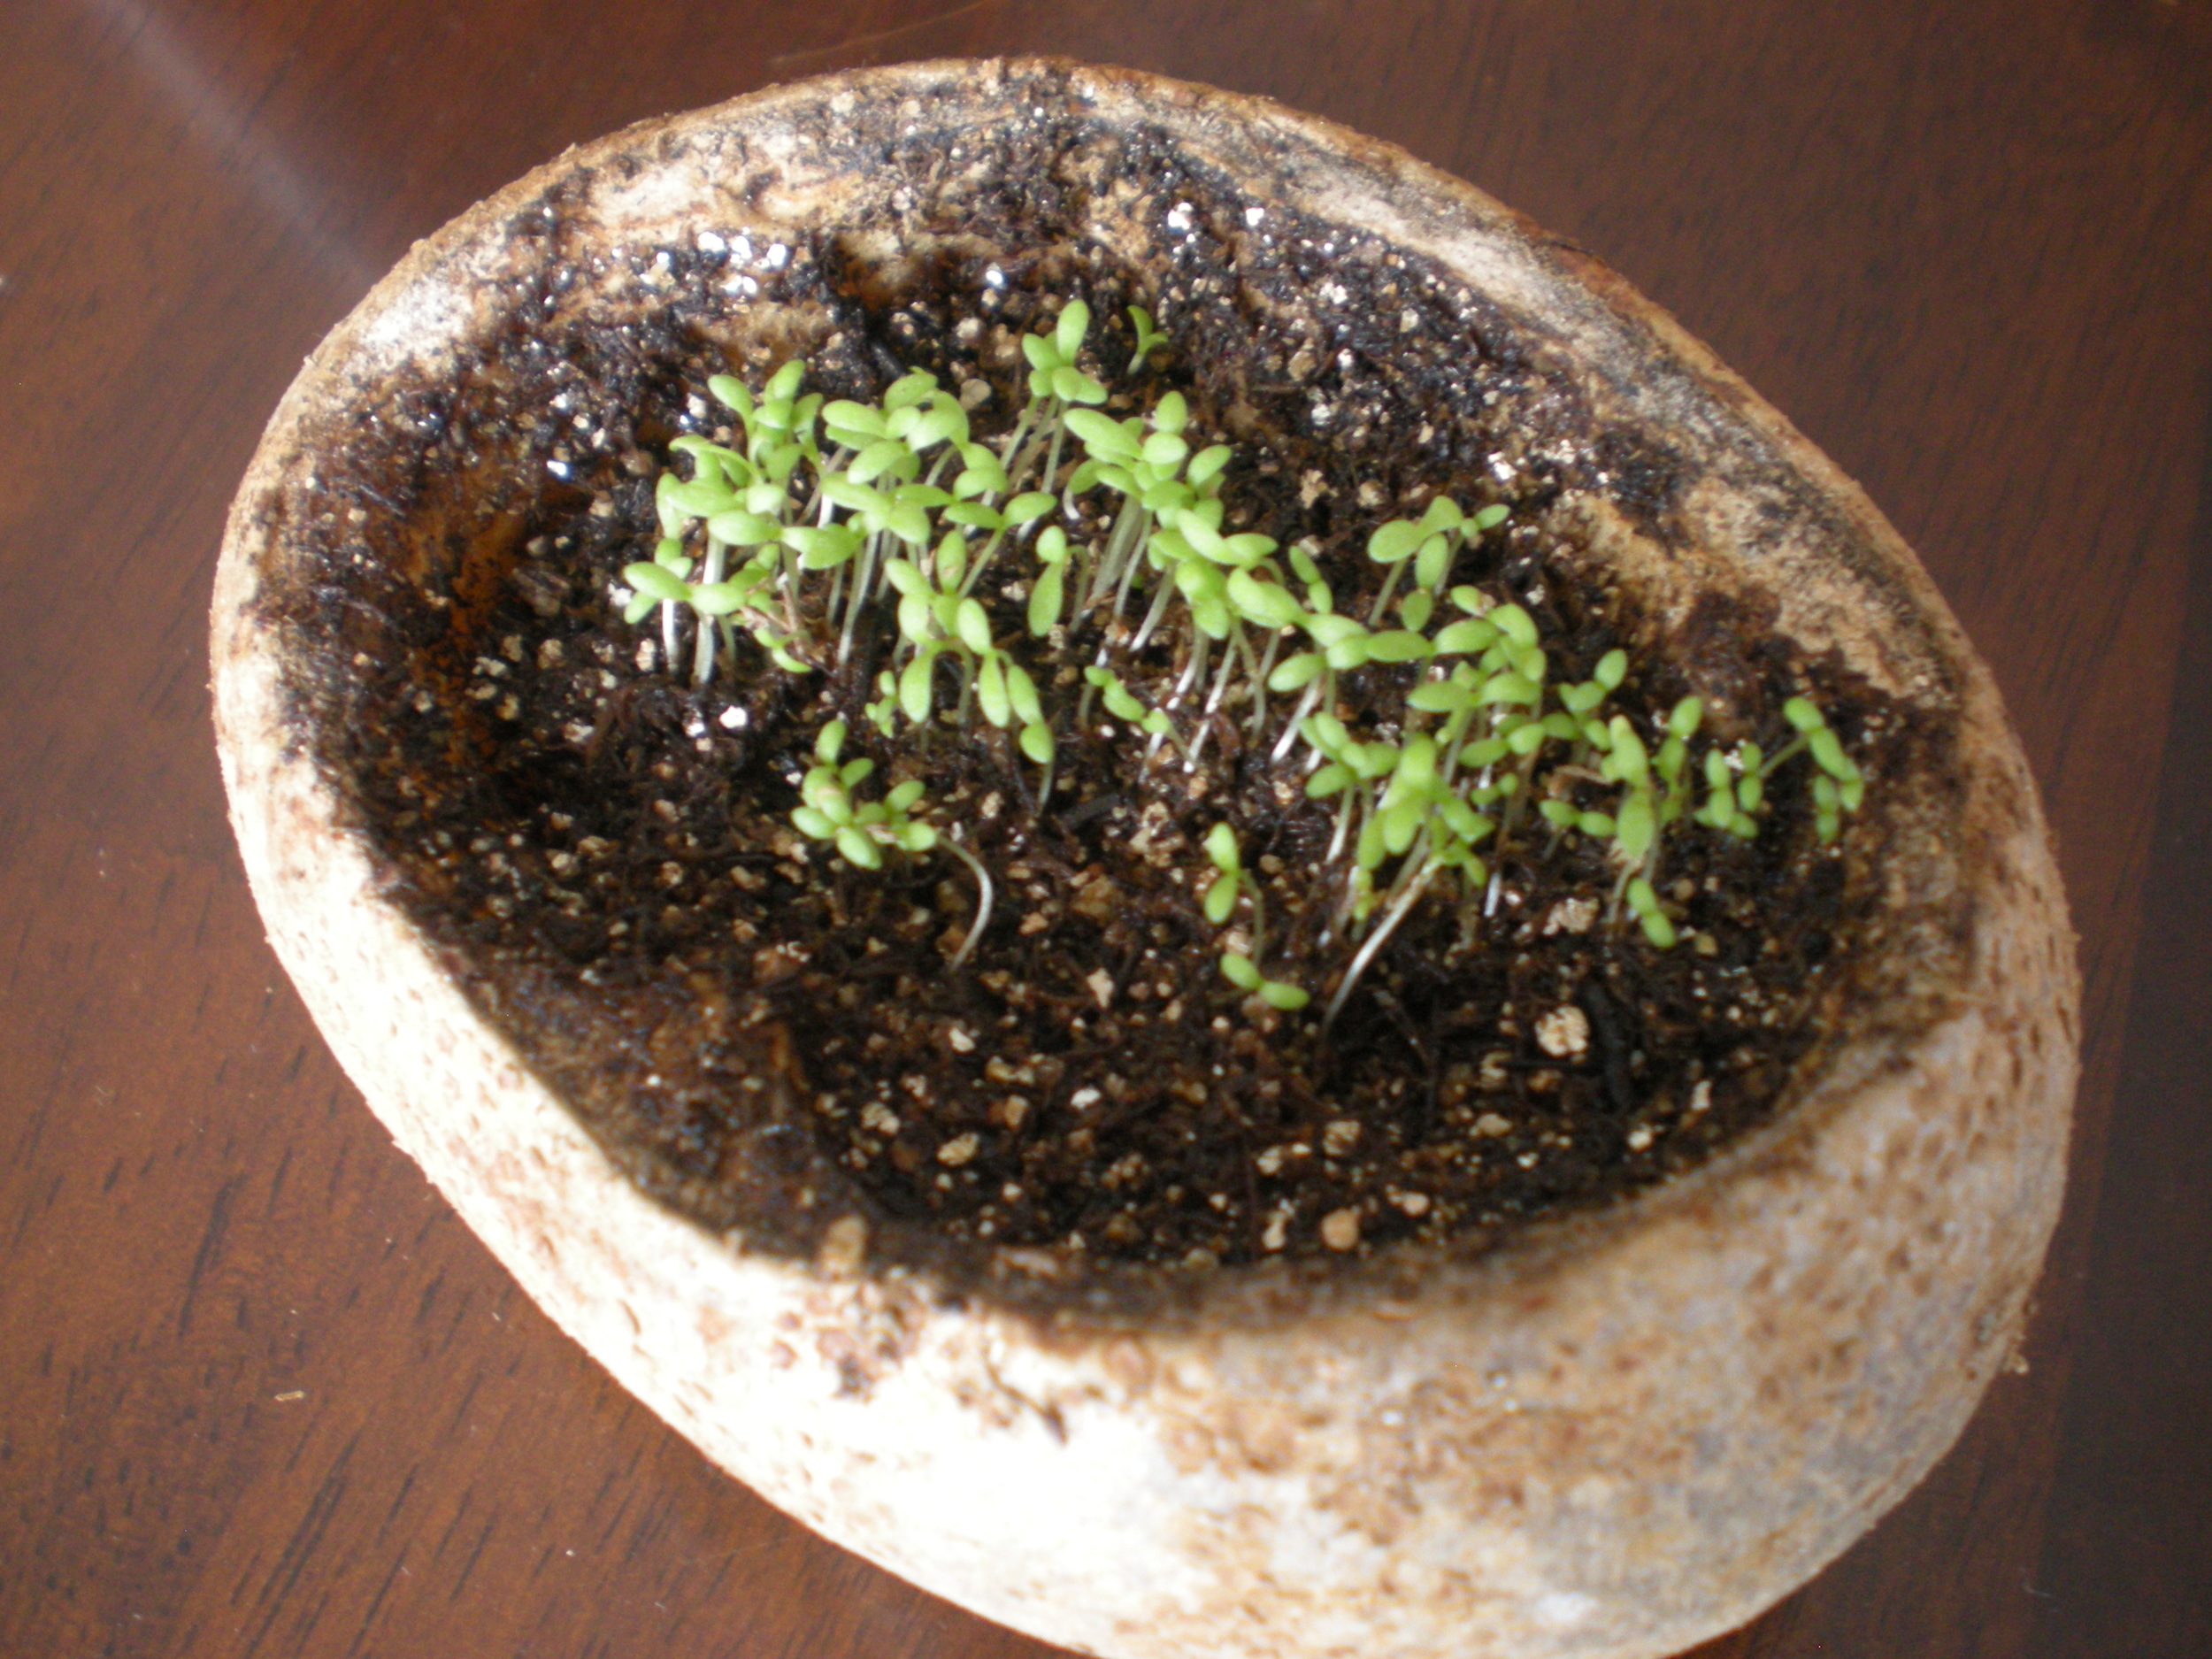
day seven

Here are some other wonderful activities for Chamomile Day ~

Spring Time Blessings!

Shared On:  It's Playtime!, Eco-Kid's Tuesday, The Kid's Co-Op, Kid's Get Crafty,  Friday's Nature Table


The Herbal Sock Bath For Kids

An interactive experience from start to finish, the sock bath is lots of fun to make with children.  What is the sock bath you ask?  I first learned about this great way to use herbs in the tub from my teacher, Brigitte Mars.  To make a sock bath simply put your chosen herbs in a sock, tie a knot in the top and toss it in the tub... super easy! Having made sock baths a few times with the kids at preschool, I have come to notice that the kids just love them.  They enjoy picking out their very own herbal blend to put in the sock and then they love playing with the knotted sock, snuggling with it and enjoying the scents of the herbs.  Once you get the sock bath into the tub it is great fun to watch the water change color as the herbs mix with the bath water.  And then squeezing all the herb-rich water out of the sock into the bath makes for a very tactile experience indeed.

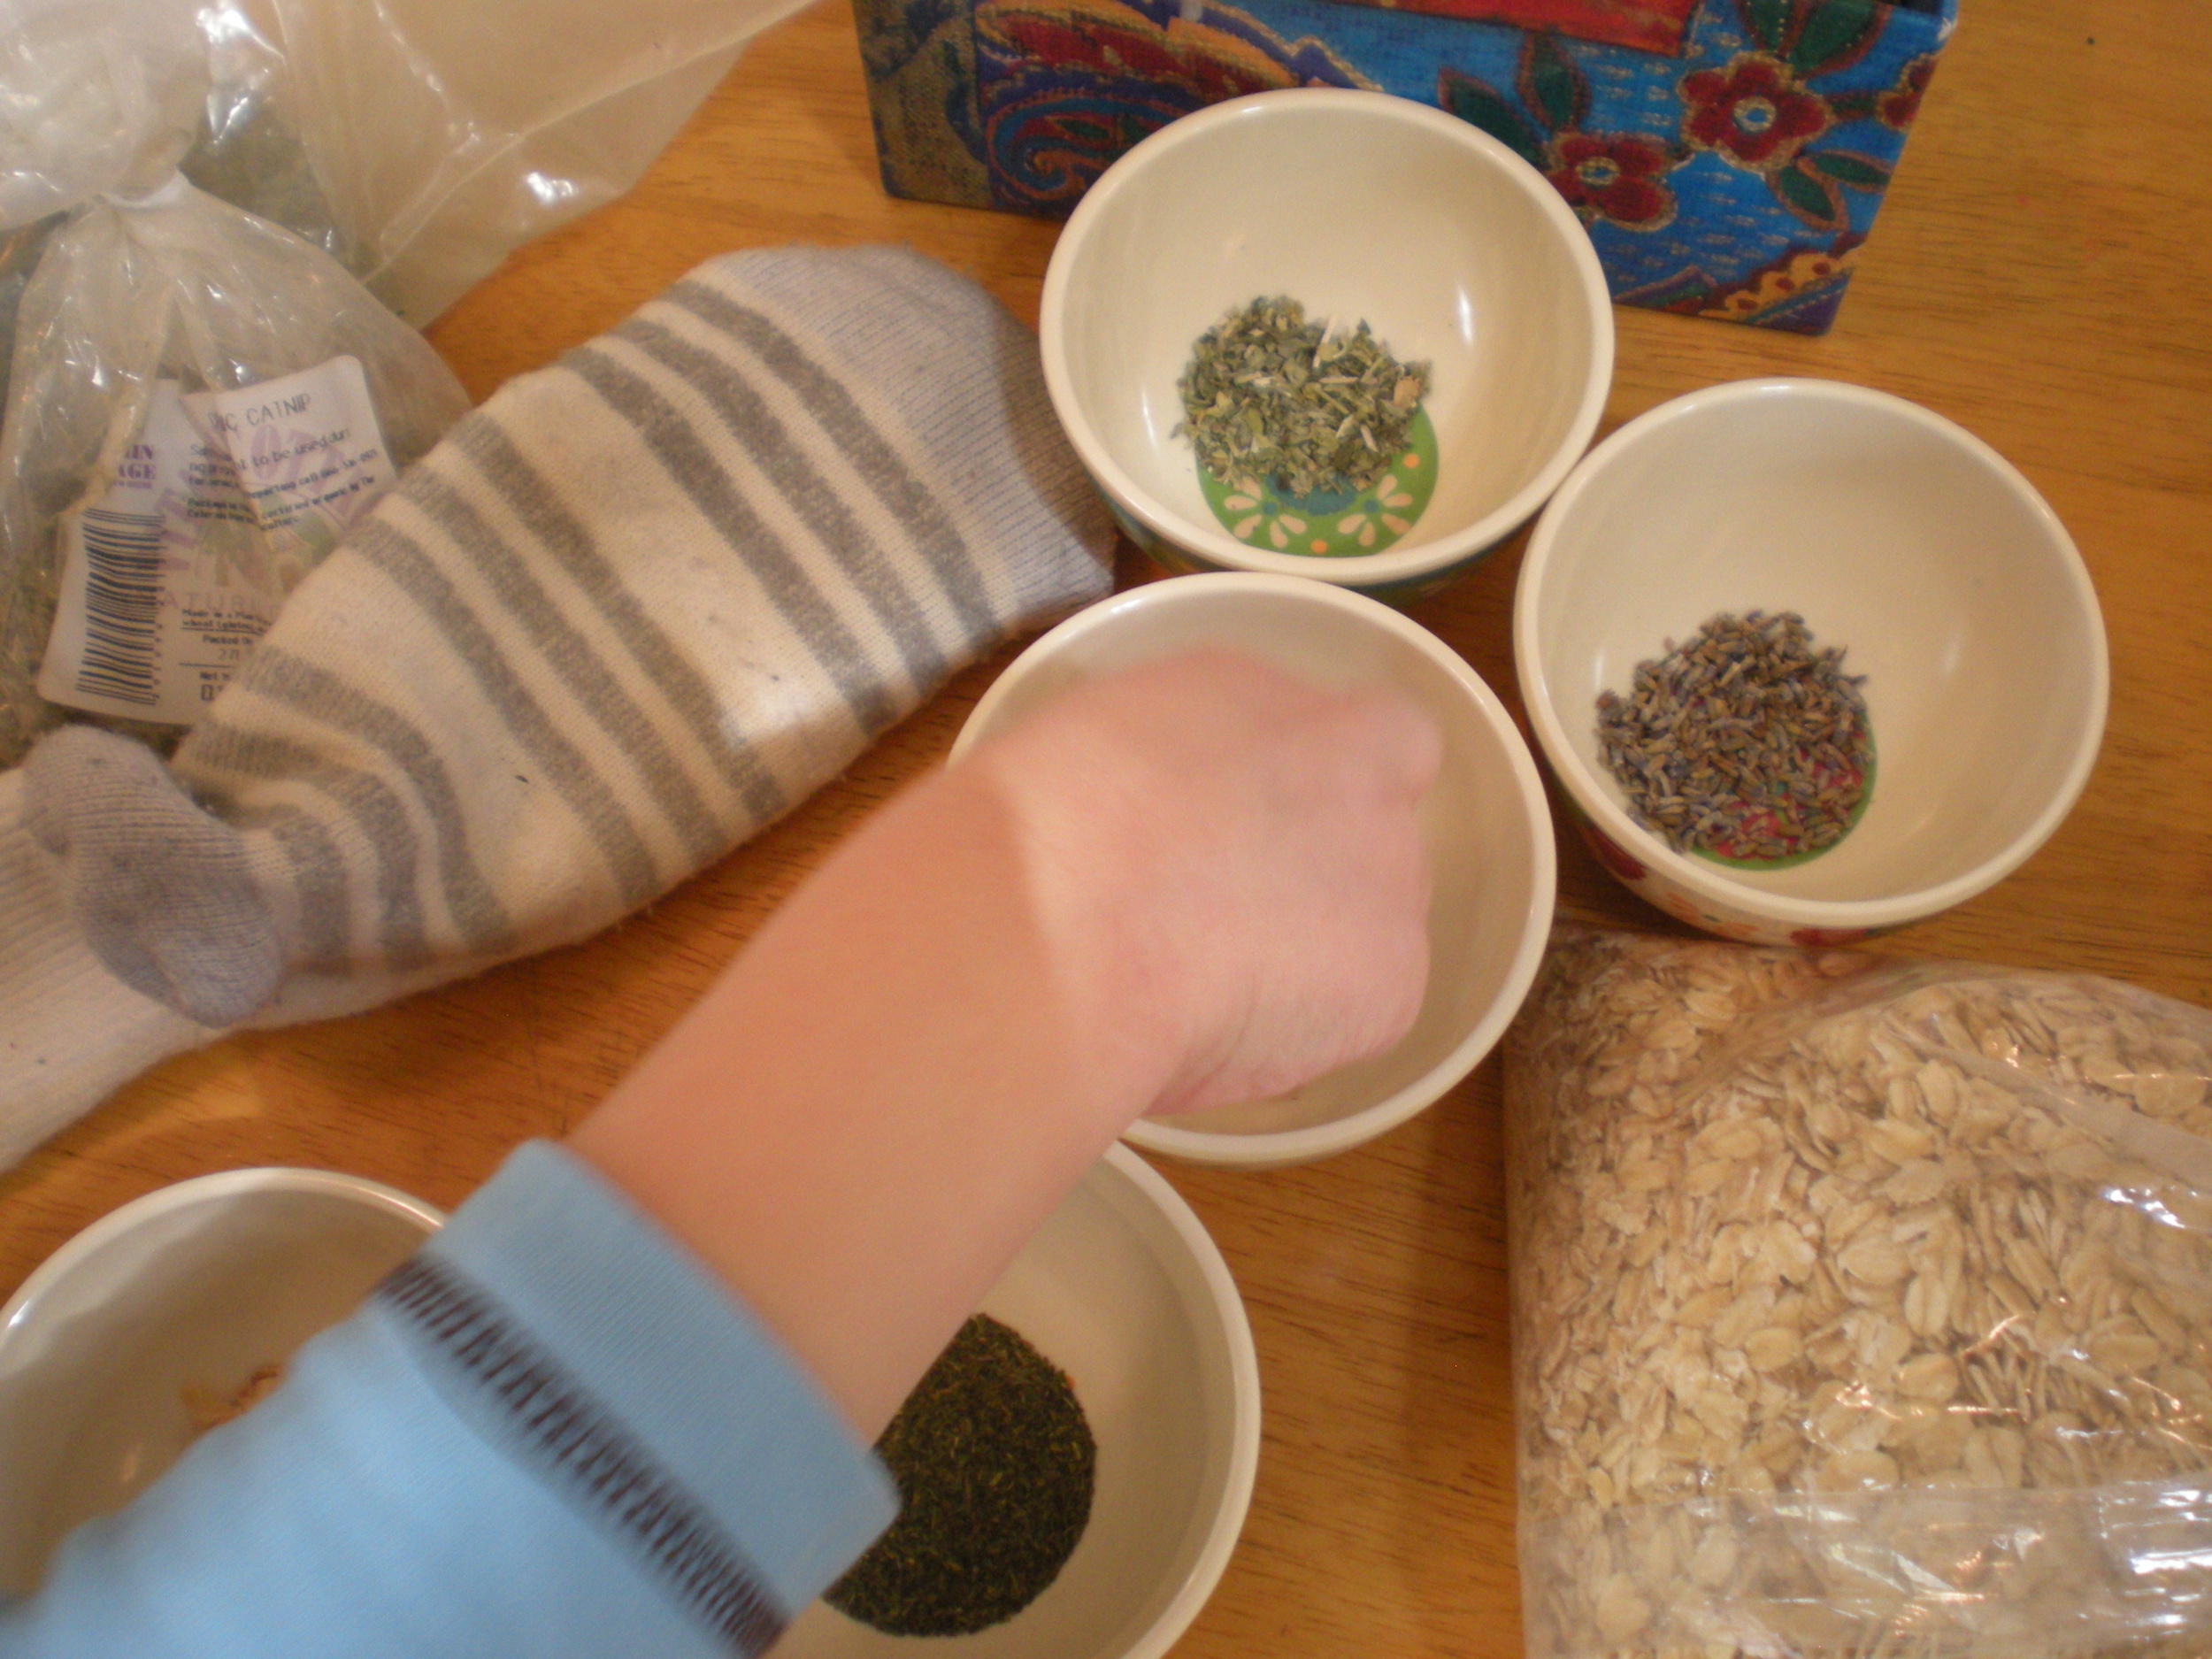
sock bath herbs

~ Making Sock Baths With Kids ~

The process is a lot like some of the other baths I have shared like, Minty Mint Bath and Rosy Oatmeal Bath, but is tailored for creating with kids.

Materials ~

  • A sock for each child.  When I do this at school, I ask each child to bring in a long clean sock from home, not a kid size one!  You need big socks to stuff!
  • Bath Herbs examples are ~ roses, chamomile, lavender, catnip, calendula, and mints.
  • Oatmeal, this is optional but it makes the bath so very much fun because when the sock bath is all wet in the tub and the child squeezes it, a skin nourishing slippery, milkiness exudes from the sock, so cool!
  • Epsom Salts, totally optional
  • Kid Friendly Essential Oils such as ~ lavender, sweet orange, spearmint, rosemary, rose geranium and ylang ylang.  These are optional too!
  • A Jar or Glass, have one for each child you plan to work with if you are going to do this in a group.  Or you can have one jar/glass if you are going to work with each child separately.  I used a plastic one to prevent problems with breakage.

Method ~

  • Give each child a jar/glass in which to create their sock bath.
  • Working with either one child at a time or a few at a time, have the child(ren) choose the herbs they would like in their sock bath.  Help them place about a 1/8 to 1/4 cup of each herb into their jar or glass.
  • Add oatmeal and epsom salts if desired using about 1/8 to 1/4 cup each.
  • Add the essential oils, about 4 to 8 drops total of whatever combination of oils you are using.  If they want they can stir up their bath with a spoon.

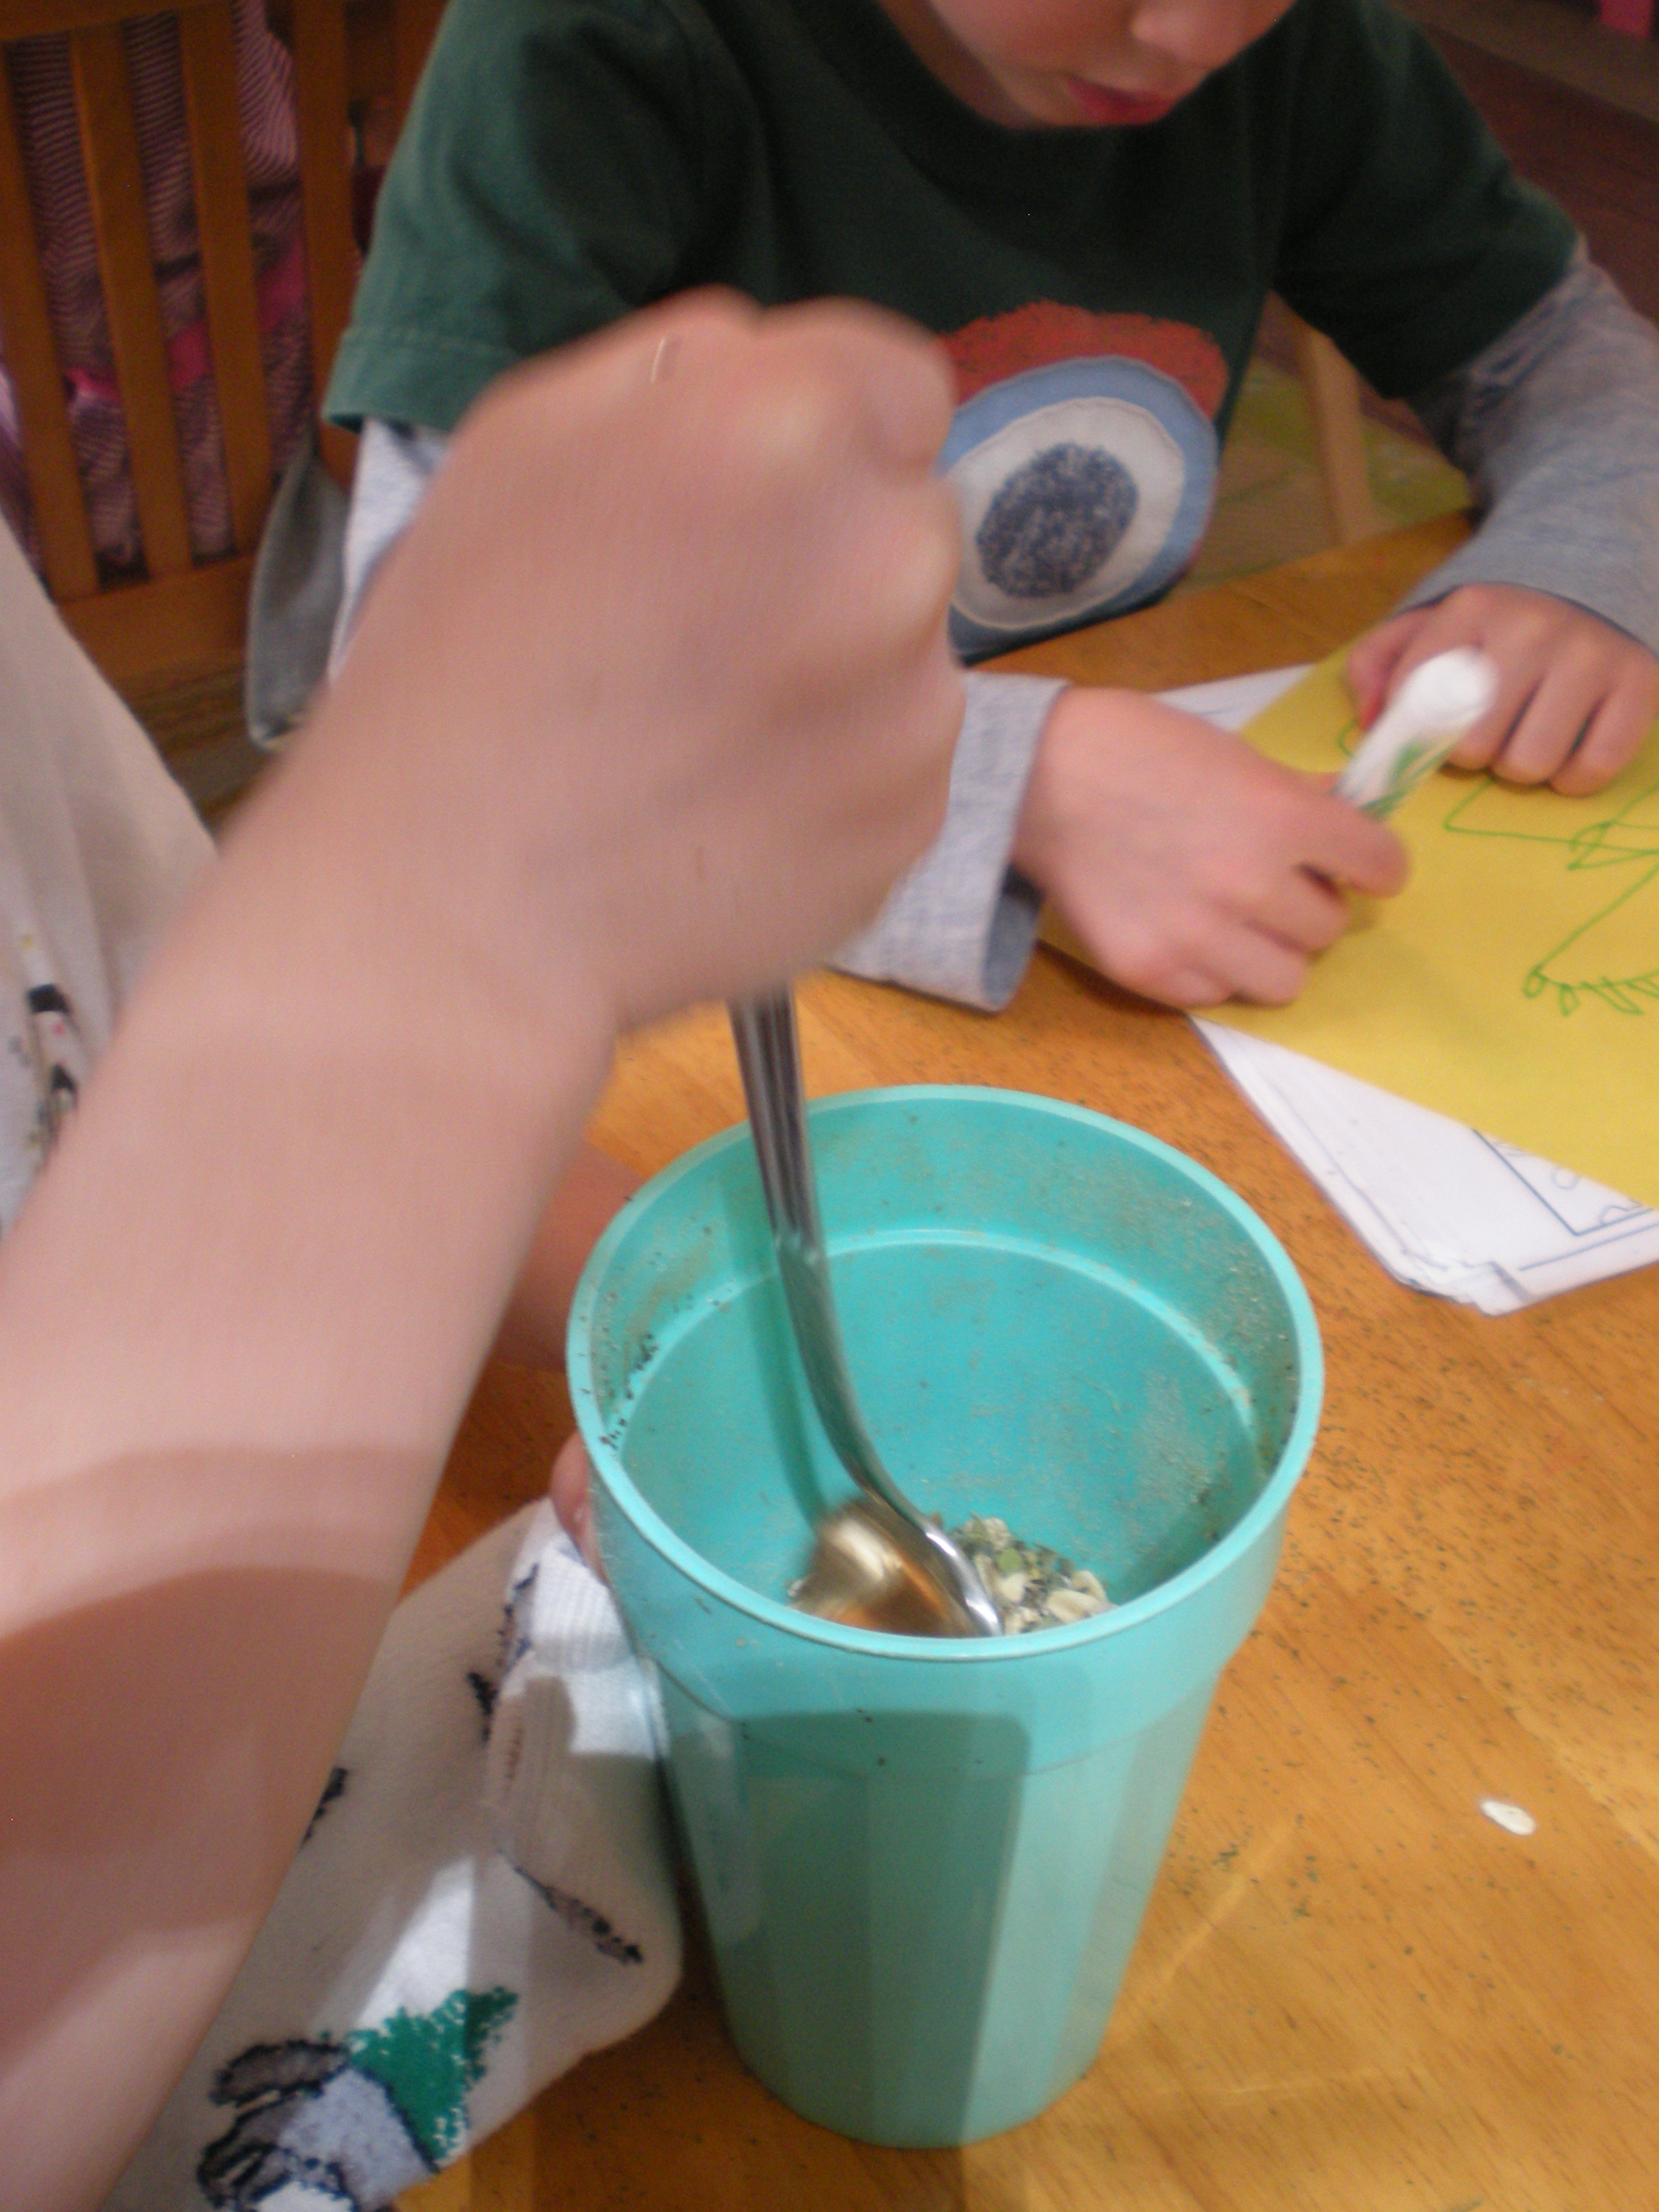
stir it up

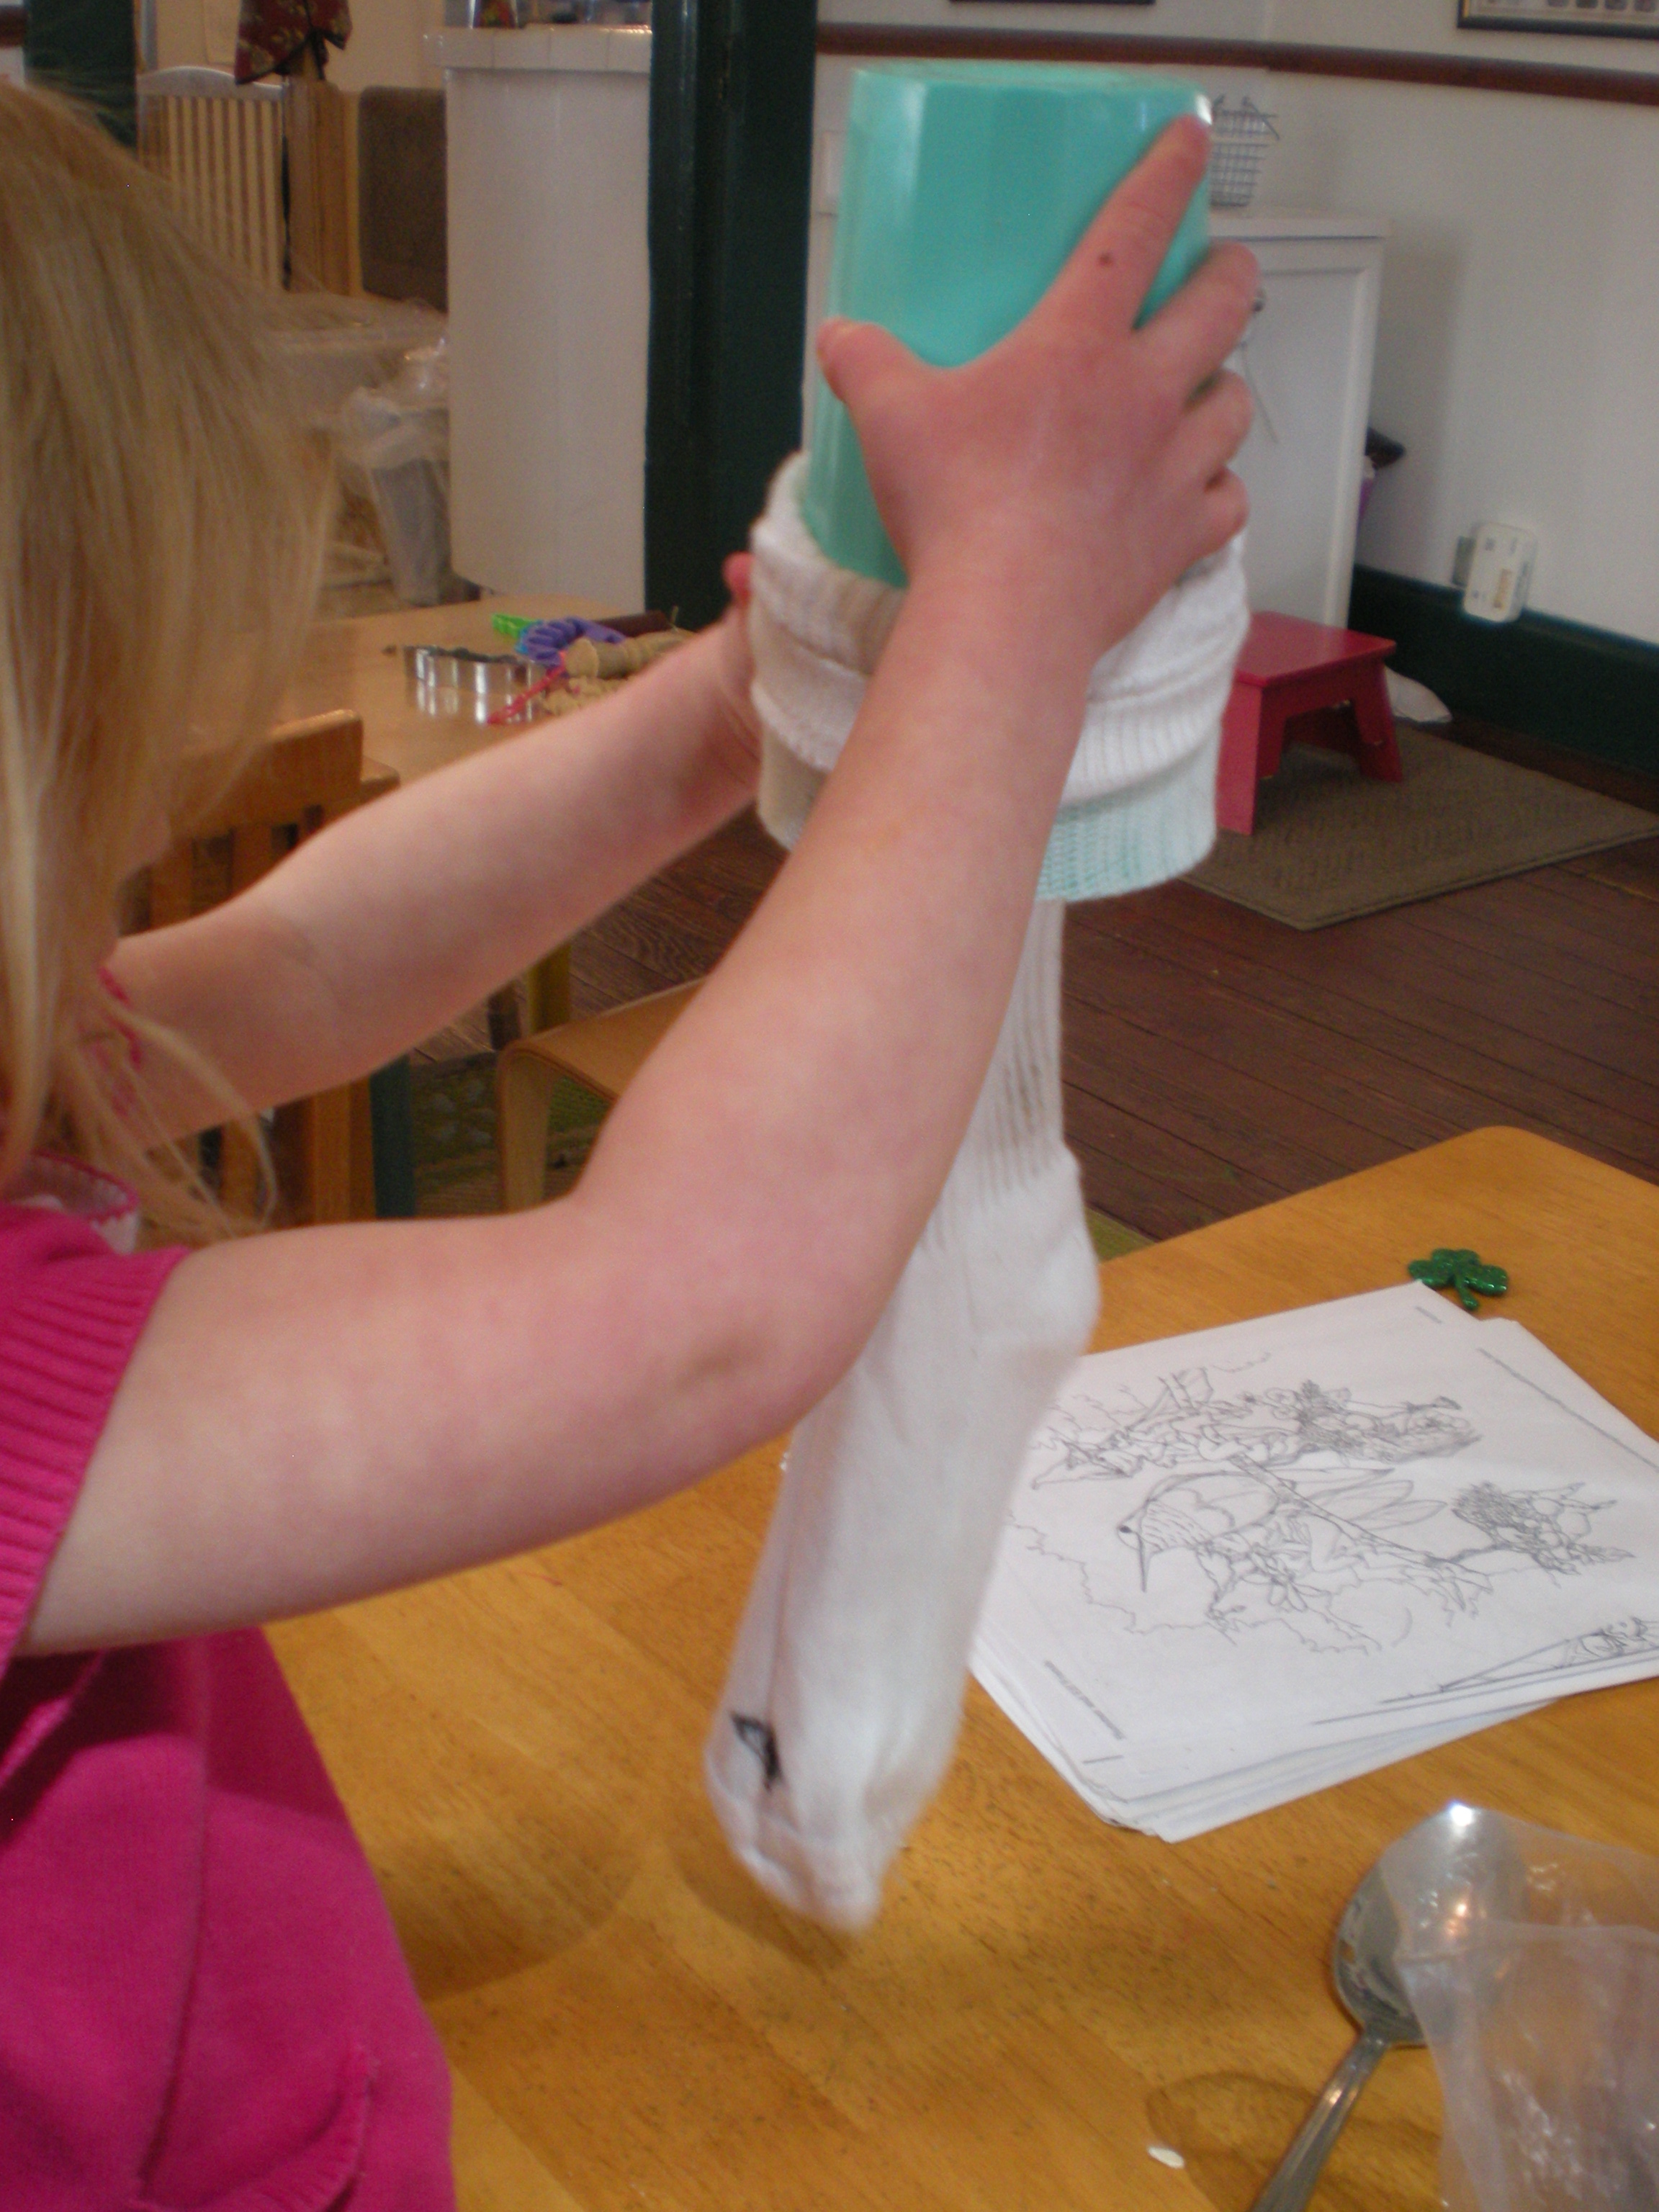
  • Then help the child(ren) to place to opening of their sock over the opening of their jar/glass and then once the sock is secure, dump the jar/glass over so the contents fall down inside the sock.  (You might want to have the child hold the sock onto the jar if it is not a tight seal.)  The child(ren) may need to give it all a little shake to get all the bath into the sock.

Filling the sock

  • Once all the bath is in the sock, remove the sock from the jar/glass and tie off the top!
  • You can let the child(ren) play with their sock if you wish.  
  • Let the children's parents know how to use the bath ~ Just toss it in the tub with the child and let the play begin!  Encourage the child to squeeze their sock bath so they can really smell the herbs and enjoy the wonderful herbed water that comes out of the bath.   

Happy Creative Bathing!

Shared On:  It's Playtime!, Tender Moments, Eco-Kids Tuesday, The Kid's Co-op, Make Your Own Monday, The Gathering Spot, Frugal Days, Sustainable Ways, Kid's Get Crafty, Friday's Nature Table

Fennel Babies On Fennel Day ~ Herbs For Kids ~

Tiny little seeds beckoned excited glances and little hands to explore as we began our herbal adventure this week with fennel.  Did you know that fennel is a wonderful tummy soother?  It relaxes smooth muscle, eases inflammation and even acts as an expectorant all while tasting pretty yummy!

What Does It Taste Like?

We started our day at preschool with a tea tasting as well as trying some fresh fennel bulb at snack time.  Most of the kids liked the tea and I got to refill many cups!  The fresh bulb was only embraced by a few little ones with adventurous palates.

So, what does it taste like?  Well, the tea tastes a bit sweet and smooth with a definite taste of fennel seeds.  In general I like to blend fennel seeds with other herbs for a tea but nothing beats tasting a simple infusion to really get the sense of a plant.  The bulb has a juicy crunch with a sweet anise or licorice flavor.  It is really quite lovely.

To make your own tea simple steep up to 1 tablespoon of seeds per cup in hot water for 15 to 30 minutes.  Then strain and enjoy!

Fennel Candy

We furthered our culinary exploration with fennel by making fennel candy, kinda like the kind they have to munch-on on your way out of an Indian Food restaurant.  This activity came directly from A Kid's Herb Book by Lesley Tierra.  If you haven't seen this book, you are missing out.  Totally fun and informative with tons of stories and activities for kids of all ages.

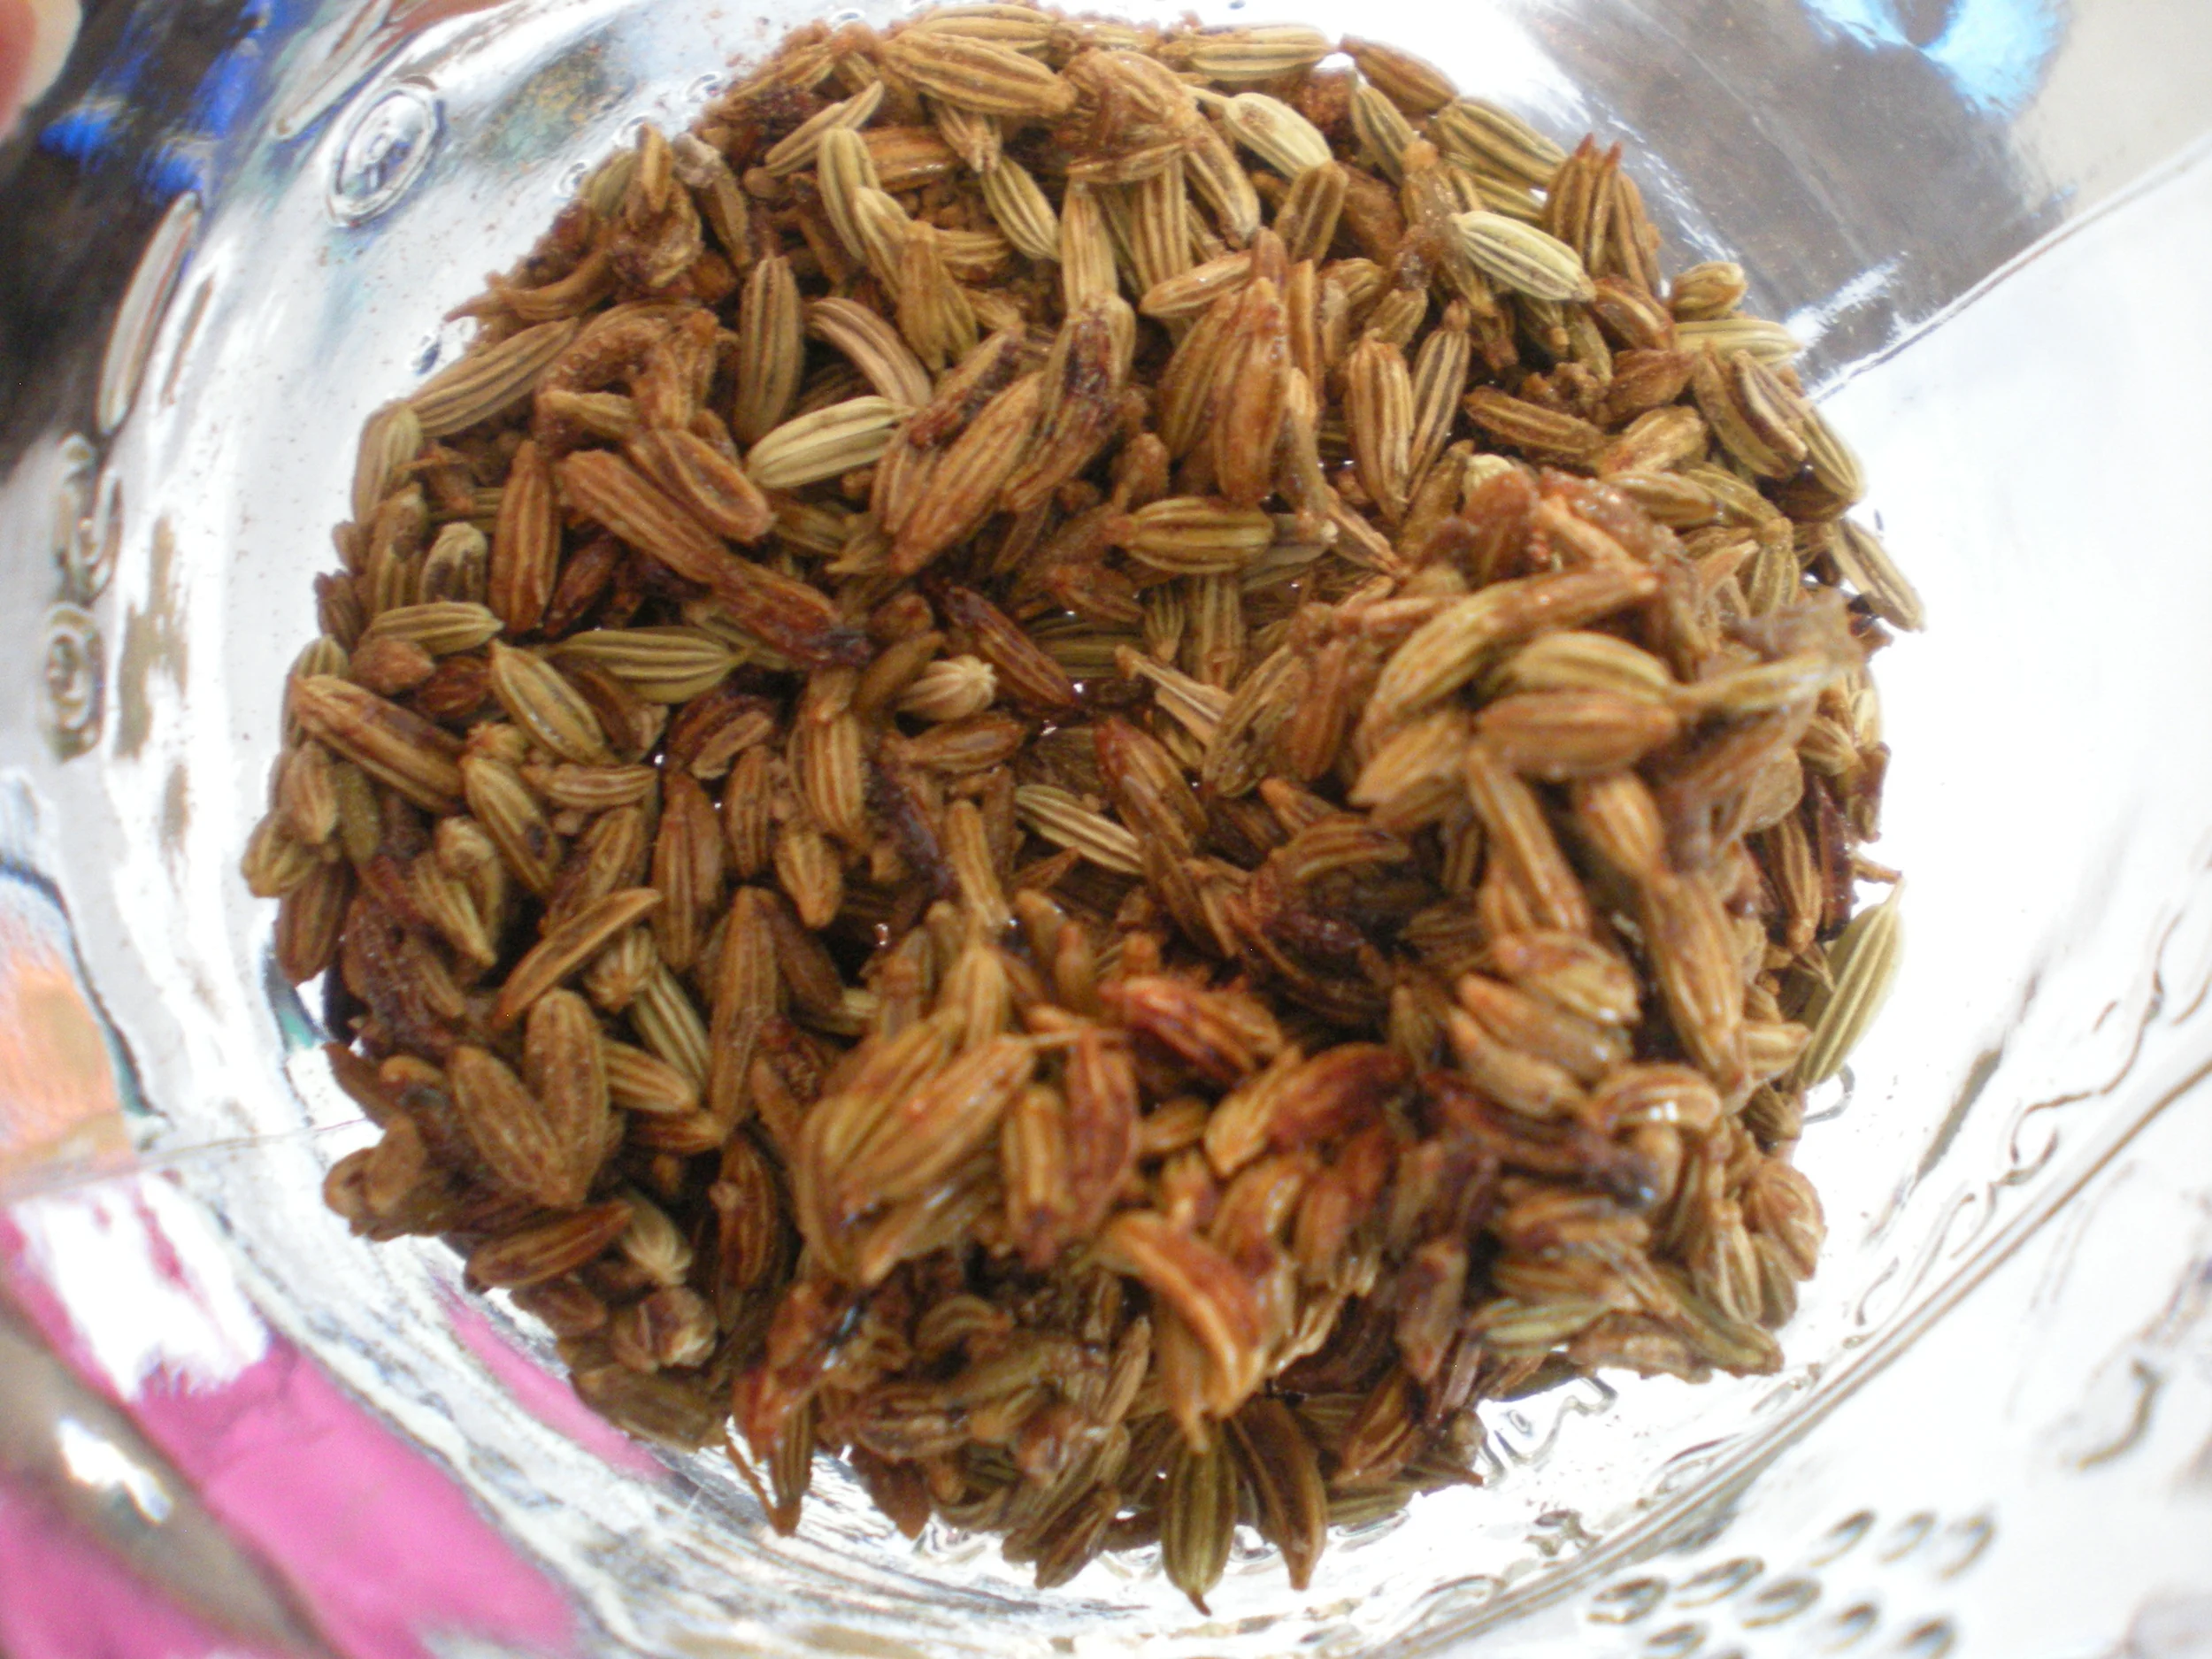
Fennel Candy
Fennel Candy

Recipe ~ From: A Kid's Herb Book

  • 1 tablespoon of fennel seeds
  • 1 teaspoon sugar, we used sucanat
  • 1/4 teaspoon of water

Combine in a pan.  Heat to dissolve the sugar and coat the seeds.

Then add:

  • 2 teaspoons fennel seeds
  • 2 teaspoons water

Fennel Babies

After we got acquainted with fennel we came to the fun hands-on part of the day, planting fennel babies!  Before planting our babies we made them a nice home, little "baskets" for them to begin their sprouting.

baby baskets
baby baskets

Materials ~

  • Cups or other container, I was lucky to find cups made from recycled materials!
  • Chenille Stems
  • Ribbons
  • Foamies or other decorations
  • Little Chicks, so cute!
  • Beads
  • Fennel Seeds, of course!  I did buy these at the local plant nursery.  I don't know if the seeds I bought at the grocery store would sprout and I didn't want to take any chances.
  • Dirt
  • Water
  • Hole Punch
  • Sharpie
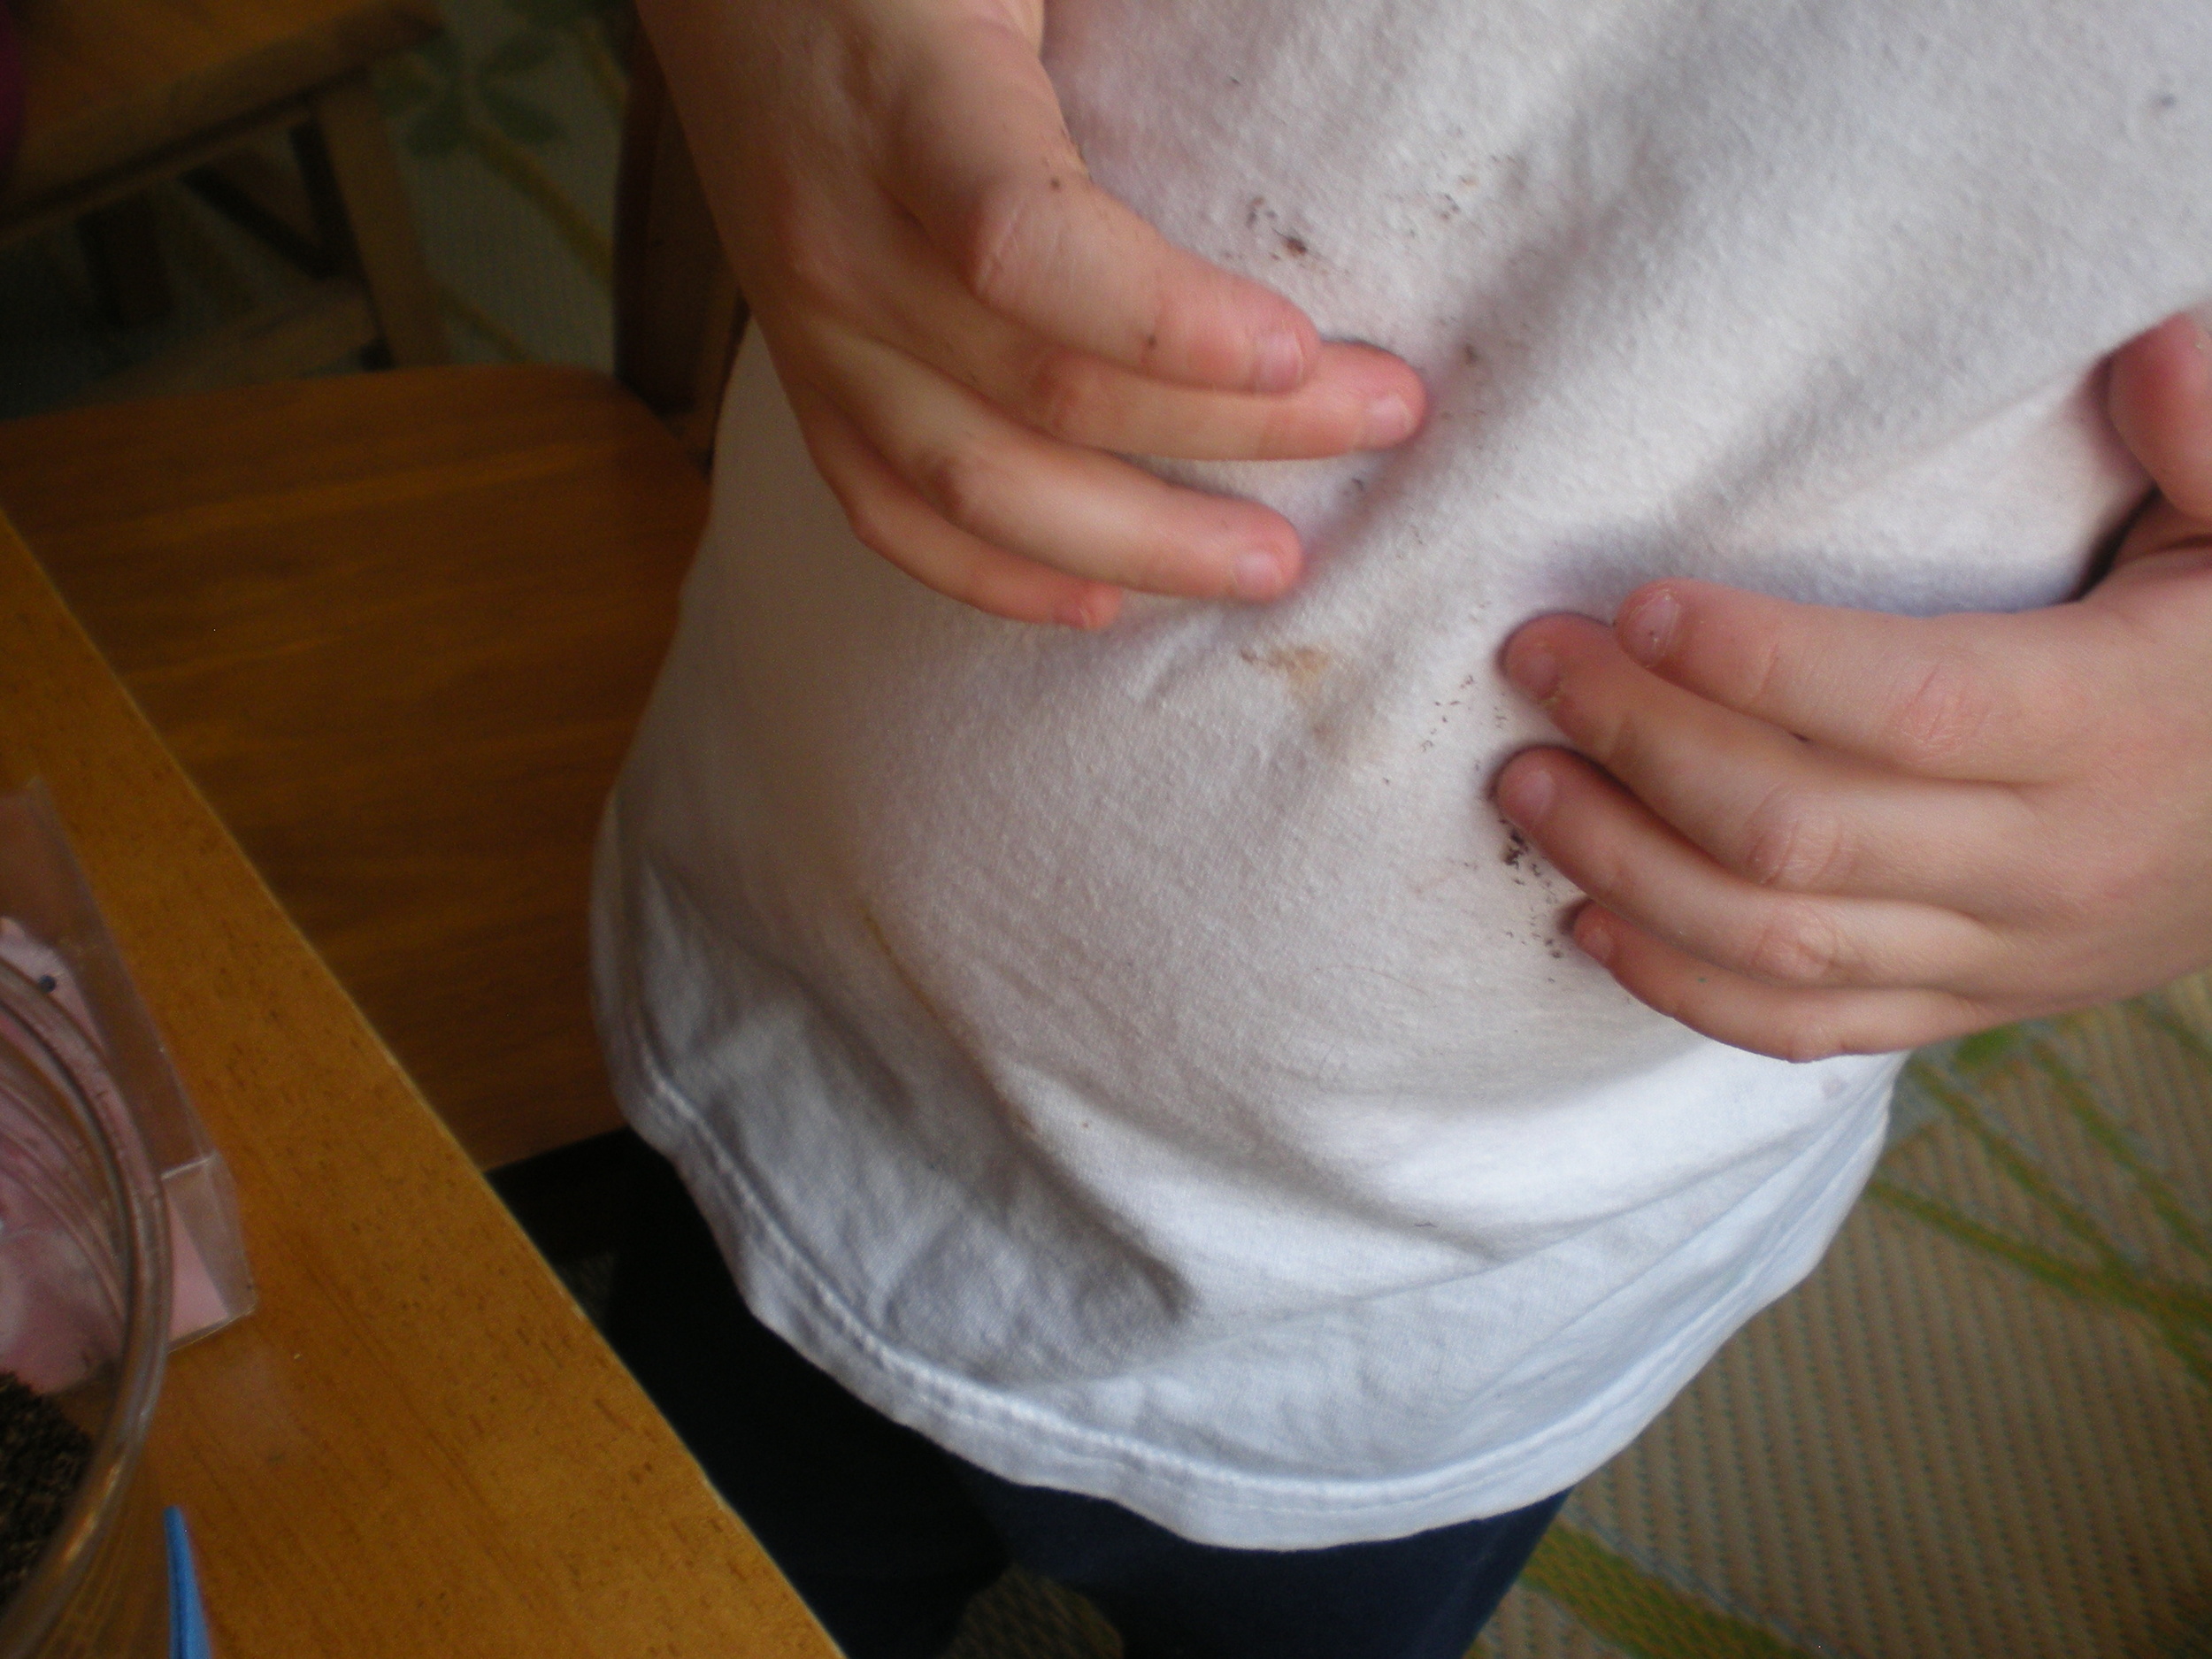
Sorry mom and dad, I was slow to stop your little one from wiping dirt on his belly, so I took a picture

Instructions ~

  • PREPARE ~ Punch at least two holes opposite each other just under the rim of the cups.  If you want to add a ribbon decoration around the top of the cup then punch holes all the way around the rim of the cup.  
  • RIBBON WEAVE ~ If doing the ribbon decoration, have the child pick out a ribbon.  Leave enough ribbon sticking out from where you start the weaving to attach it when you are done weaving.  Then help the child thread it in and out of the holes around the top of the cup so it is woven around the perimeter of the rim and attach it the the other end by tying a bow.   I didn't do this part with the kids this time, so I don't have a picture to show you.  My hole punch was not working well and I was lucky to get the two necessary holes punched in each cup.
  • DECORATION ~ Lay out your decorations, we used foamies, and have the kids decorate the outside of their cup.
  • CREATE A HANDLE ~ Attach a chenille stem to one of the holes you punched in the top of the cup and have the child bead the stem leaving a bit of room to attach the opposite end of the stem to the other side of the cup.
  • PLANT THE BABIES ~ Fill the cup with dirt about 2/3rd full.  Have the child poke a few holes in the dirt and put their babies (seeds) in the dirt.  Then they can give their babies a blanket by covering them with dirt.  Next give them a drink of water!  We used about 3 seeds per child incase they don't all sprout.
  • SELECT A NANNY ~ Next let the child pick out a chick to watch over their babies.  You certainly don't need to use the chicks but I just can't resist, they are SO CUTE!!  And the kids love them so much!
  • FINISH THE BASKET ~ Finally attach the loose end of the handle if you haven't done so and write the child's name on their cup.  You are all done!
baby basket
baby basket

The day ended with each child happy to take home their new babies and some candy for their families.  When their babies are strong enough and the danger of frost has passed, they will be ready for a new home outside.  Lots of fun with fennel!

Shared On: Eco-Kid's Tuesday , Kid's Get Crafty. It's Playtime!, The Kid's Co-op, Friday's Nature Table
Sleepy Time Foot Balm For Kids

tooties

tooties

Who doesn't like a good foot massage?  A nice rub is especially relaxing before bed.  Massage oils and balms made with essential oils massaged into the bottom of feet at bedtime helps to induce sleep as well as fight infection.

Did You Know ~ Our bodies are able to absorb a phenomenal amount through the skin on the bottom of our feet.  In fact an old remedy for coughs is to rub the bottom of the feet with olive oil, put minced garlic on top of the oil and then put socks over the whole thing.  Within a very short amount of time the person's breath will smell of garlic!  The garlic then helps to fight infection from the inside of the lungs out as the person breathes.
Creating Foot Balms With Kids ~ 

What is better than squishing and squeezing a bag of gooey goodness?  This is just what we did recently at preschool.  The kids each created their own sleepy time foot balm in a little baggie for mixing.  Originally we were going to use tins to put the balms in but what fun is that?

Materials ~

Important Note: These essential oils are generally considered safe for kids from age 2 and up. If your child is very small and may get into the foot balm or otherwise misuse it, please store it up out of their reach when you are not in the room with them.  Essential oils are not safe to use internally. 

Instructions ~

  • Place a big spoonful (about a tablespoon) or two of the shea butter and coconut oil in a baggie.  
  • Let the children smell the essential oils and pick out a couple of their favorites that make them feel relaxed and sleepy.  
  • Add these essential oils to the shea butter/coconut oil blend.  Because this is a really loose project with no exact measurement for the shea butter/coconut oil blend, I errored on the side of too little essential oil, to be safe, rather than risk using to much.  So I used up to 6 drops of essential per baggie.  This means that if the child choose lavender, cedarwood and ylang ylang for the essential oils, I put 2 drops of each oil in their baggie for a total of 6 drops.  See Essential Oils for more information on using them herbal preparation safely.
  • Seal the bag shut tight!
  • Now for the fun part... Mixing it all up!  It is the child's job to mix up all that goodness by squishing it around to their heart's content!

To Use ~

At bedtime rub a little bit of the balm on the bottoms of your child's feet.  This is  a great time to connect with a little massage and conversation or lullaby.  Then cover your child's feet with socks.  Off to slumber land they go!

More~ 

Nightmares And Night Terrors, What's A Mama To Do?

Flower 'n' Spice Play Dough Mandalas

Flowers 'n' spice and everything nice went into these lovely little mandalas!

"What's a mandala Ms. Angela?" was the immediate question I received after telling the kids what would be making together. While showing the kids a mandala coloring sheet I brought in for them, I explained that a mandala is a circle with a center.  It has patterns.  "As you work on a mandala," I explained, "you become calm and reflect on the beautiful parts inside yourself."

Inspiration for this project came directly from Nuture Store's wonderful post about Play Dough Rangoli Mandalas.  The instant I saw these mandalas I knew I would have to make them (with an herbal flare) at the preschool as part of our unit on Mindful Self Care.

herbal mandalas
herbal mandalas

Materials ~

  • Play Dough (To enhance relaxation during this project I made play dough scented with lavender essential oil and colored lightly with beet powder.)
  • Lids of some sort ~ like the lids from yogurt containers or jars
  • Pretty botanicals to design with ~ we used baby rose buds, hawthorn berries, star anise and tiny fragrant cardamom seeds.
mandala botanicals
mandala botanicals

Directions ~

  • Set up your materials on a table.  I laid out the botanicals on a paint palate and put lids in the center of the table.
  • Give the children a brief age-appropriate description of a mandala.
  • Have each child choose a lid and write their name on the bottom.
  • Give them some play dough to press into their lid.  Remind them that a mandala is a circle and to press their play dough up to the edges of the lid.  You might need to help really little kids.
  • Then let them design!  You might want to tell the children to press the herbs into the play dough so the herbs will stick.
  • On a separate table, if you wish set up coloring materials and mandala coloring sheets for the children to enjoy as well.  A quick search online will give you lots of mandala coloring sheet to choose from.
creating a mandala
creating a mandala

Our finished mandalas smelled amazing!  Some of the children really got into this project.  I could see and feel their minds and bodies relaxing as they carefully pressed each plant into their play dough.  They would pick up a plant, smell it taking a deep breath and then place it in the perfect spot on their play dough canvas.

herbal mandala
herbal mandala

Ginger Day ~ Herbs for Kids ~

Ginger Day ~ Herbs for Kids ~

Not long before holiday break we had a lovely day playing with ginger and doing one of the kids' favorite activities, foot soaks!  This is a great way to spend a cold winter day especially if little ones are passing any sort of cold around as it stimulates the immune system and helps kids relax.

Read More