Grapevine Magic
/
Create sweet little wreaths with your children!
Read MoreLittle Herbalists and Healthy Families
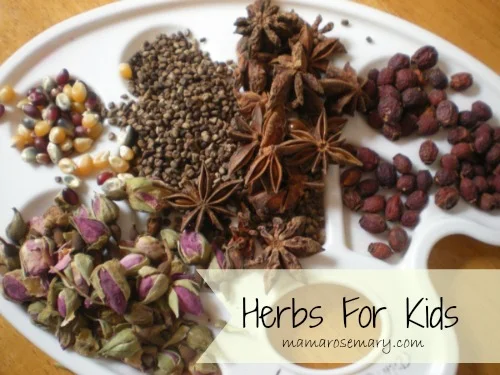
Little Herbalists and Healthy Families

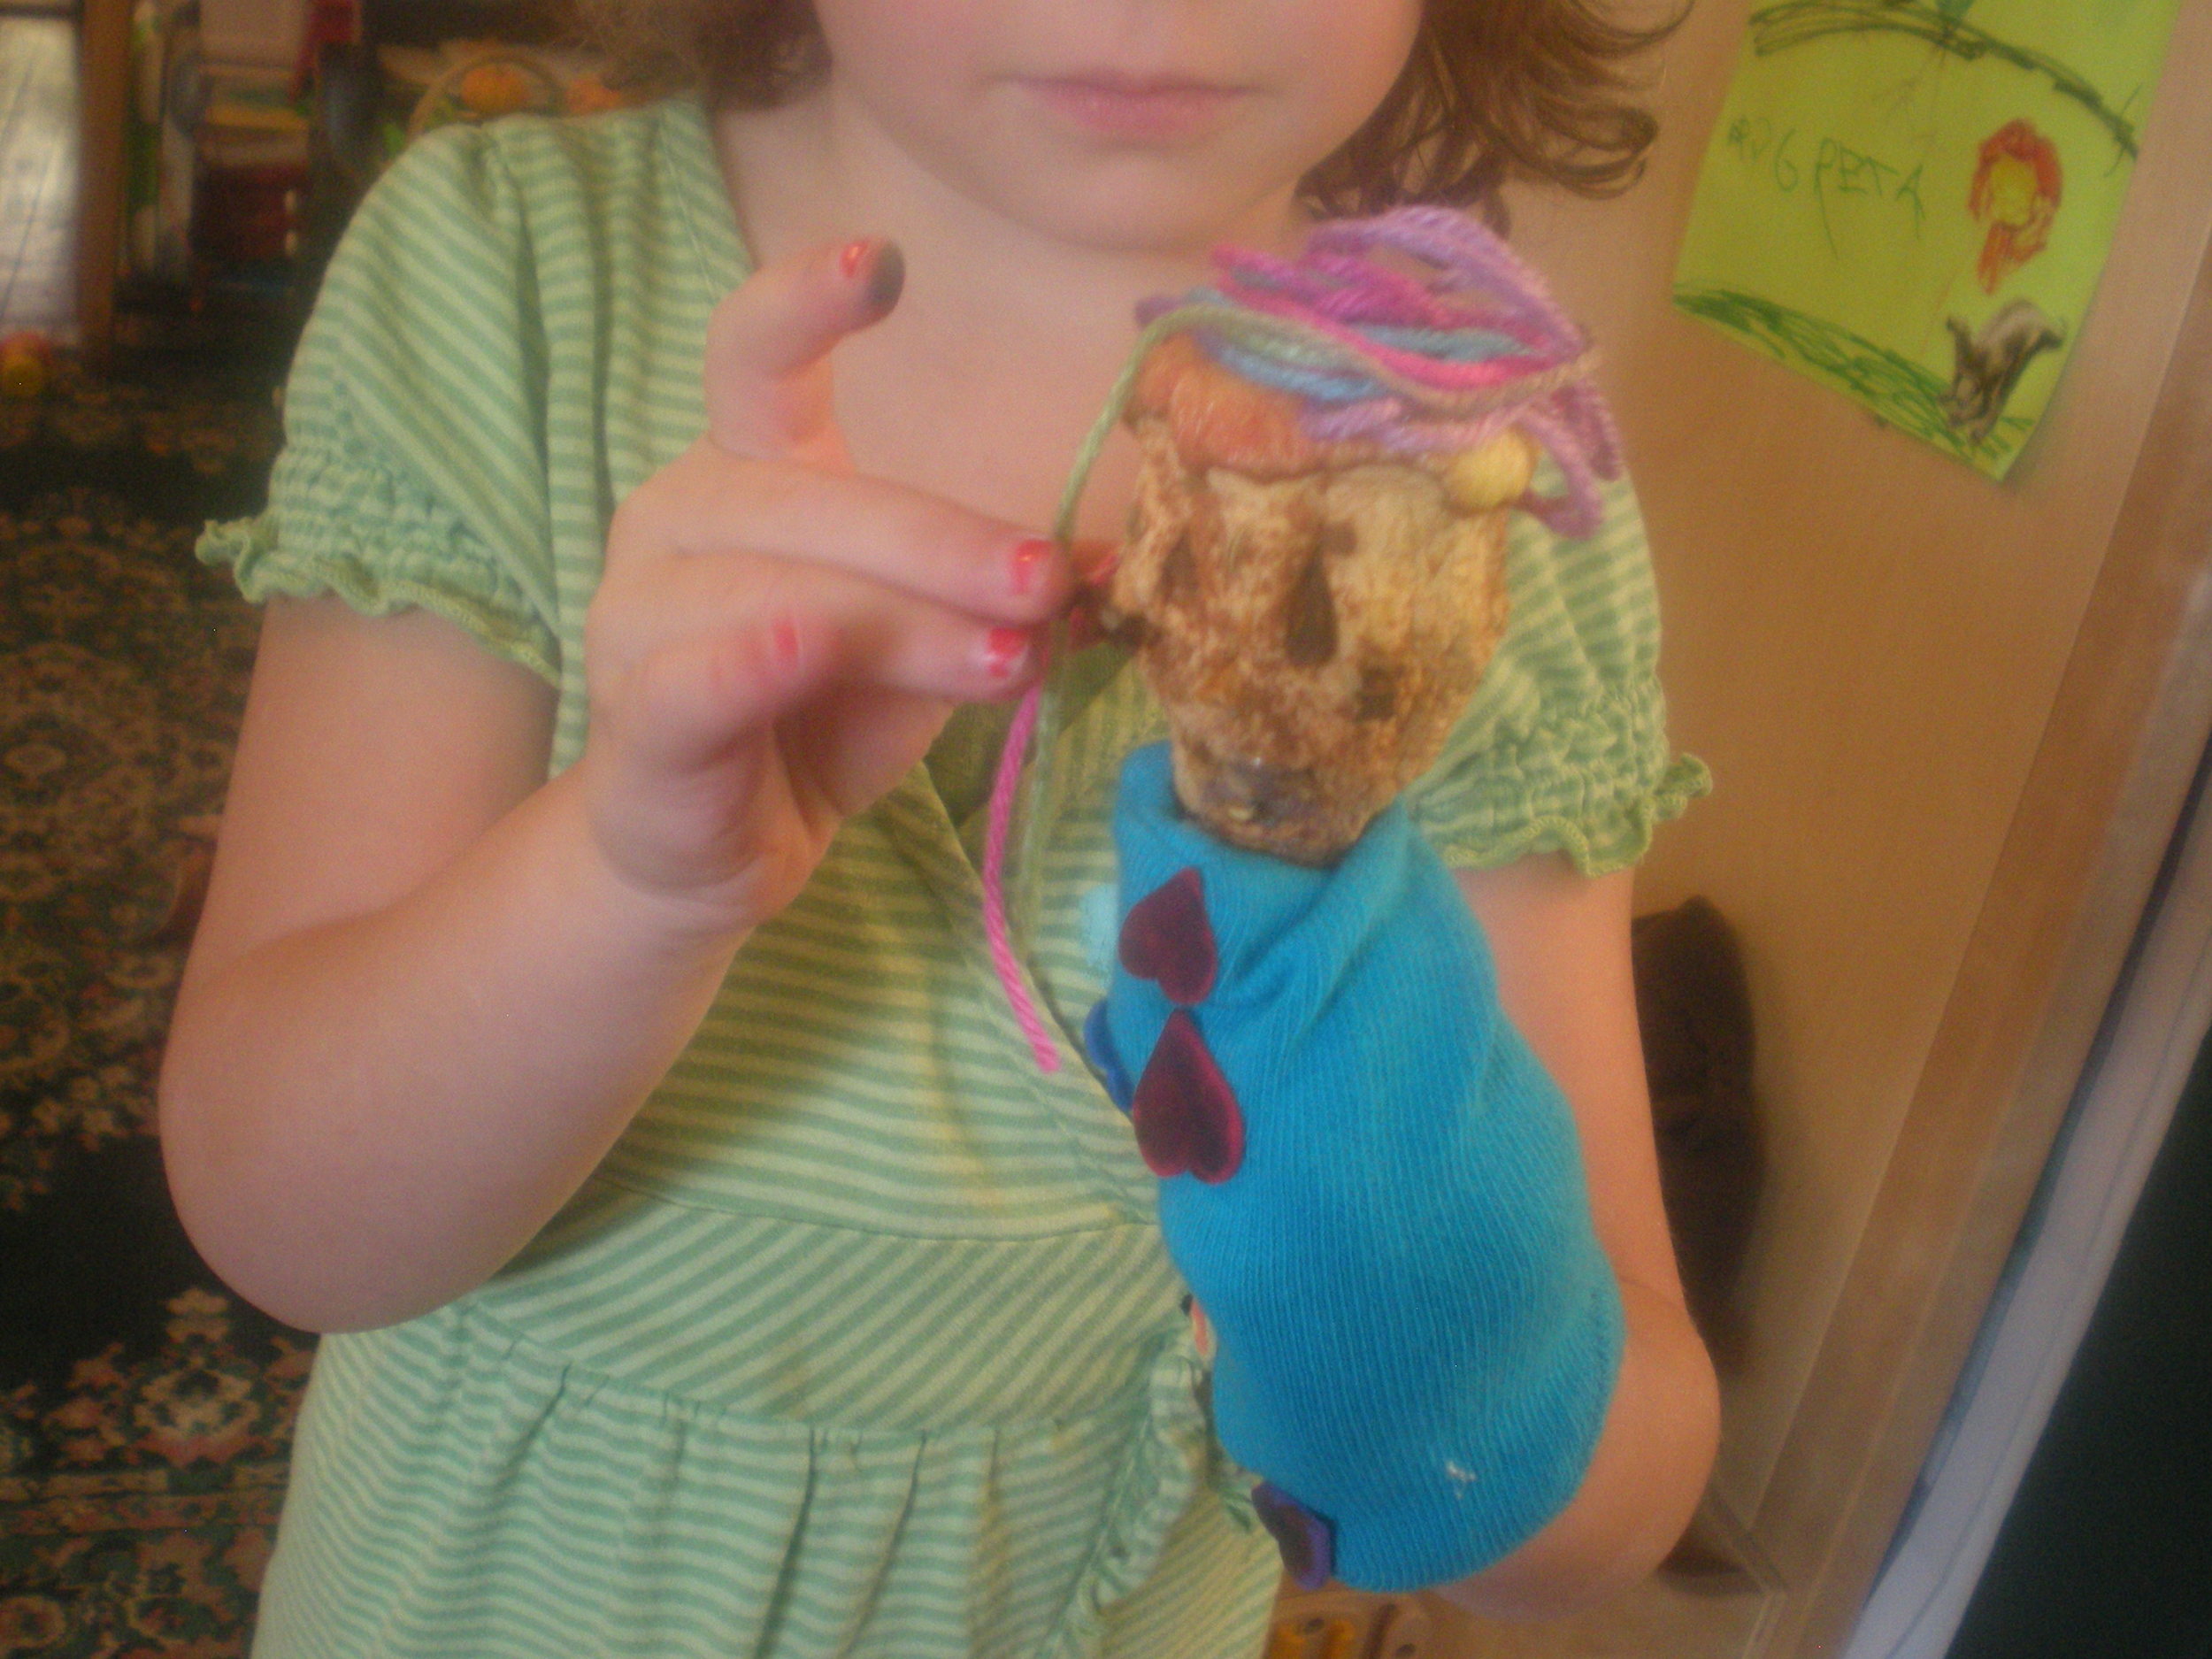
I have fond memories of making a funny witch with a mysteriously shrunken apple head at my preschool. When she was all dressed and finished I brought her home and sat her on our fire-place mantle for what seemed like weeks. I would visit with her often wondering just how her head got so small, have a little conversation with her and be on my way.I am so excited to share this fun project with the kids I know and with you! This is part craft, part science experiment. Be prepared to answer the question: "Why does the apple shrink?"
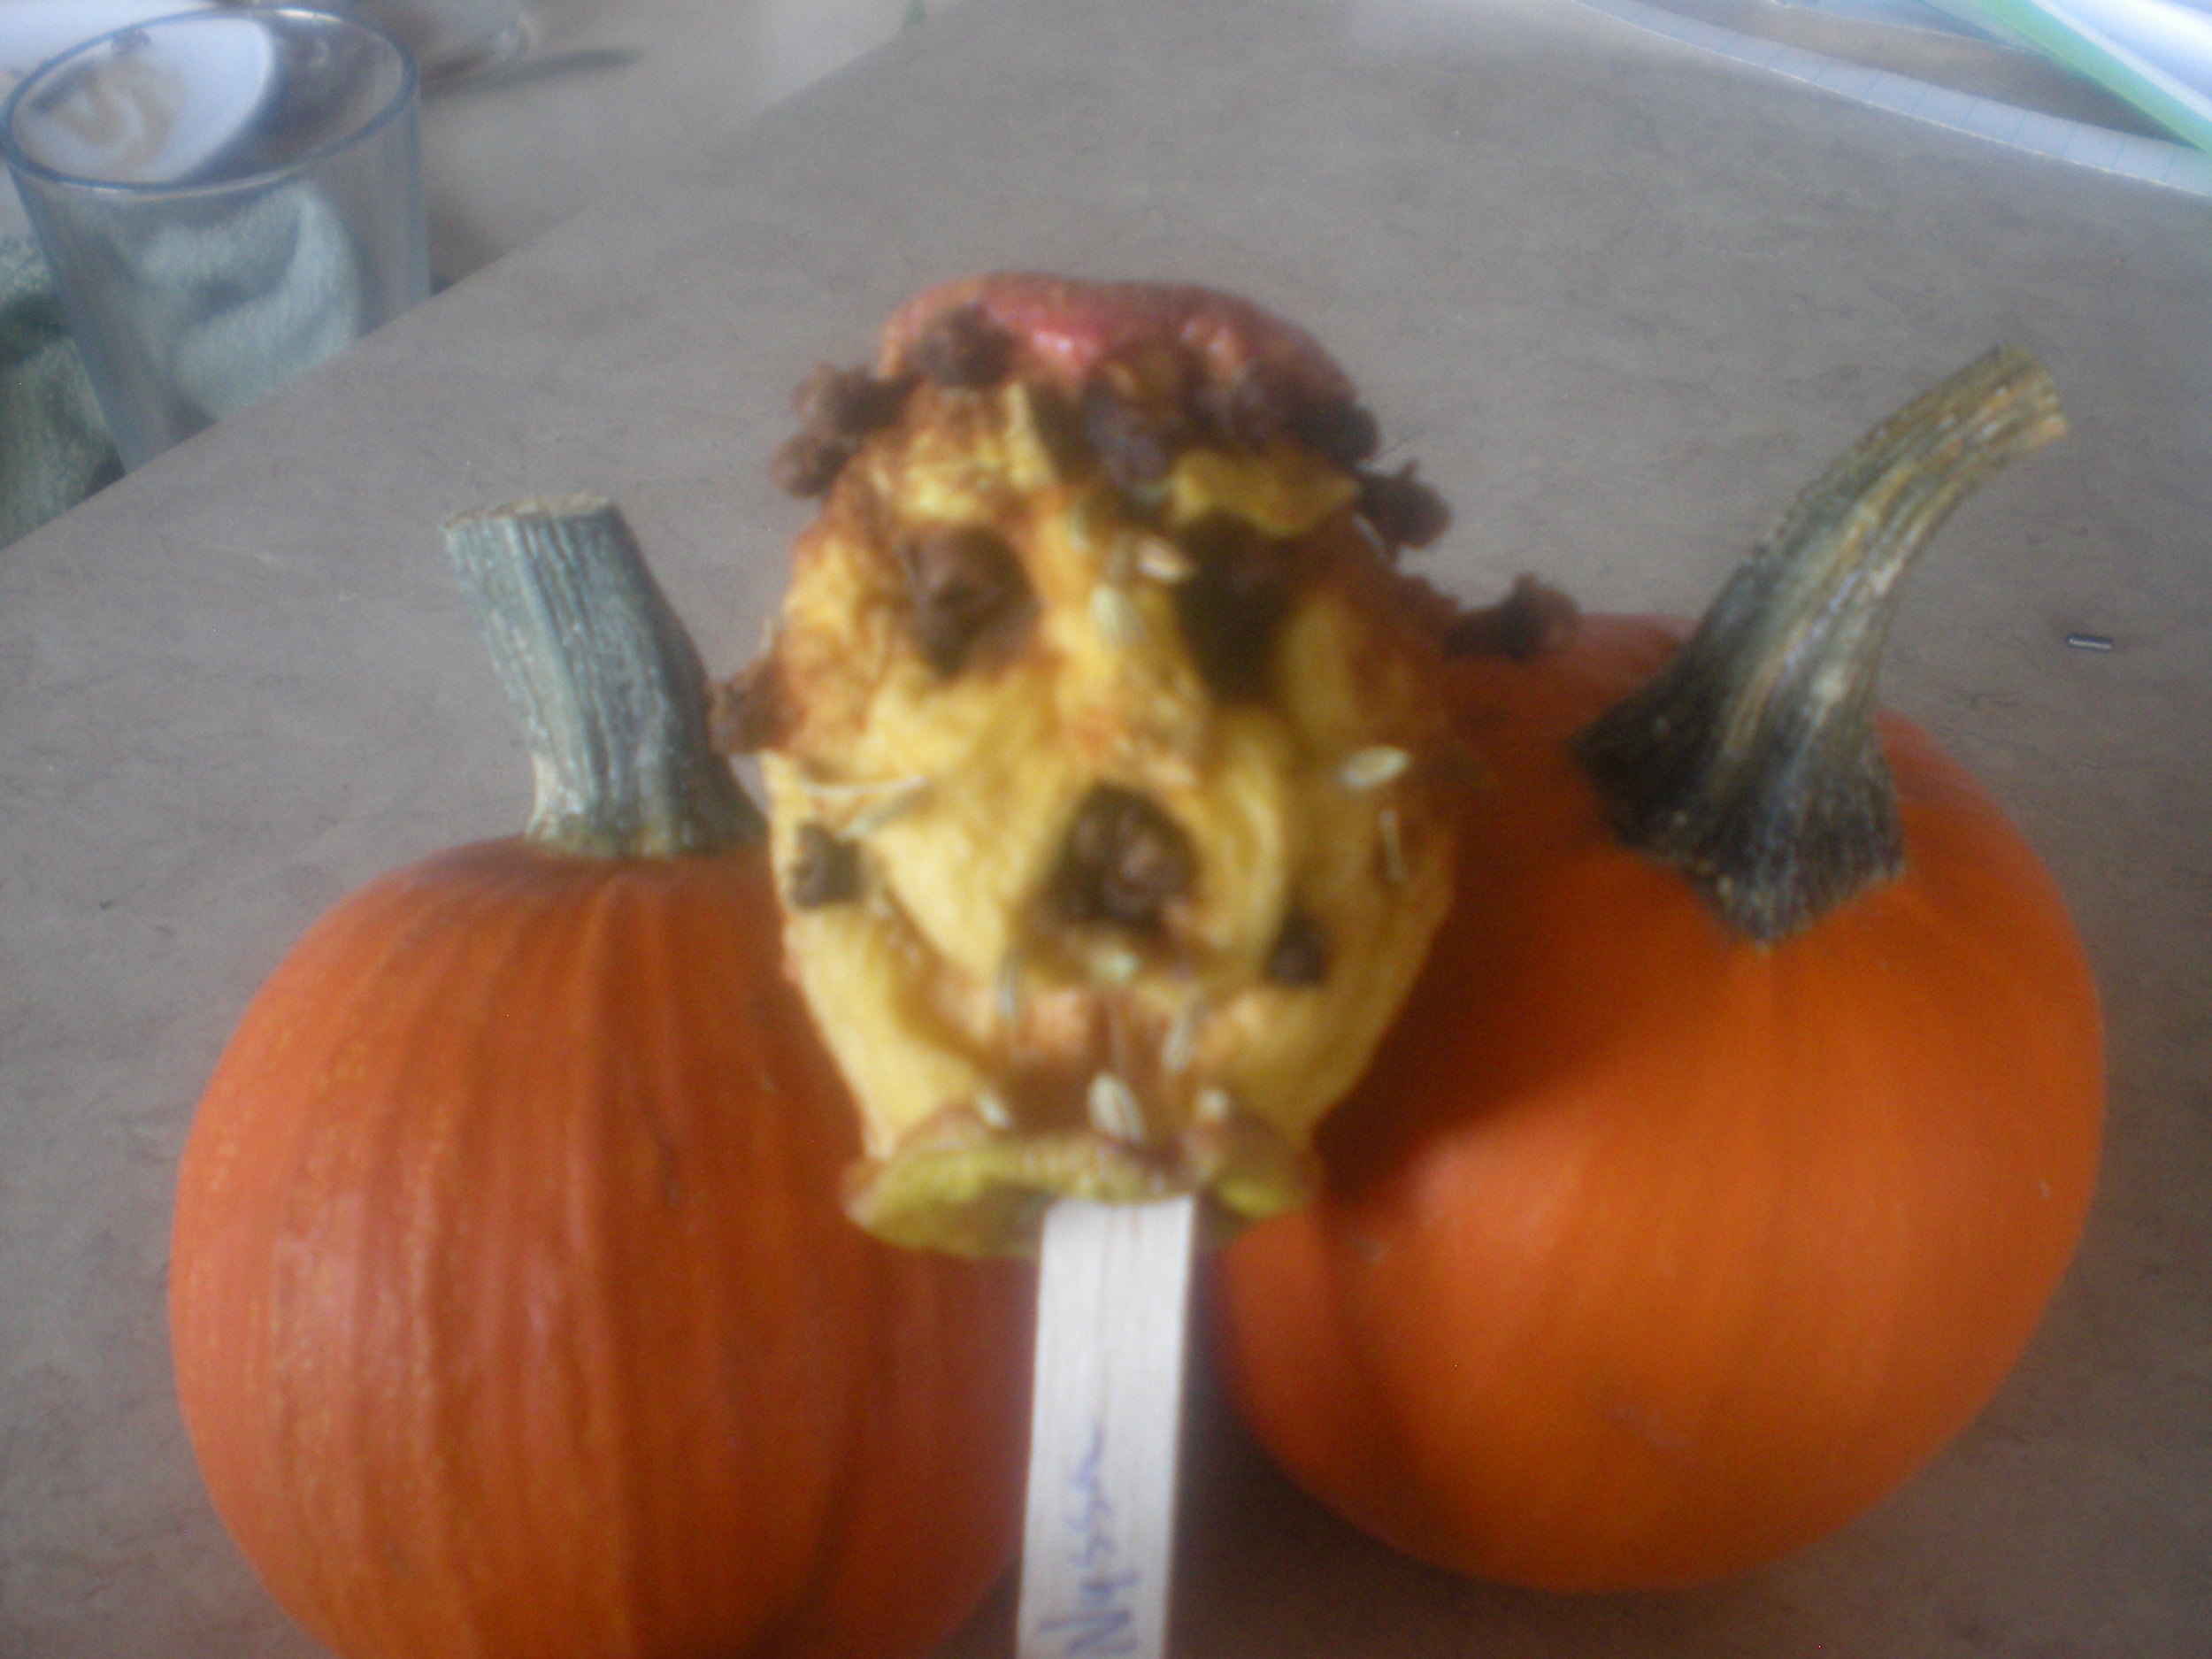
First create a face
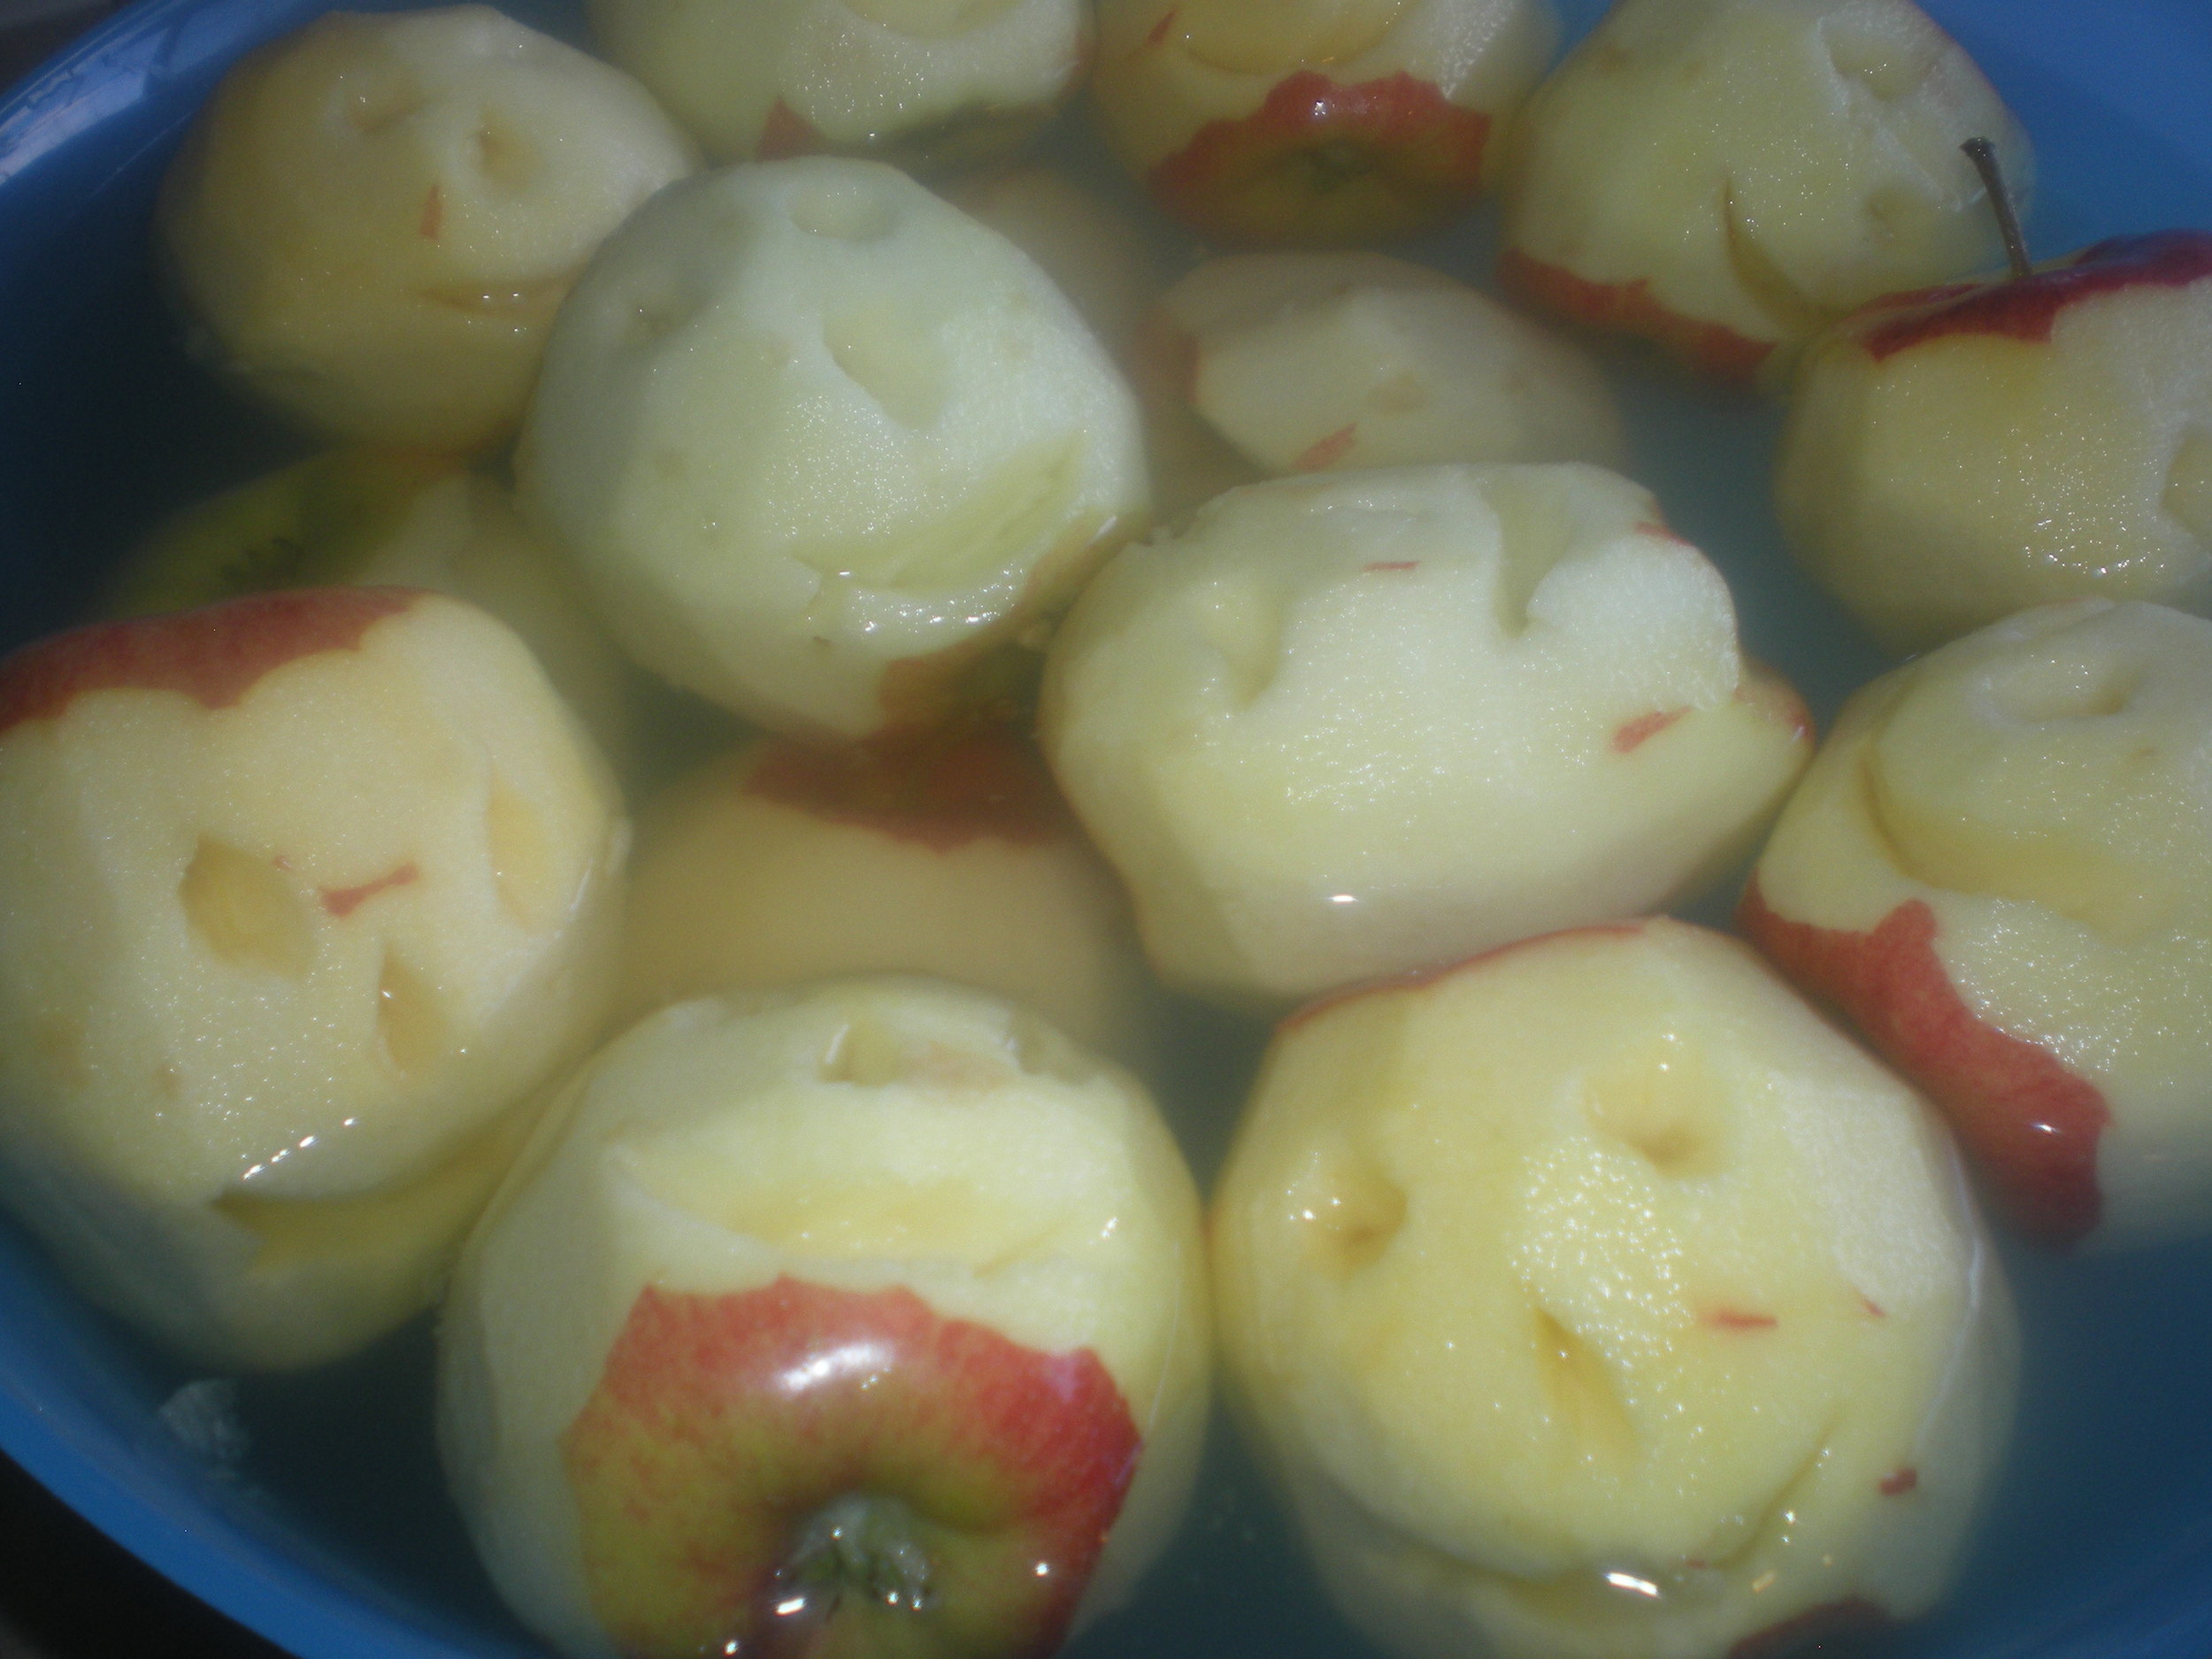
Find big apples, the bigger the better because the apples will shrink a surprising amount as they dry. Peel them. You don't have to be a perfectionist about this a bit of peel left here and there or around the top and bottom is no biggie. Then carve a face into the apple. You can let you child draw a face on the apple that you carve out when they are done or you can just carve it for them. Next float your apple in a mixture of lemon juice, salt and water. You will want enough liquid to cover the apple. For each cup of water use approximately 1 tablespoon each of lemon juice and salt. This keeps the apple from turning brown. Let the apple soak for at least 15 minutes, longer is fine too. I have kept them soaking in the fridge overnight before. Pat the apple dry.
Decorations
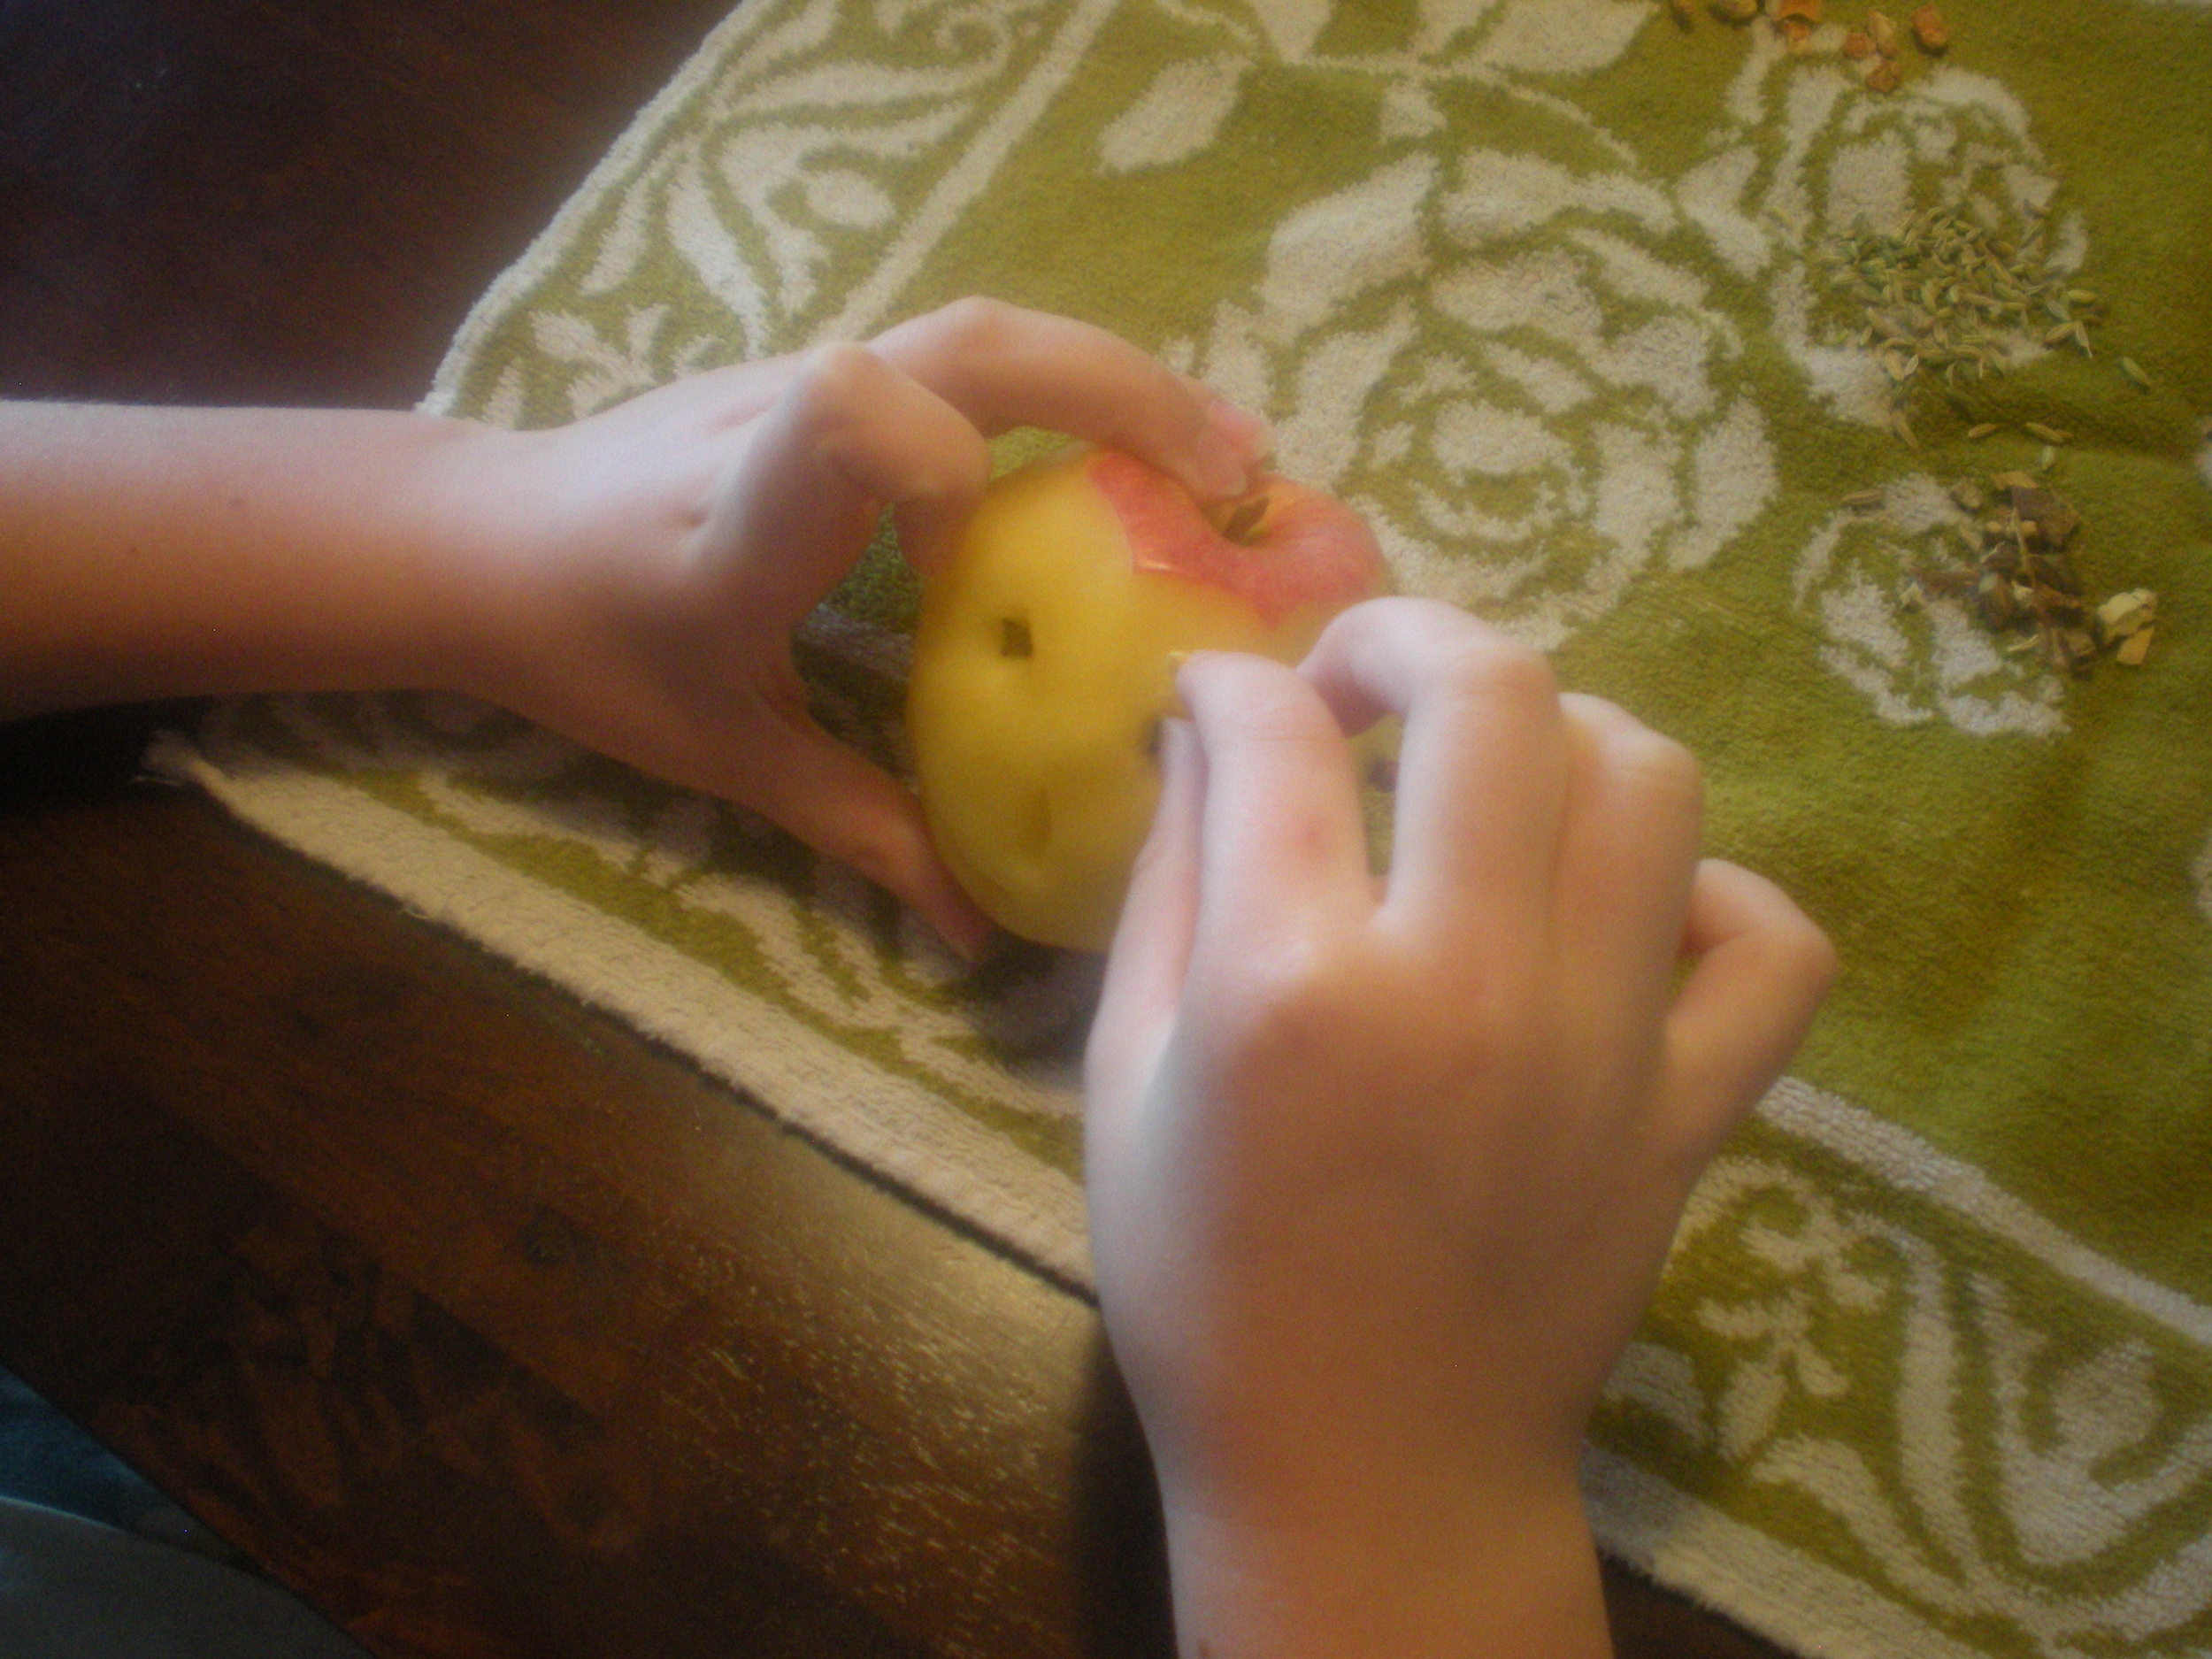
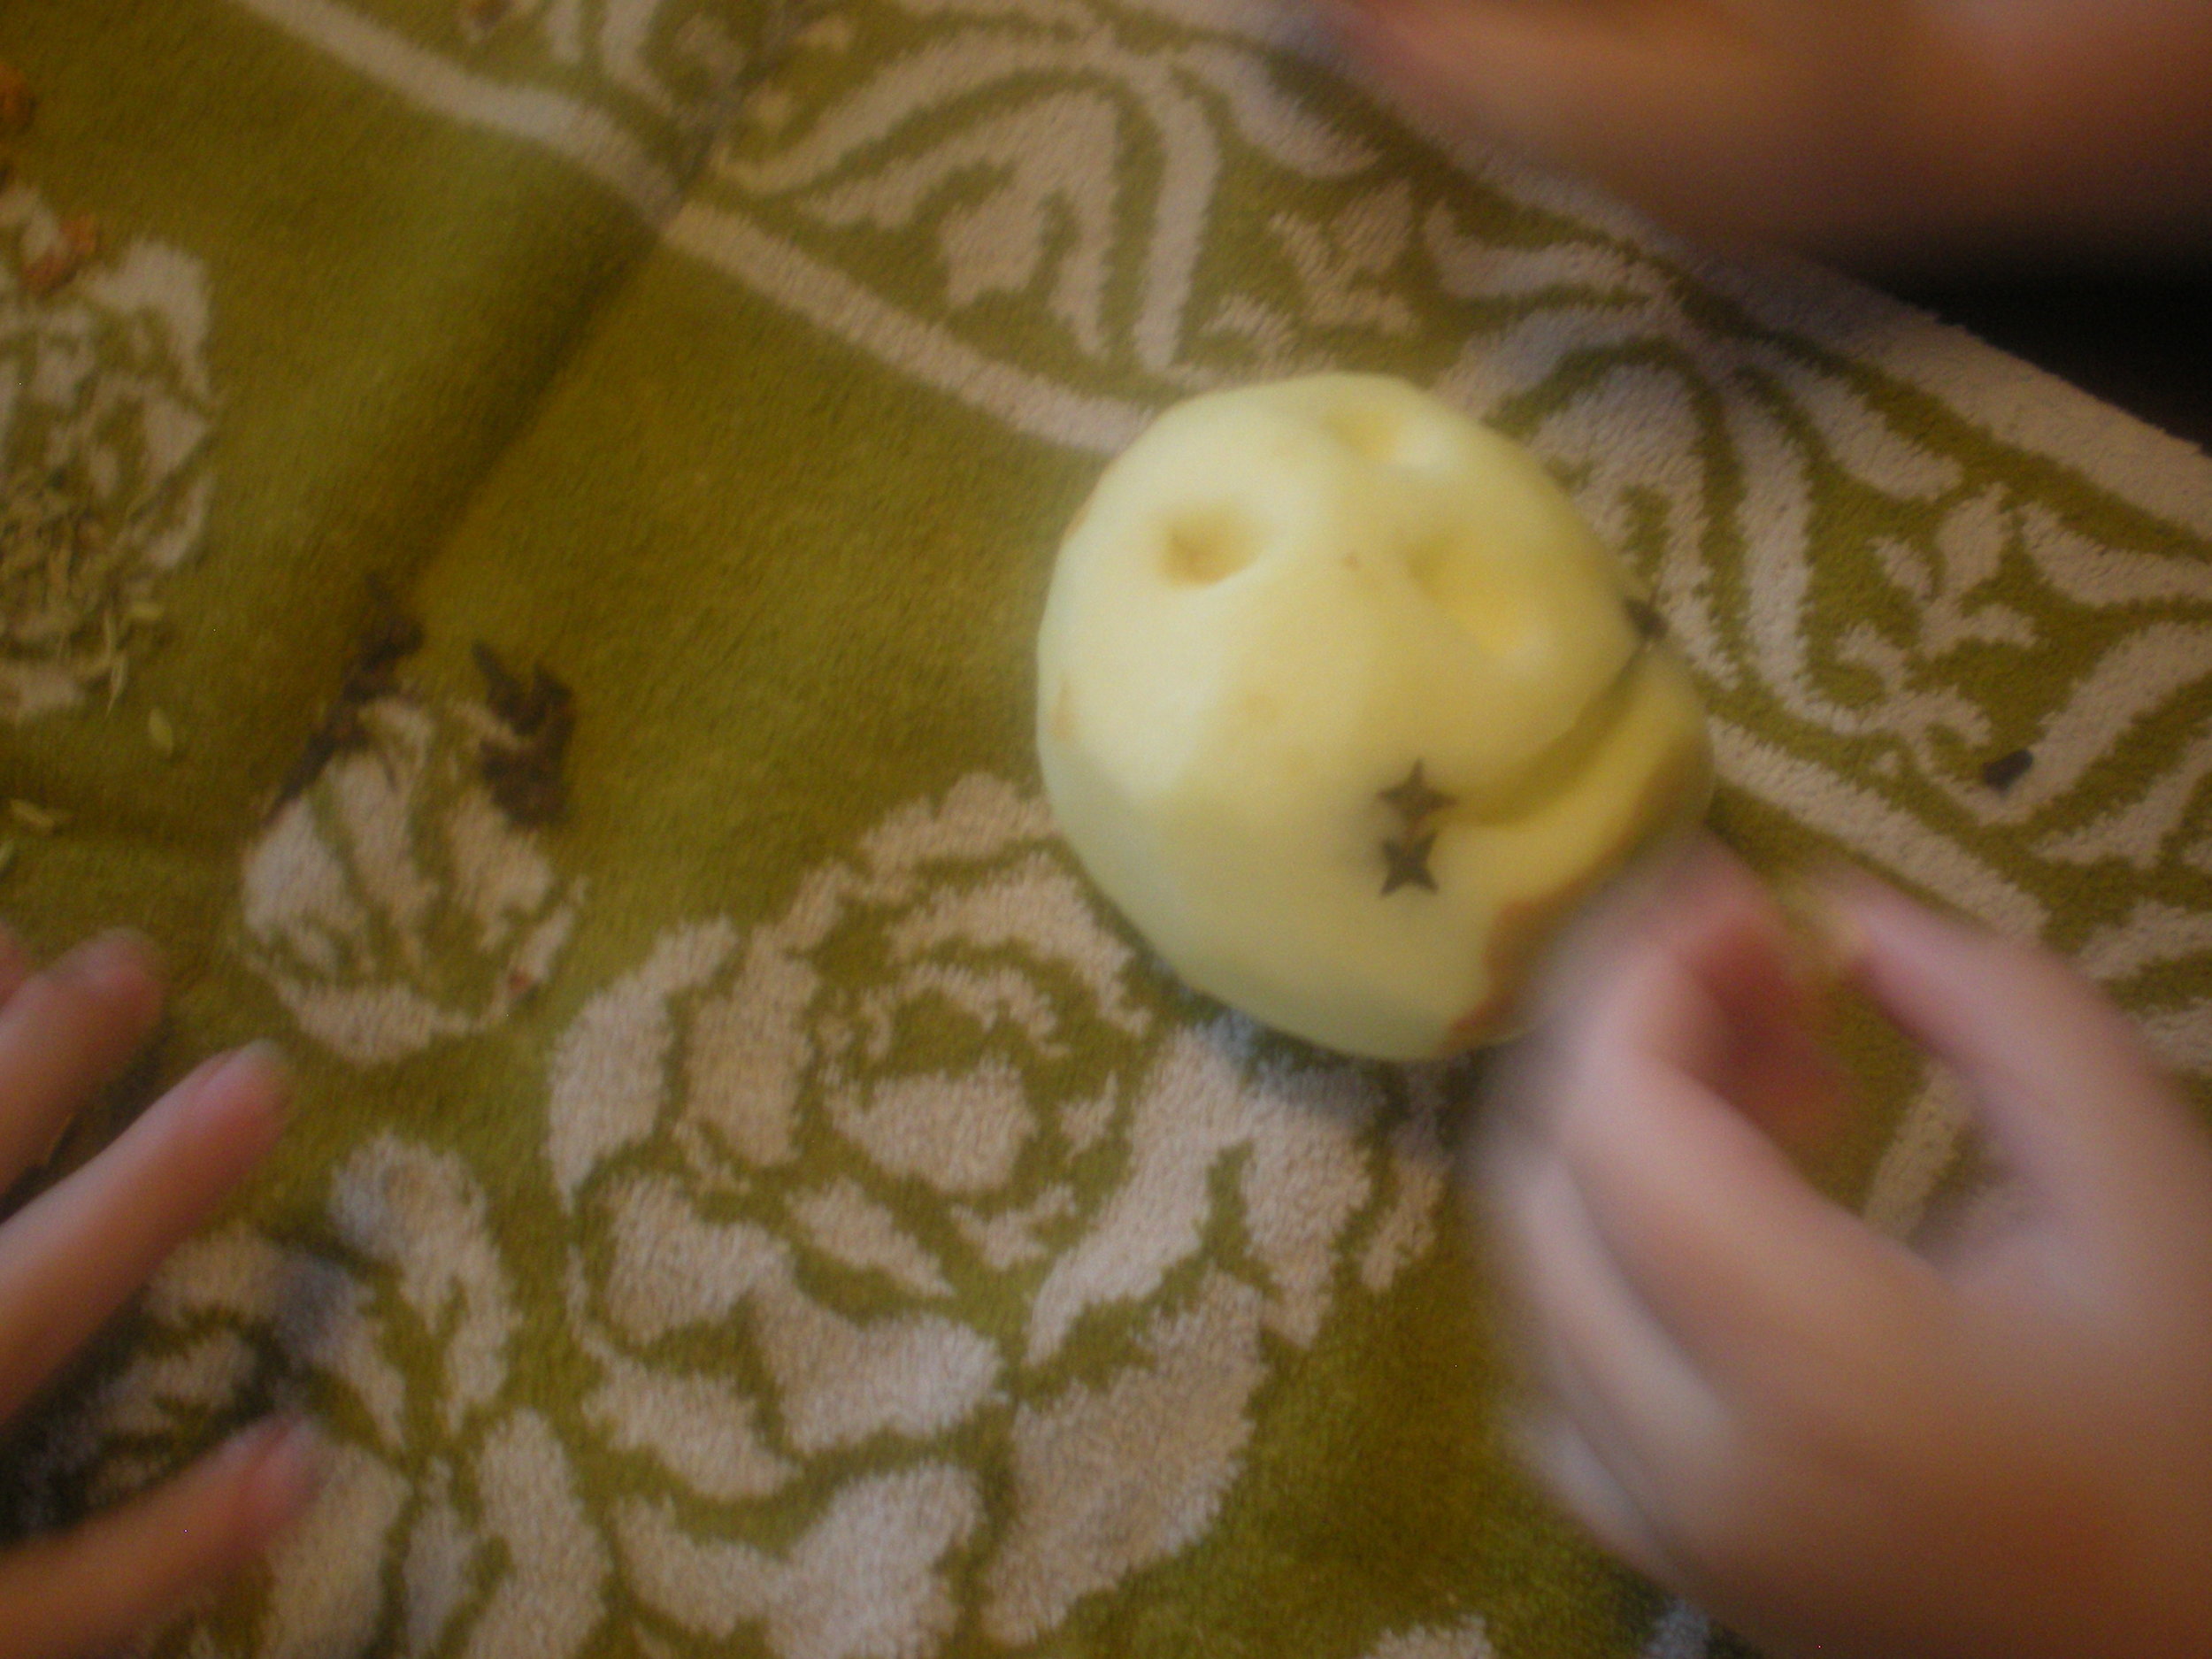
I love using herbs for crafts and so I put out cloves (eyes), fennel seeds (teeth) for the kids to decorate with. You can also use broken pasta or rice for teeth as well as other herbs that would look fun or creepy on an apple head. Cinnamon chips would be great! Just press whatever you are decorating with into the flesh of the apple. I usually suggest what the various items can be used for and then the kids take it away. They get really into it and make their apples special. After decorating you can sprinkle the apple with ground spices like cinnamon or nutmeg.
♥
Next the intrigue, shrinking and drying
Place a popsicle stick in the bottom of the apple and stand it up to dry or hang it from a string by it's stem. We stood ours up by slicing a small hole in a cardboard box and putting the popsicle stick through. Check your apples everyday to watch their progress as the change into hilarious creepy little creatures. They smell great and look silly. Kids LOVE to watch them change. This takes a few weeks here in Colorado where it is very dry. While the apple is drying keep an eye out for rotting. If you see anything starting to rot cut off the susipcious parts and dry your apple in a 170 degree oven, keep an eye on your apple and leave the oven door open if the apple seems strained by the heat. If you want to use the oven to dry your apples from the start instead of air drying that is fine too.
A Sad Day... We had a tragedy with one of our apples at the school this Fall. It rotted so badly. The sweet little boy who's apple head went bad handled it well but it was a sad day indeed. Several other apples were starting to mold when made our puppets so I am wishing that I had dried the apples for our school in the oven. Strangely the ones at our house were fine, no mold.
Ideas for using a dried apple head
Create a puppet: This is what we did this year. Let your child decorate the a sock or glove to if you want. Add hair (yarn works great), a hat or whatever you want to the apple as well. Take the sock/glove and cut a small hole in the top for the popsicle stick to go through. If you wish, you can hot glue the sock/glove to the apple and the popcicle stick for stability. Or you can also just leave them on their sticks and dress them up however you see fit using them as puppets.

Create a witch: In the past we have made witches' with bodies made from plastic bottles, clothes made from black construction paper, and hair of yarn.
Other Ideas: Granny Dolls: Use your apple head for a doll. If you are lucky enough to know how to sew you can even make a nice little outfit for your doll with pockets and an apron. Decorations: Place to apples amongst other decorations like gourds, pumpkins and candles for a funny surprise!
Have fun!

Shared on the Kid's Co-Op Via Taming the Goblin, It's Play Time!
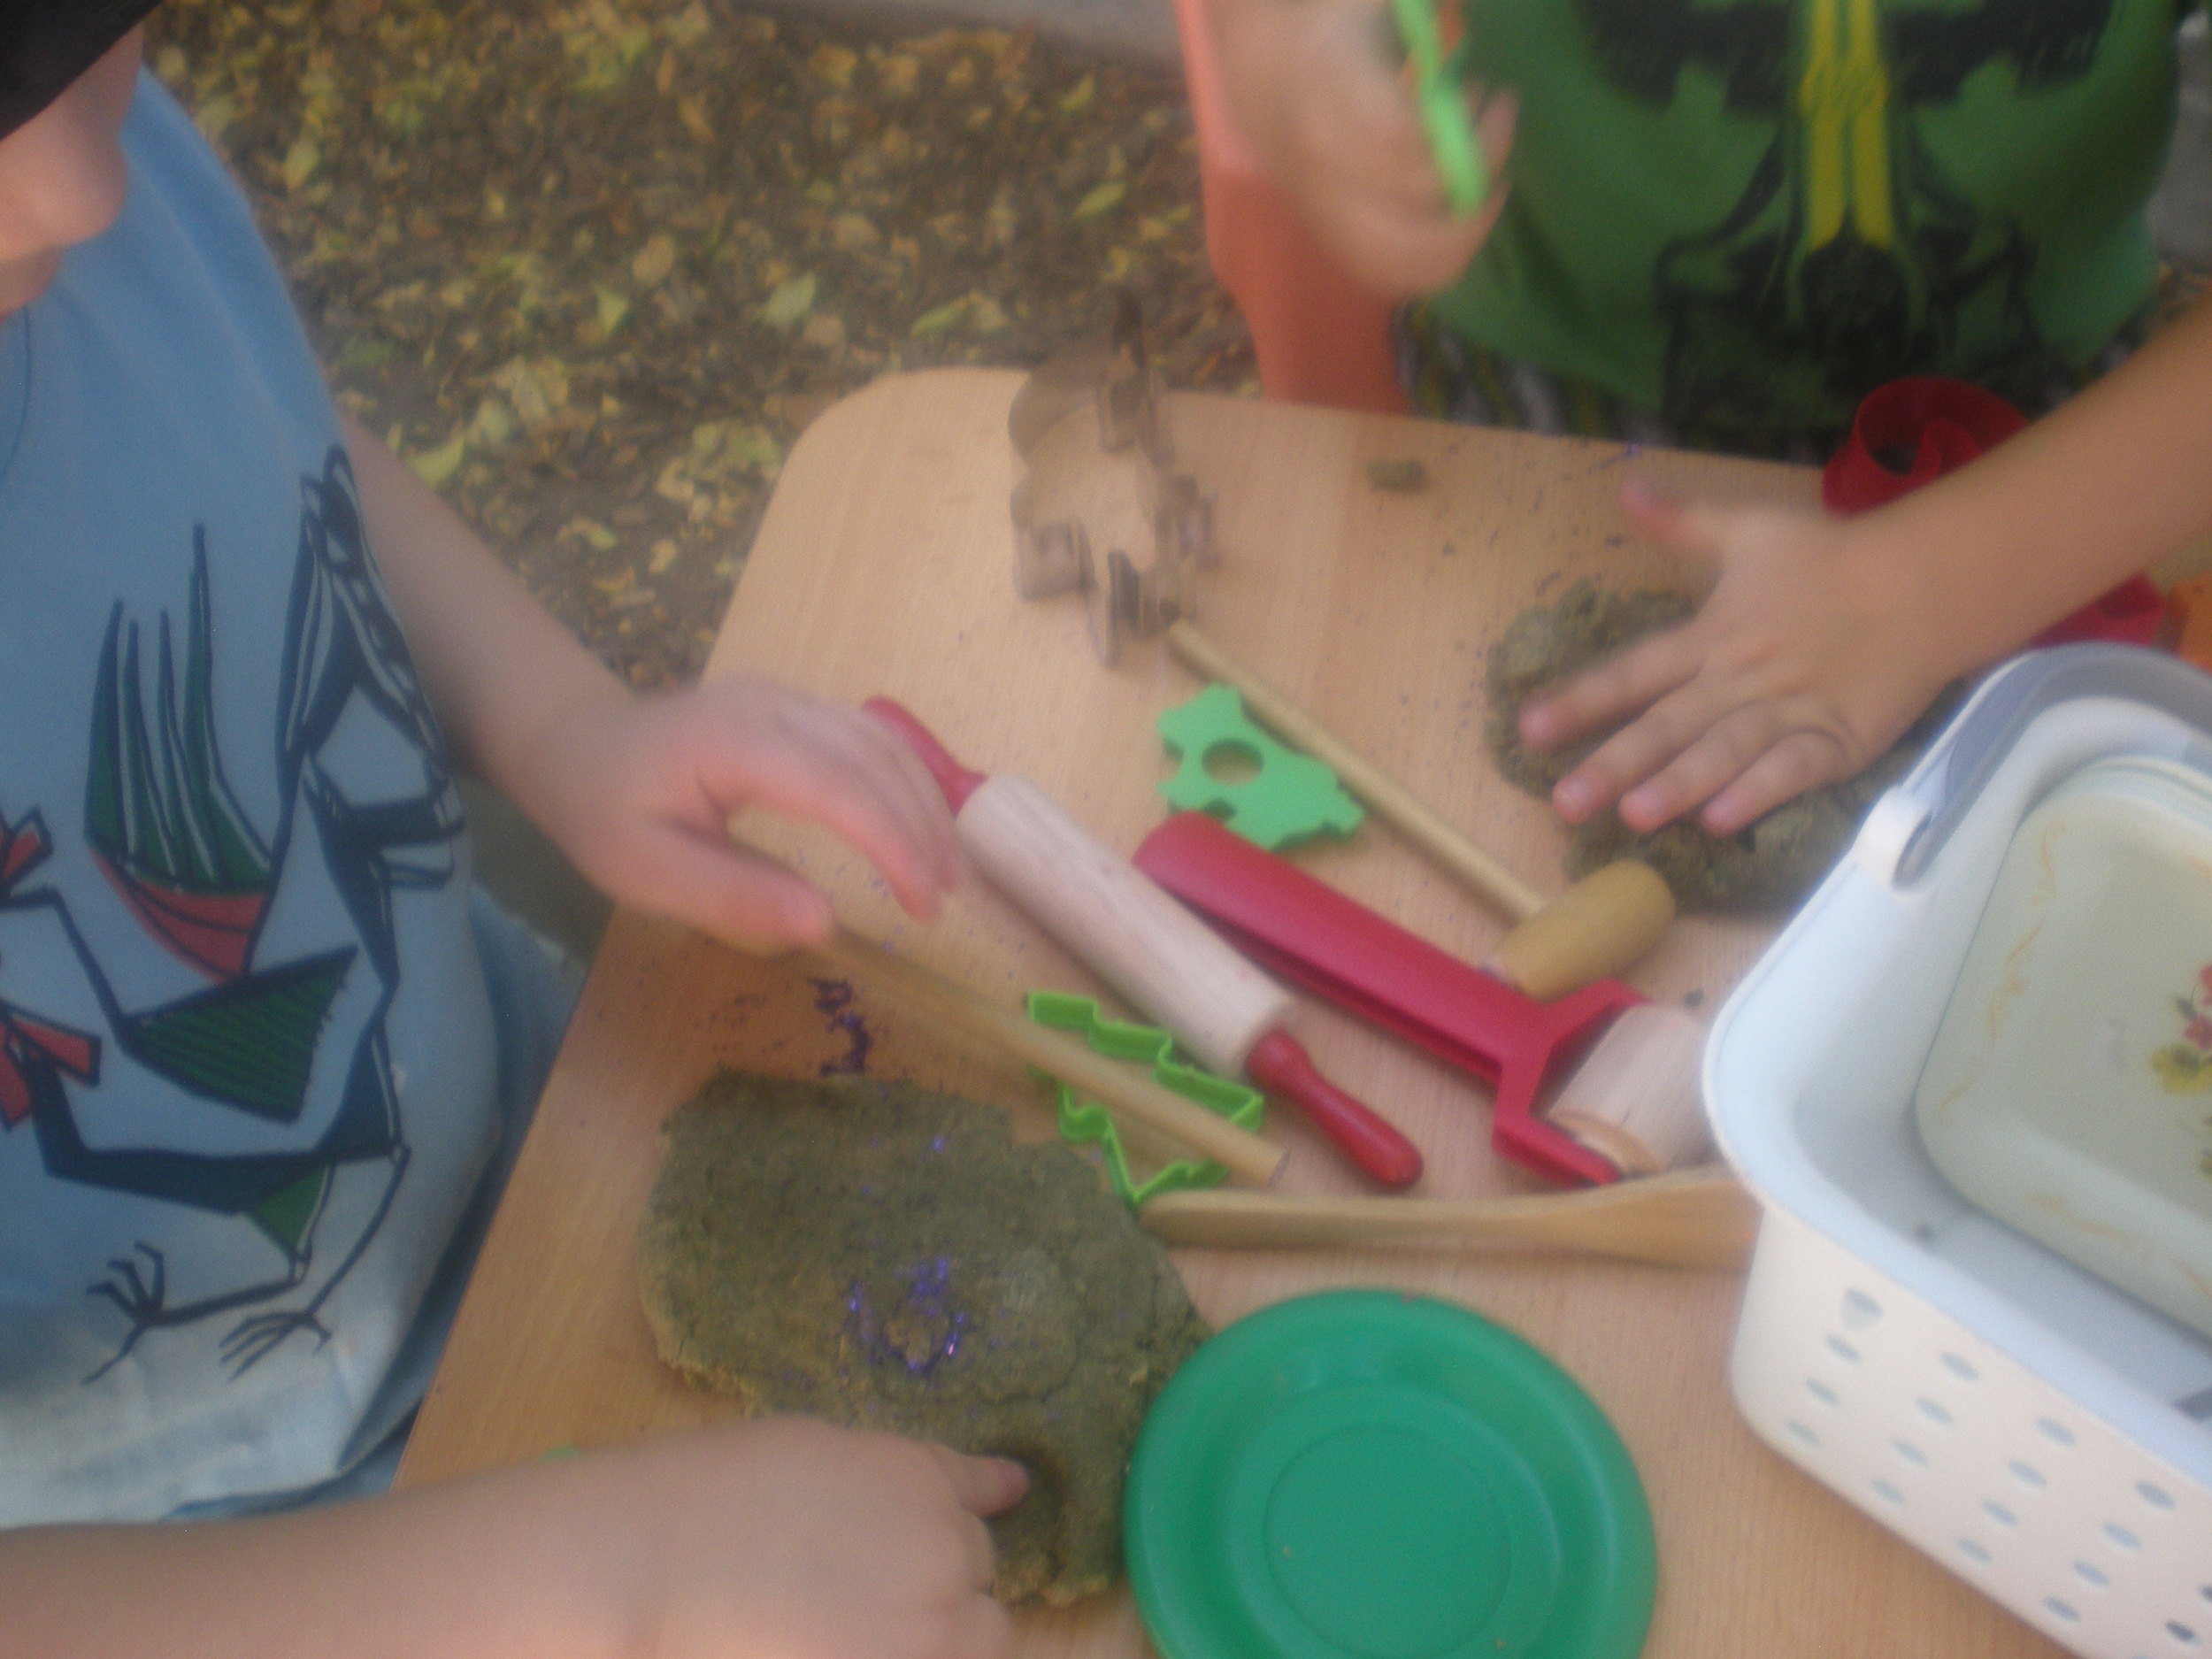
Squishy texture blobbing through fingers with a mystical doughy smell raising up told me that I was doing something important. I could create anything from this stuff! And the satisfaction I got from squashing and rolling this forgiving dough was immensely pleasurable. This was playdough to me and it was one of my favorite toys from childhood. And now it is one of my favorite things to share with kids and they sure do love it. At preschool playdough provides a quiet time for kids creating side by side and with a sense of comradery while sharing the playdough toys around the table. Playdough is great for parents too. I have found hours of time for me to get something done around the house while my little ones happily pound, roll, and squish the afternoon away.
Color and Aromatherapy
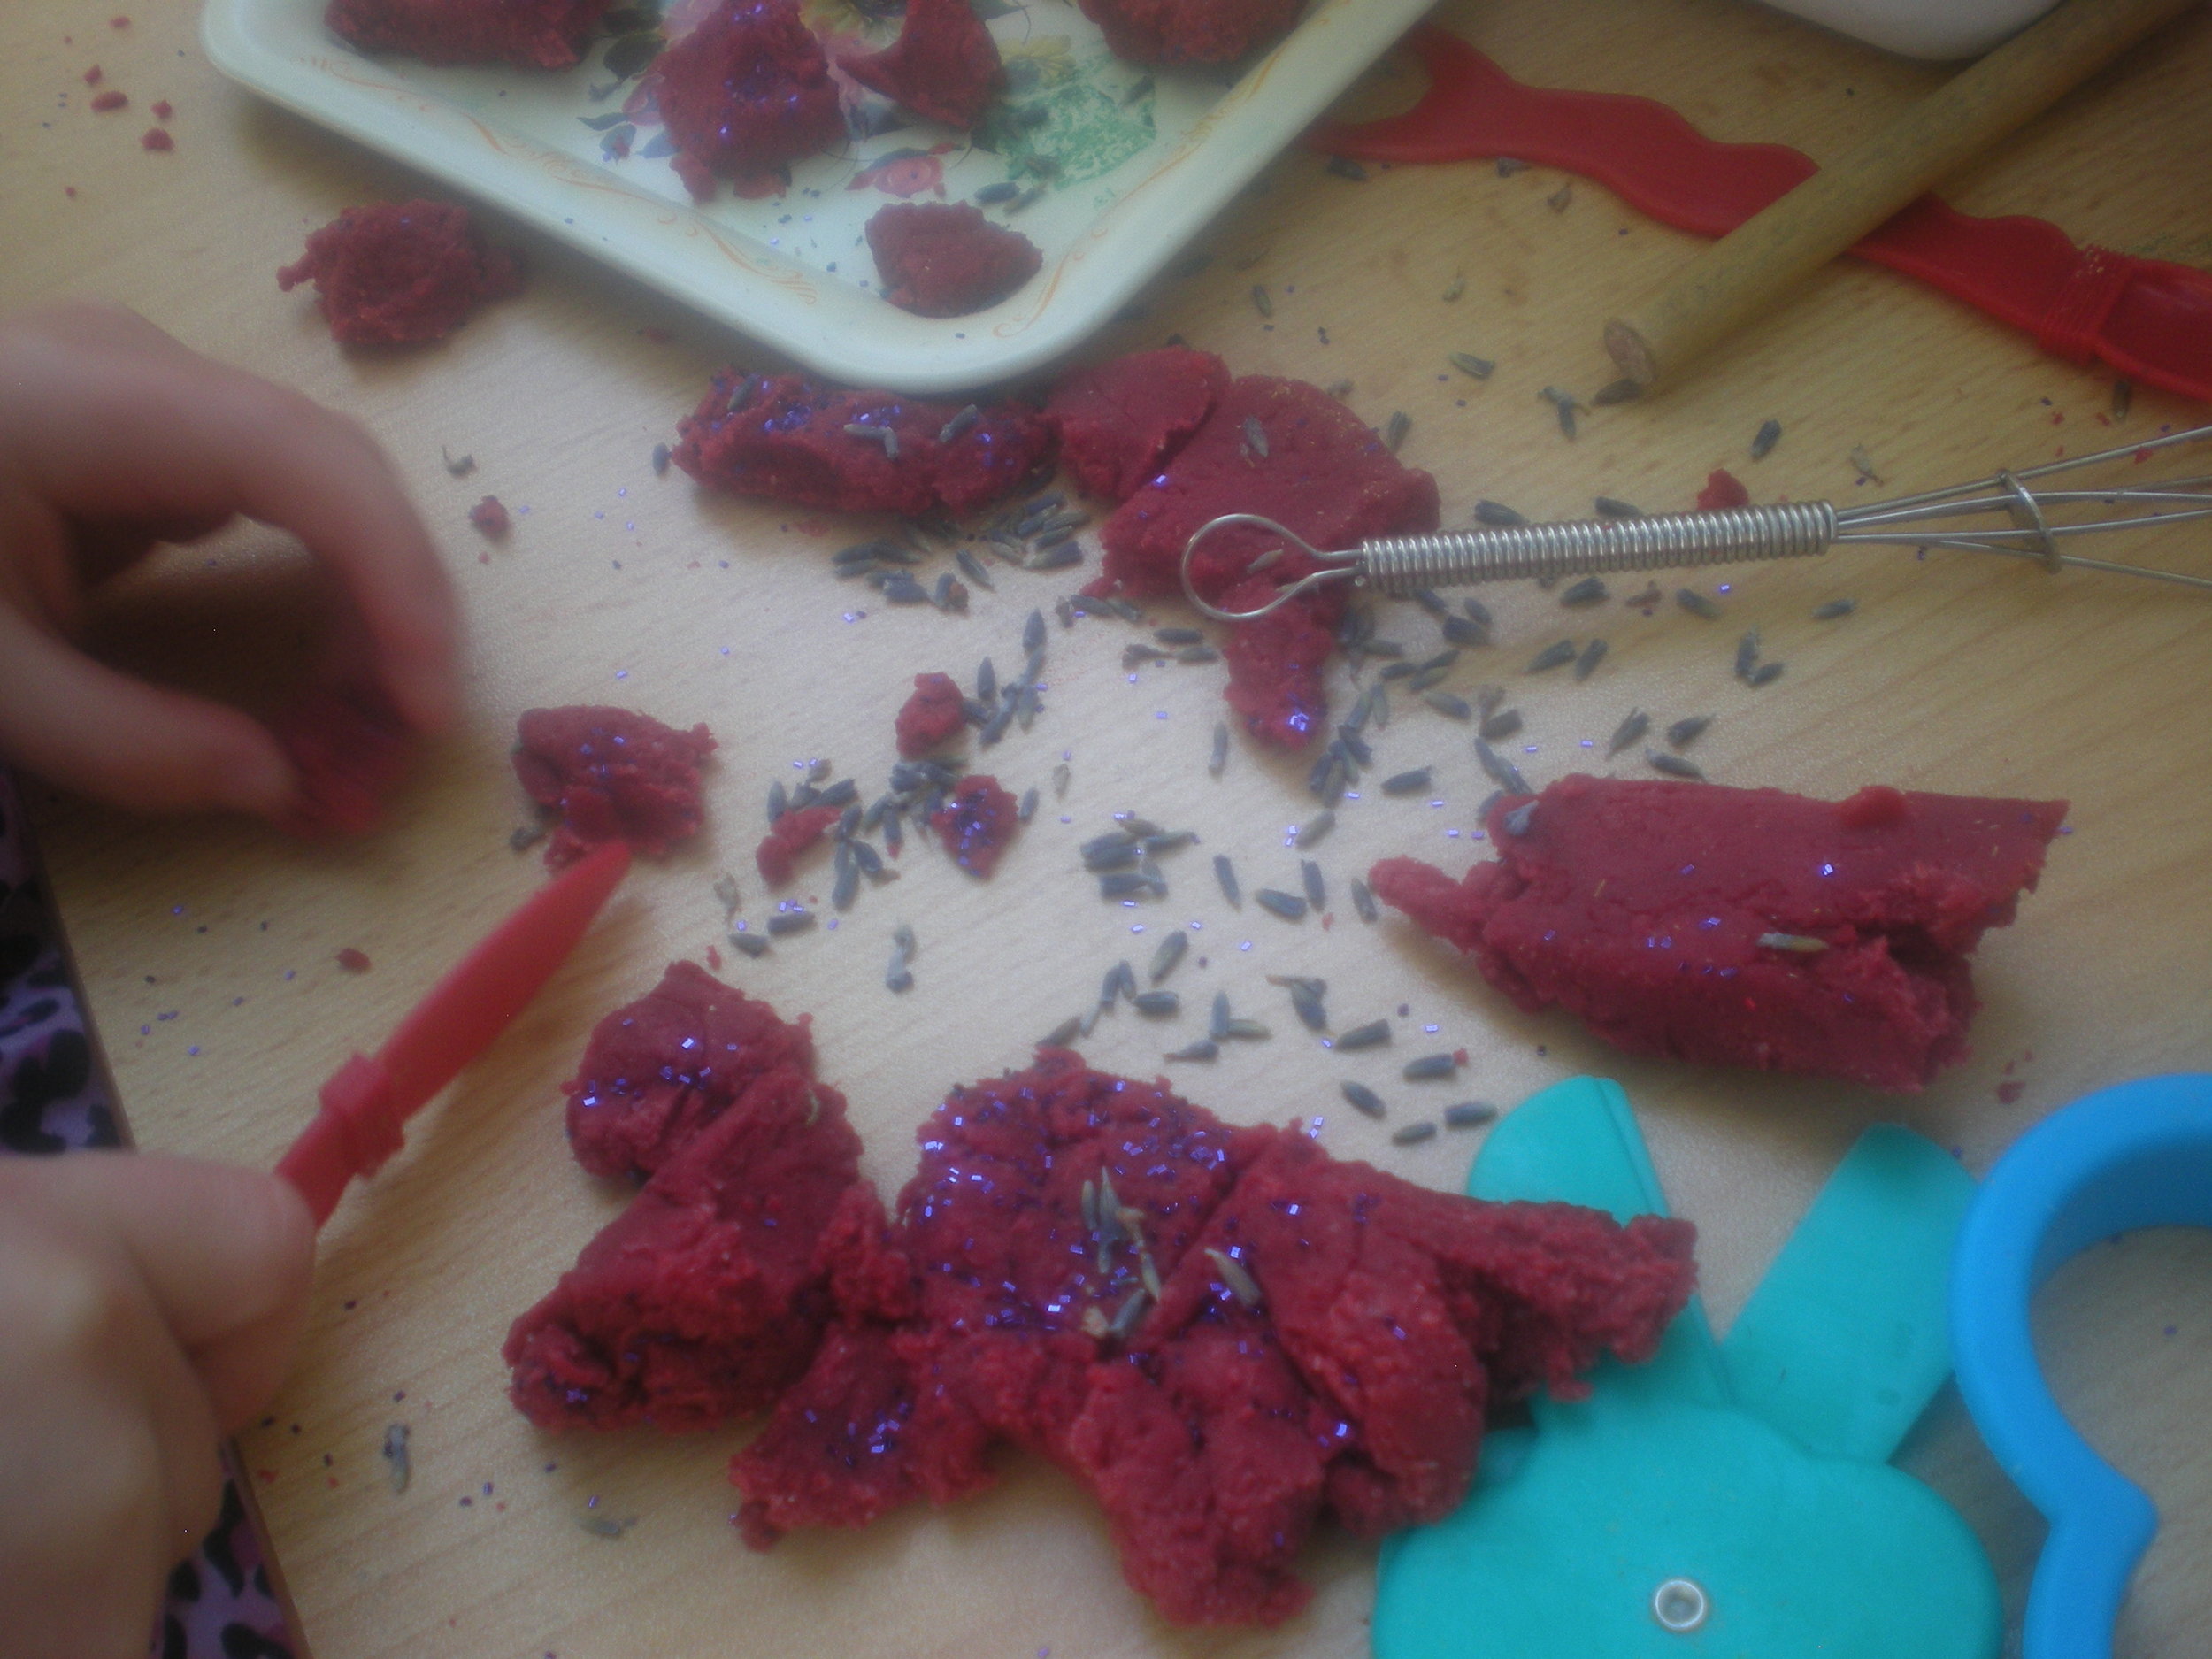
Tactile experiences help kids explore and make sense of the world; teaching them about cause and effect as well as developing small motor skills. There is something about squeezing a soft blob that releases stress just like those squishy stress balls made for adults. This is enormously helpful for a child who maybe experiencing overwhelming emotions that they don't know how to put into words. By adding something that smells or looks beautiful to the playdough you amplify the power of this classic toy. So the children and I use aromatic substances to color and scent playdough. And when the playdough is freshly made warm from the stove, the gentle heat further releases aromas from plants and essential oils. So nice.
Lots Of Recipes & Activities For Playdough Fun!
- A Happy First Day Of Preschool With Calming Aromatherapy
- Cinnamon Day
- Flower 'n' Spice Play Dough Mandalas
- Rose And Chocolate Play Dough For Valentine's Day
- Roses At Preschool For Valentine's Day ~ A Celebration Of Roses
- Super Fun Homemade Gift Idea For Little Ones
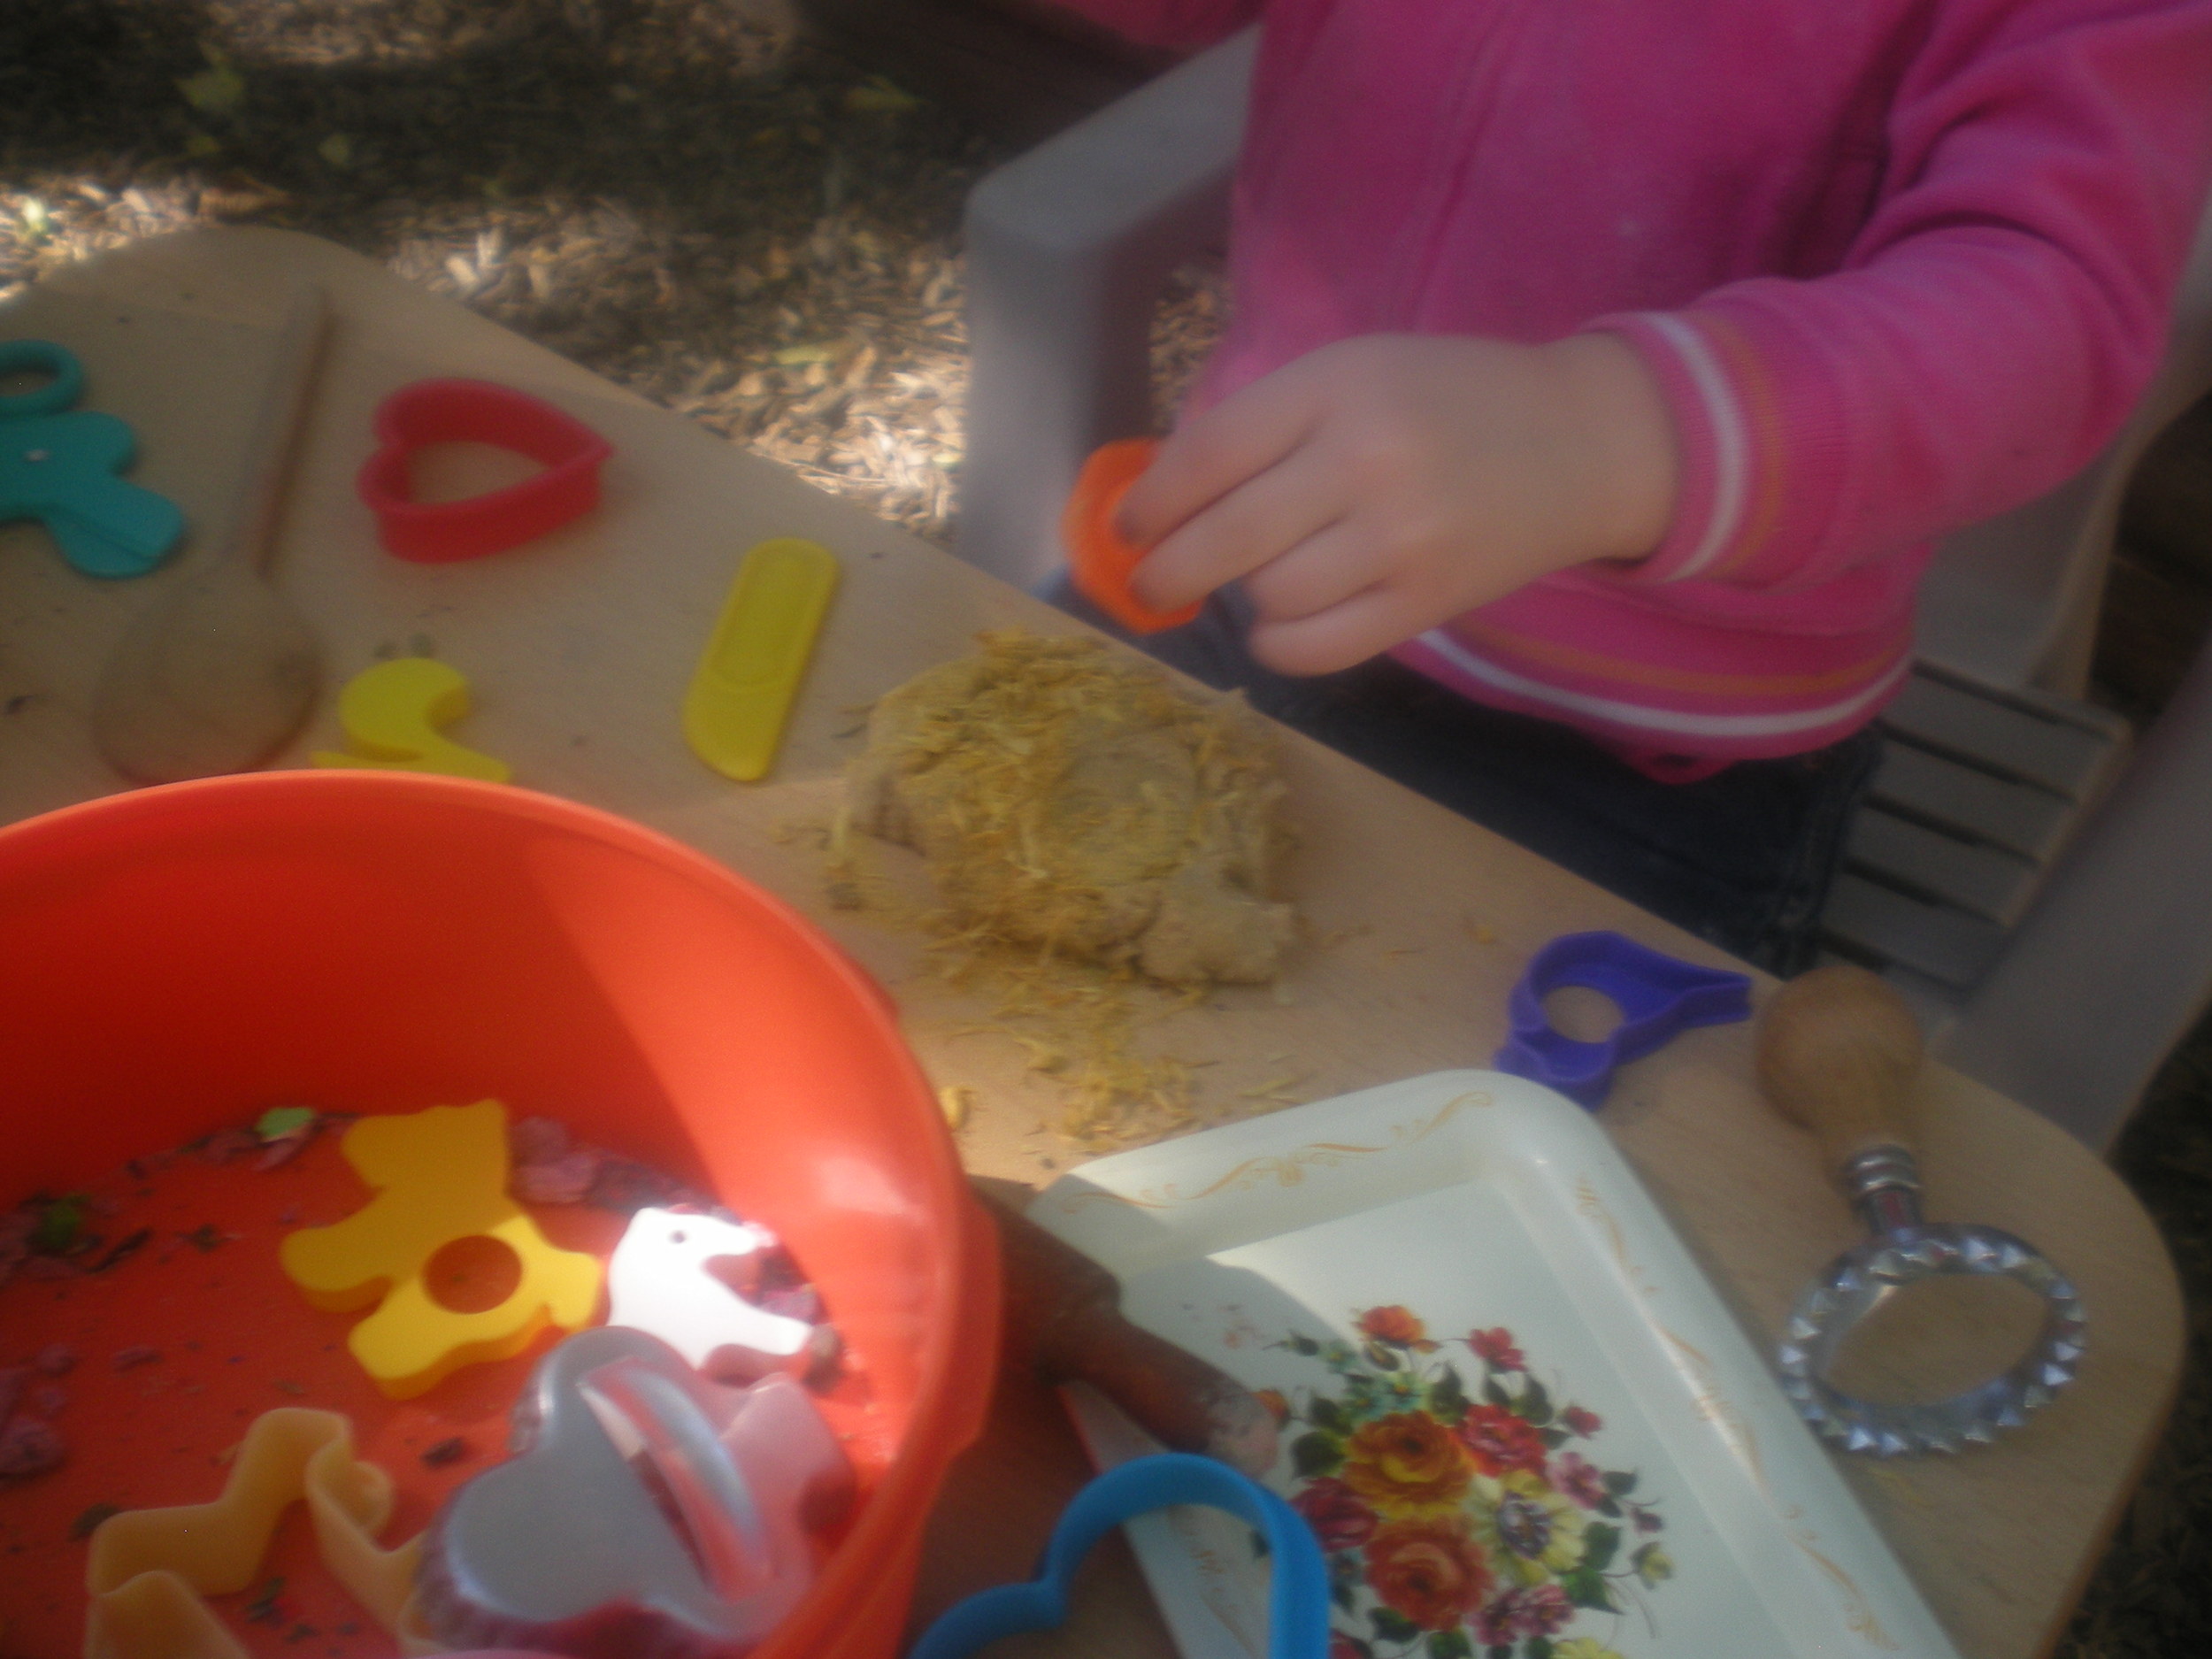
- All Natural Pumpkin Spice Playdough
- Ginger Snap Playdough
- Purply Lavender Scented Play Doh Colored With Hibiscus Flowers
Playdough is made from a few basic ingredients you might have on hand now. Follow my basic recipe or look for another online, there are many to choose from. When coloring playdough with powdered plants you might find it works best to mix the colored powder in when you cook the playdough. Otherwise you can let the kids work it in while playing.

RECIPE FOR HAPPY PLAYDOUGH
1 cup of flour
1/2 cup of salt
1 cup of water
1 1/2 tsp cream of tartar
1 tbsp oil
Optional: powdered herbs for color, either mix in when cooking (can give more even color) or let the kids mix in at the table.
Combine dry ingredients in a sauce pan. Add the water and oil. Stir together and heat slowly over low heat. Stir almost constantly until the playdough sets up. Let it cool to warm before playing, playdough right off the stove is hot.
Please Note about essential oils: Essential oils are concentrated plant substances. They are dangerous and should not be used unsupervised around children. Always keep the oils up and out of reach when you aren't using them. Some oils smell like really yummy food, so please do be careful. Use mild oils like the ones listed above.
Herbs for kids and families! Crafting, learning and projects for children, parents and teachers including herbal crafts. Also natural living ideas for healthy families.